The Fold: Arabesque II & Curved Piecing
A deep dive into the construction of the quilt Arabesque II for the Palette Swap exhibition.
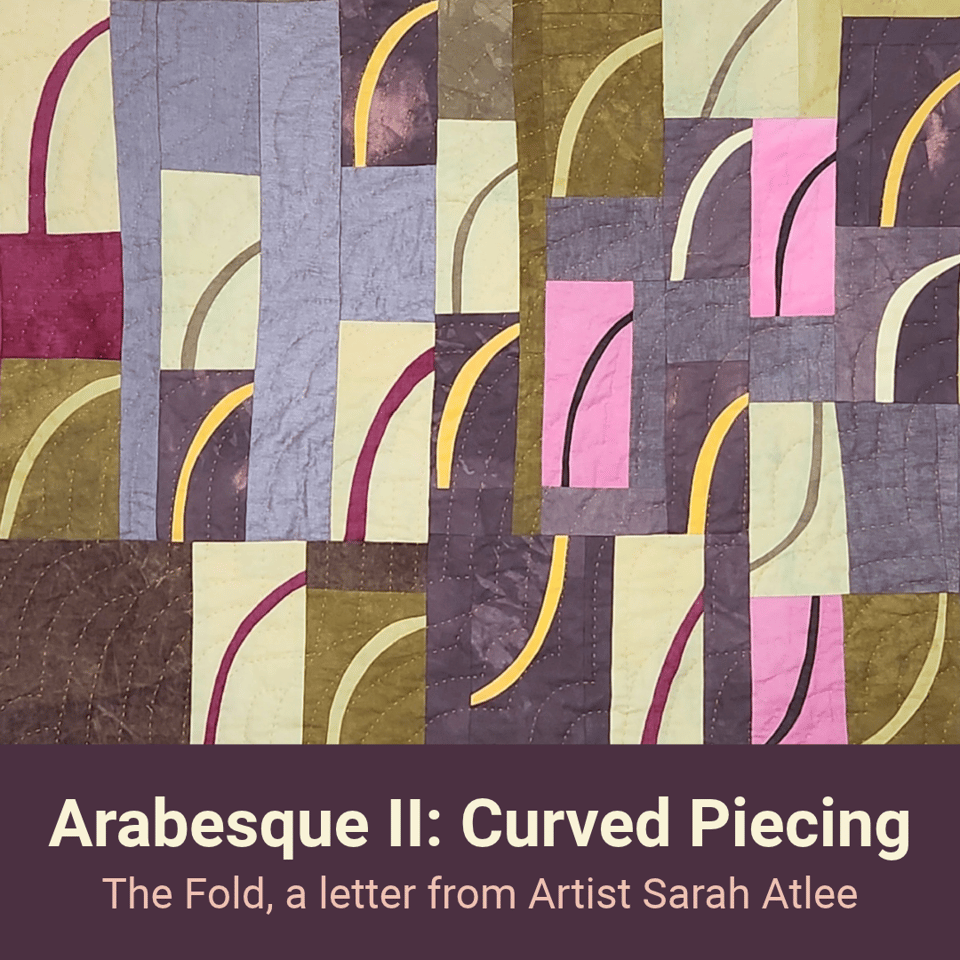
Arabesque II is the second quilt I created for the Palette Swap exhibition. You can see this wonderful show at Arts@302 in Broken Arrow, Oklahoma through October 31st.
In this issue of The Fold, we’re going behind the scenes of constructing Arabesque II. If you’d like to read more about the conceptual side of the Arabesque diptych, check out the previous Fold.
Note: If you’re not into sewing, this Fold might not be super interesting for you. I’m glad you’re here anyway! Feel free to skip to the GIF at the end.
Arabesque II
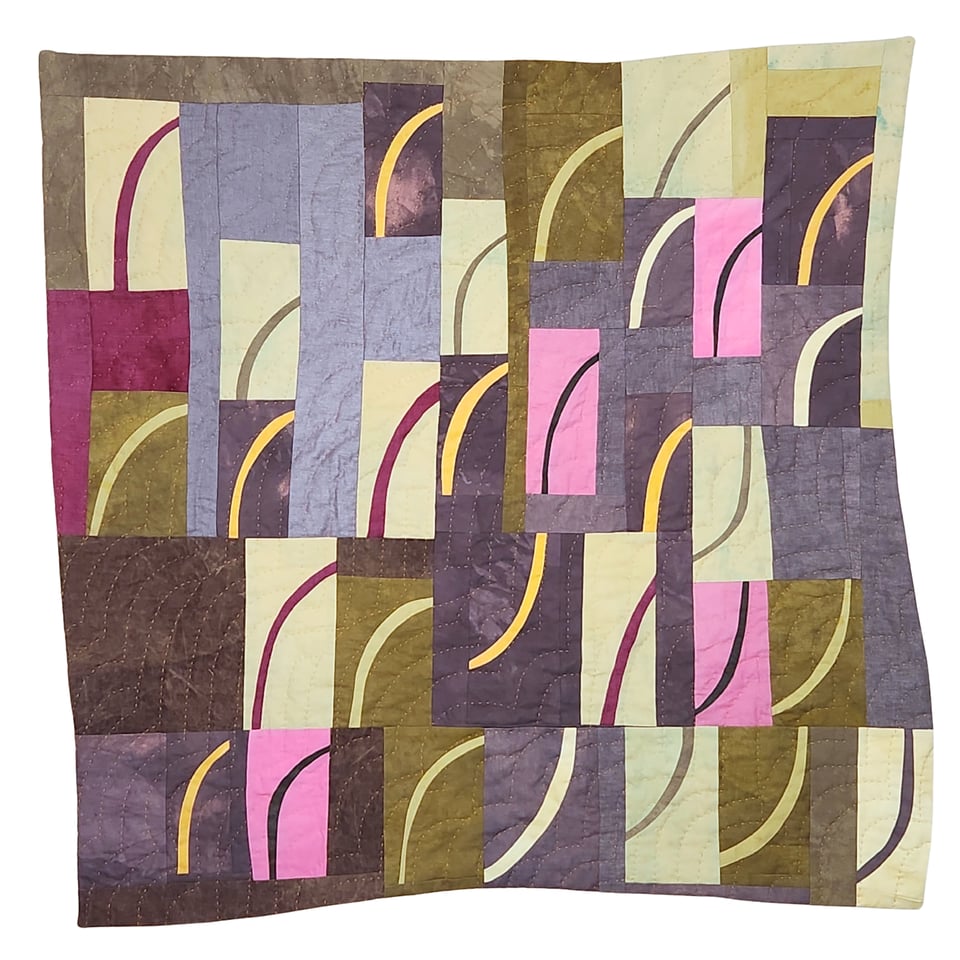
Arabesque II. Hand dyed wool and cotton, machine pieced, hand quilted. 36 x 36 inches, 2026. $700
I take a similarly loosey-goosey approach to piecing curves as I do with rectangles. Below is a step-by-step not-exactly-tutorial to show you how I do that. My process is cobbled together from a variety of methods, notably what Sherri Lynn Wood describes in The Improv Handbook for Modern Quilters.
If you’re a quilter who struggles with piecing curves the “correct” way, this might help.
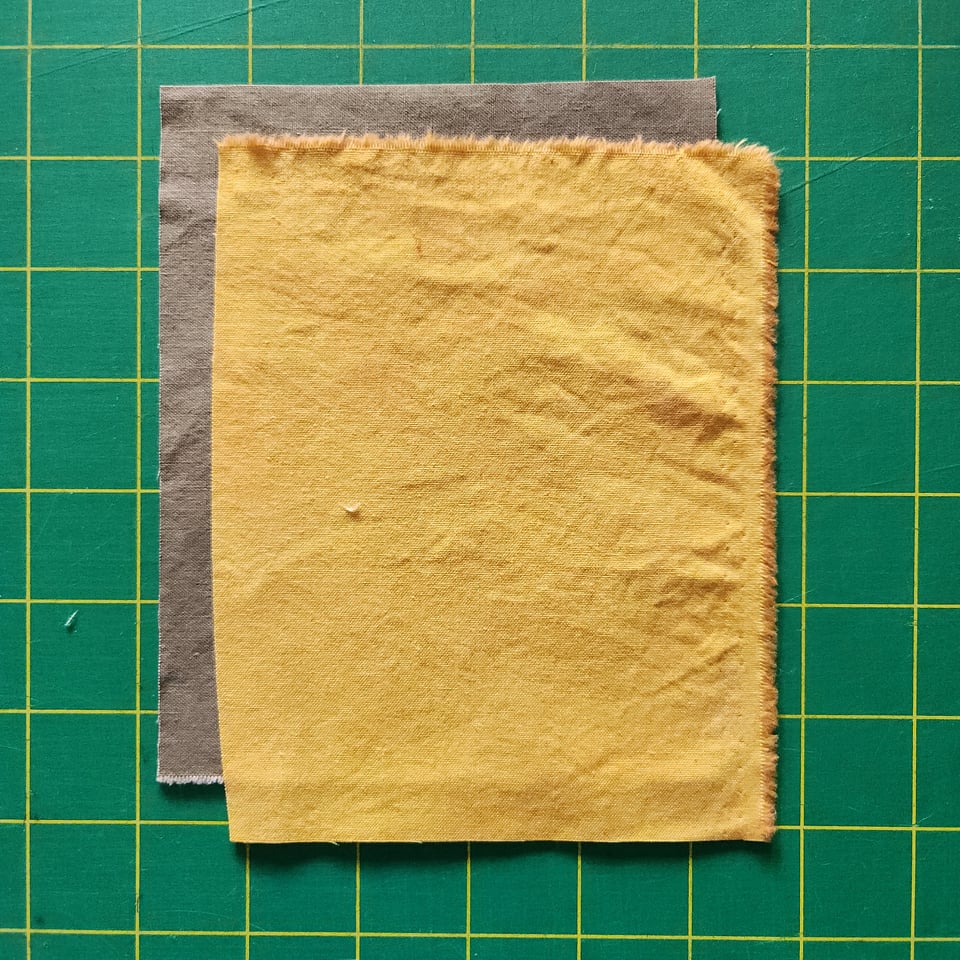
First, I cut two pieces of fabric about the same size. (The word “about” is going to show up a lot.) I offset the pieces by about ⅜” diagonally.
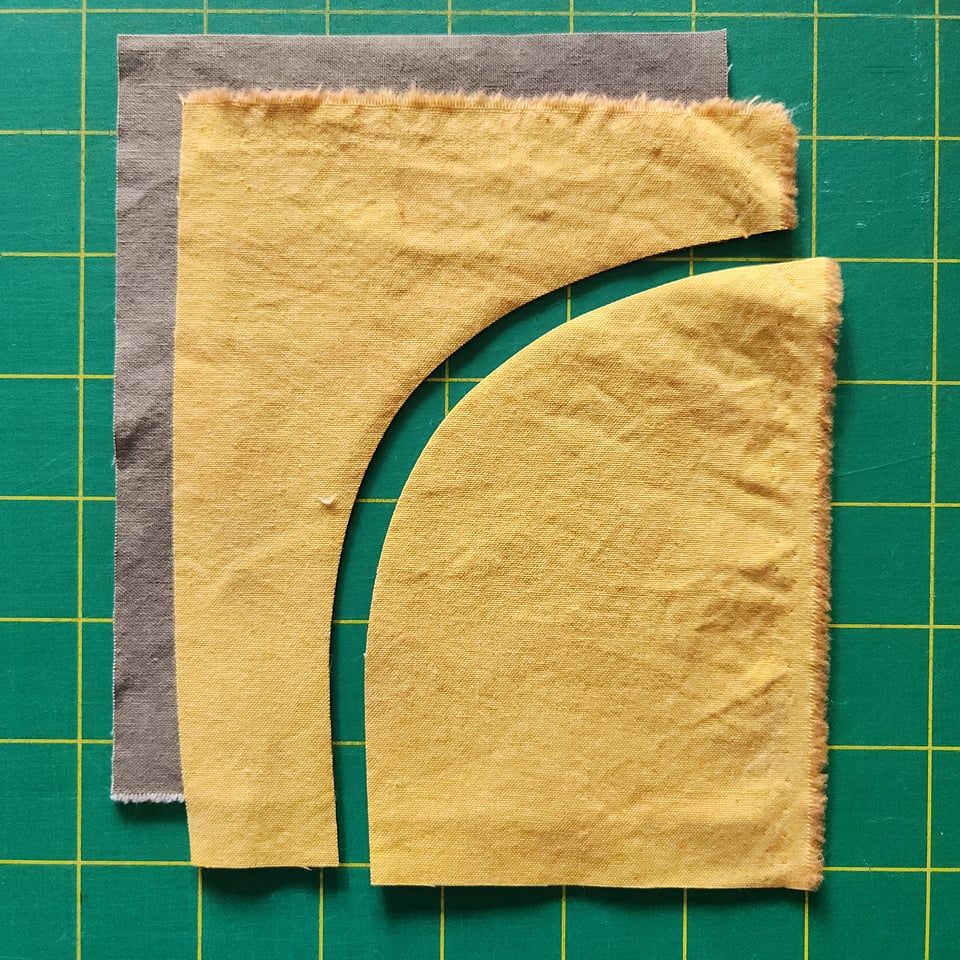
Then I make my curved cut using a rotary cutter. I don’t use a template or mark my cut line with chalk. As with Arabesque I, I want each of these shapes to have a gestural quality.
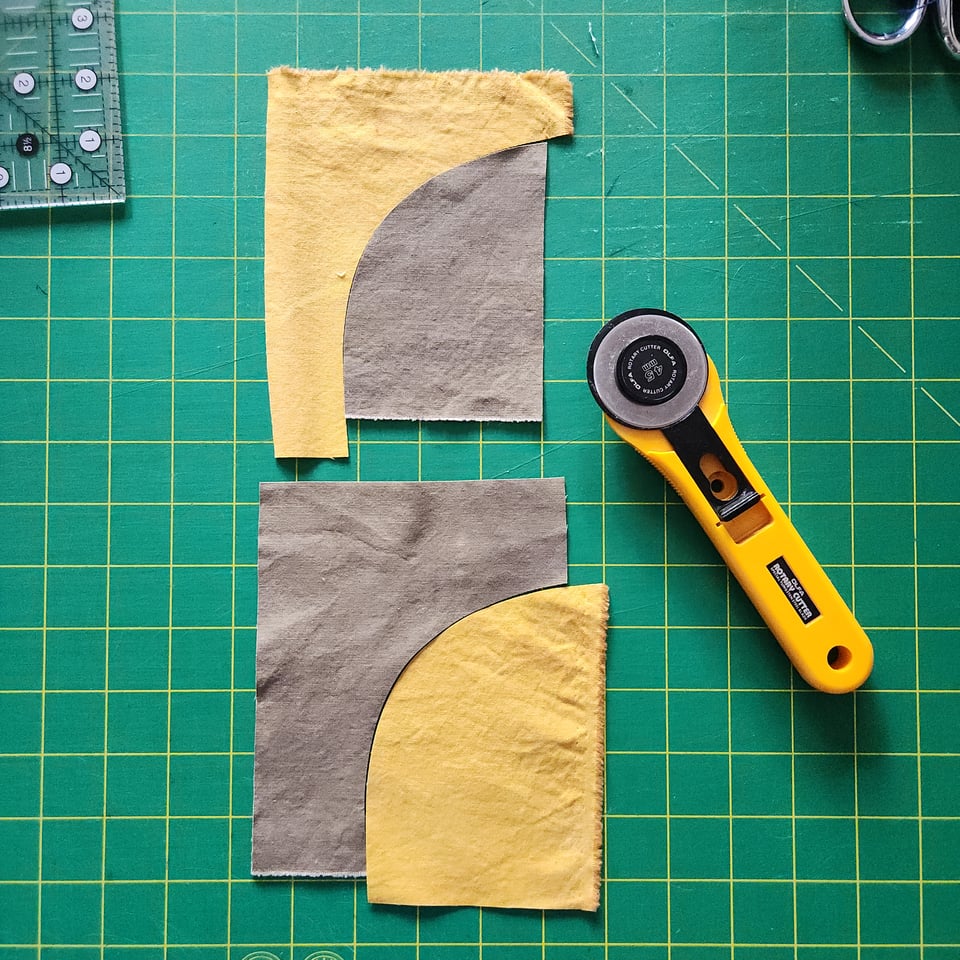
I now have two “pies” and two “crusts.” I pair one pie with the crust of the opposite color.
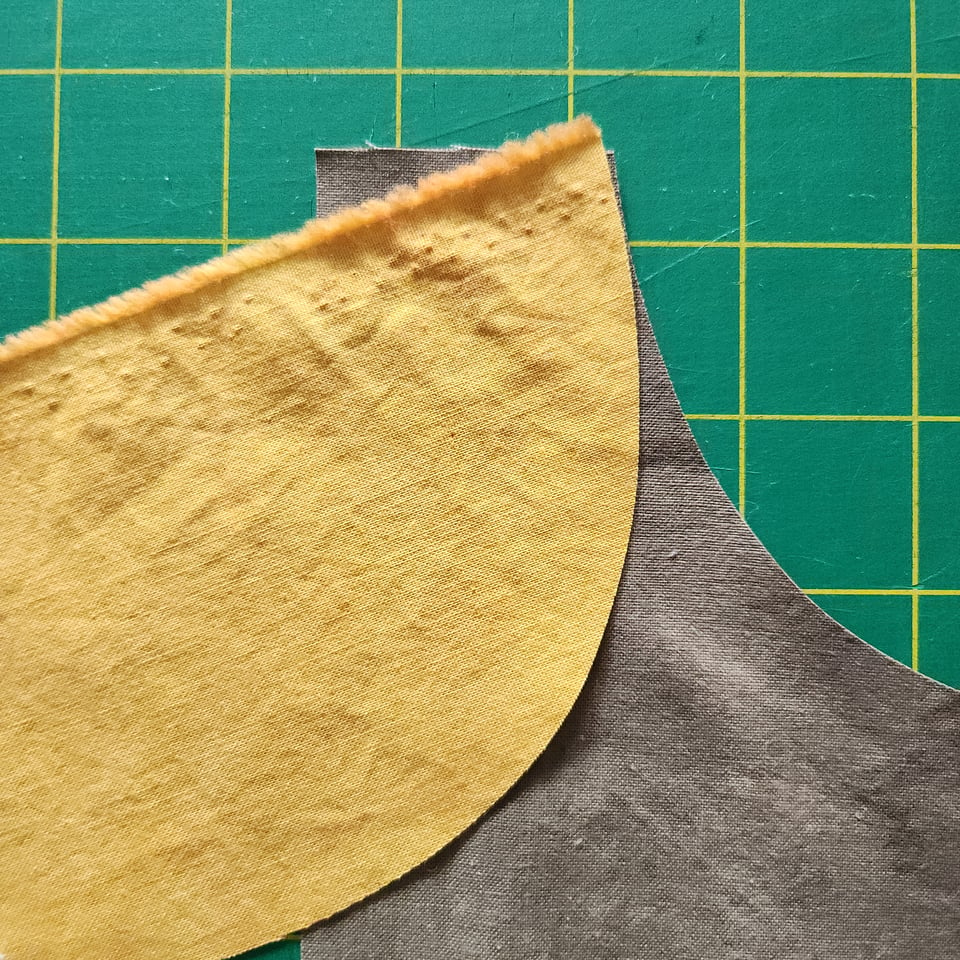
Here’s where it starts getting weird. I flip the pie so its top corner lines up with the corresponding corner of the crust.
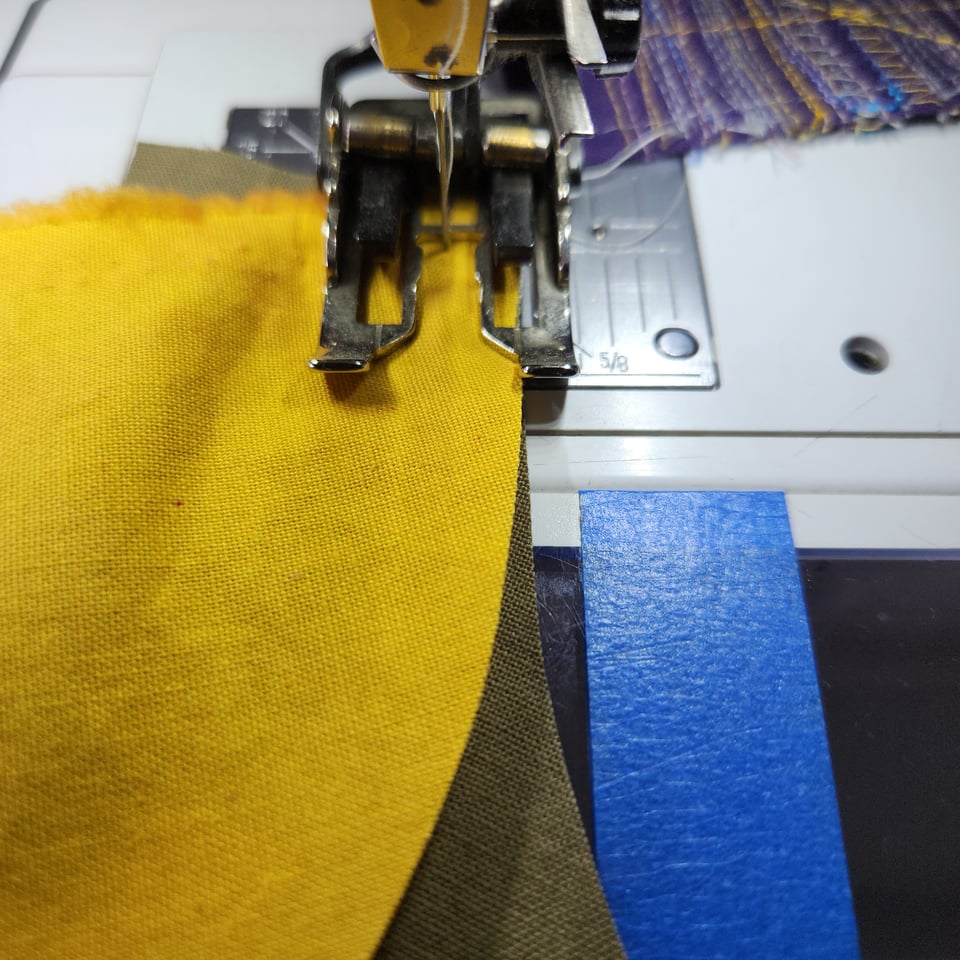
At the sewing machine, I put these aligned corners under the needle, with the pie piece on top. I sew along the curve, very slowly, with about a ¼” seam allowance.
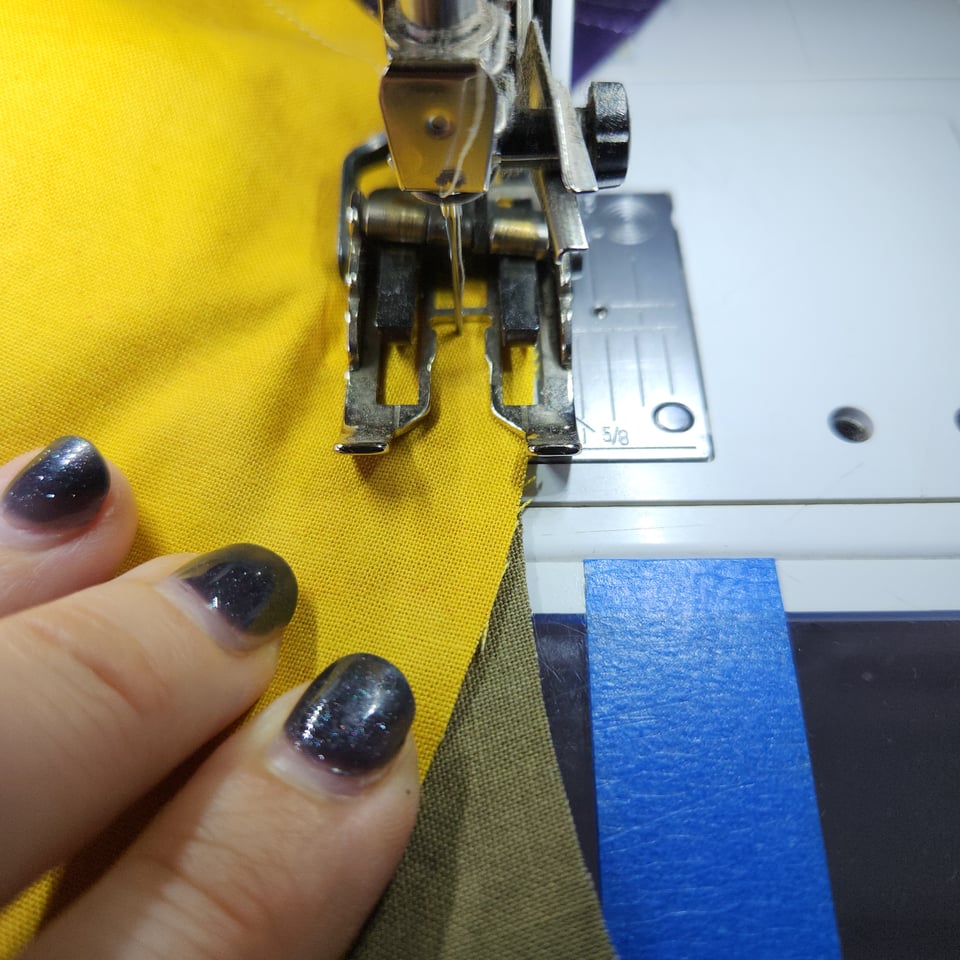
Holding the pie with my left hand and the crust with my right, I continuously adjust the two pieces so their edges stay aligned. It takes practice. Sometimes it’s helpful to lift the presser foot, adjust the fabric, then lower the foot again.
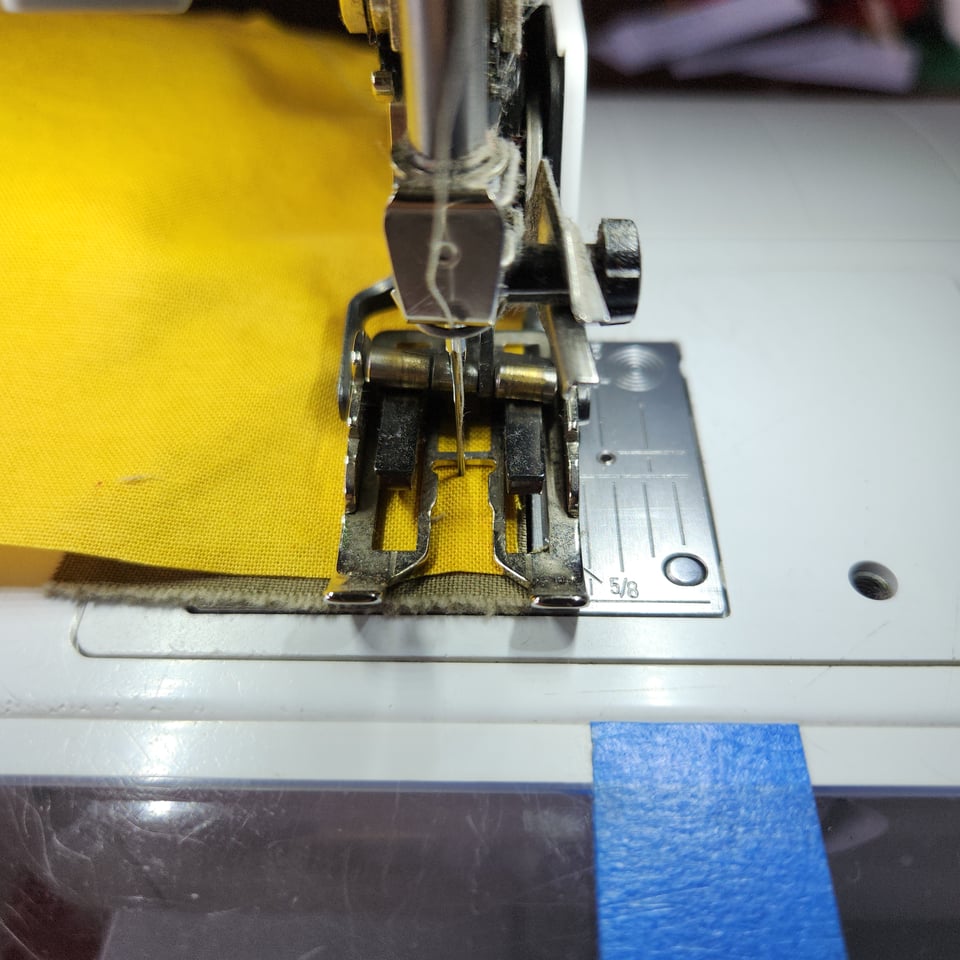
At the end of my seam, the bottom edges of the pie and the crust almost line up. They’re not perfect. Perfect is beside the point.
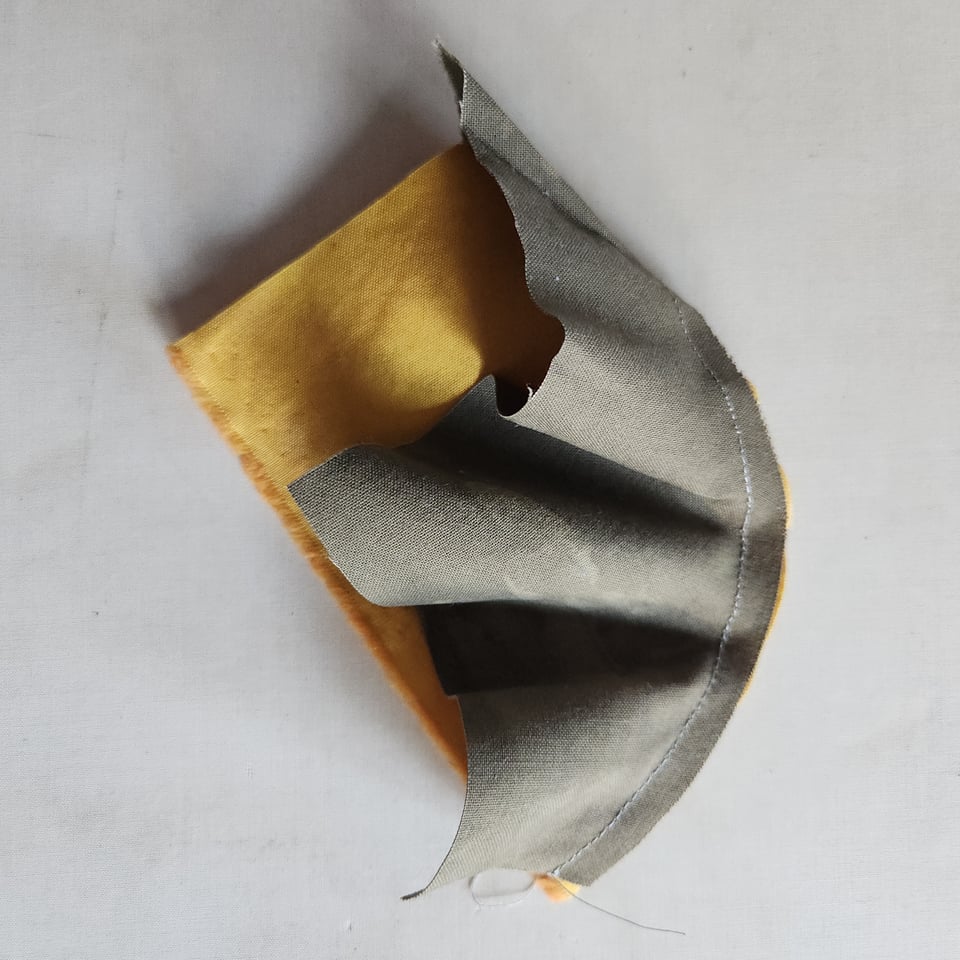
What I have at this stage looks wrong. It’s not a flat shape. I take it to the ironing table, flatten it out. It starts making more sense.
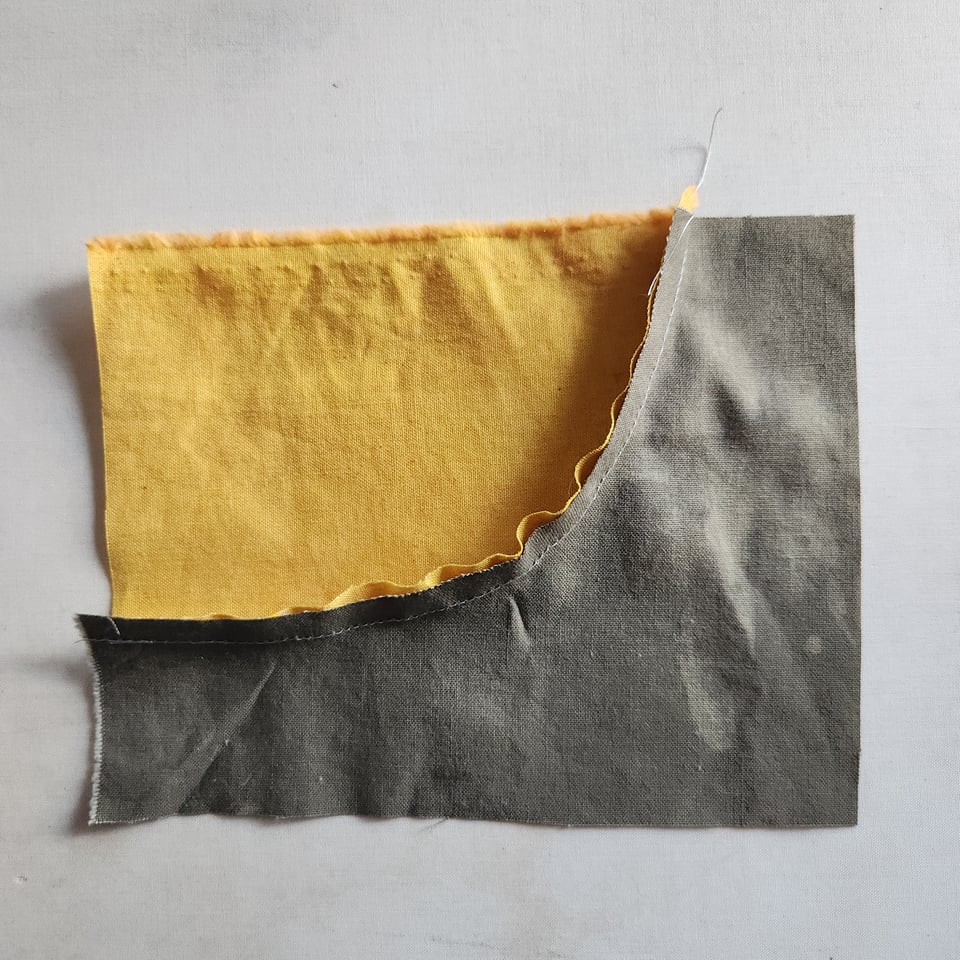
Using steam, I press the seam allowance toward the pie. (Tip: if you follow this process, and your block comes out lumpy, try re-pressing the seam allowance toward the crust. Use steam. That may fix it.)
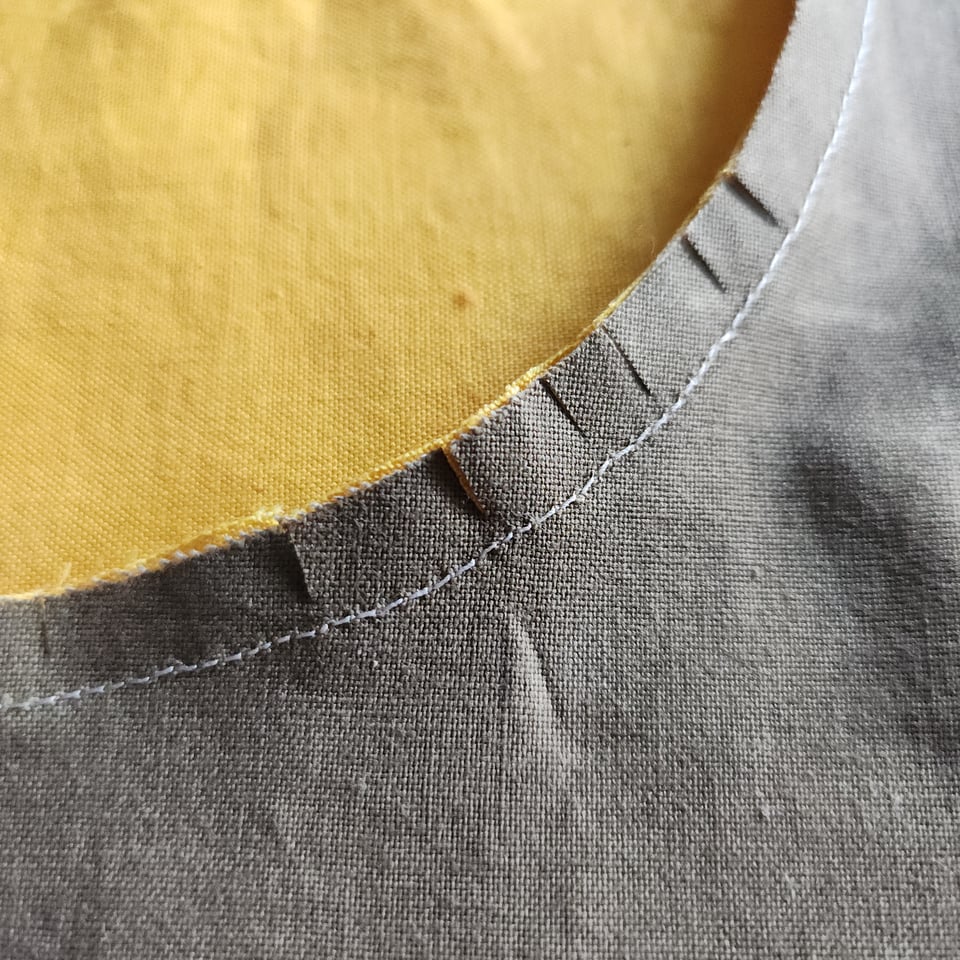
After pressing from the back side, I look for any wrinkles remaining in the seam allowance. With my scissors, I make short cuts in the seam allowance (stopping short of the stitches) to let the fabric relax more. This is called clipping the curves.
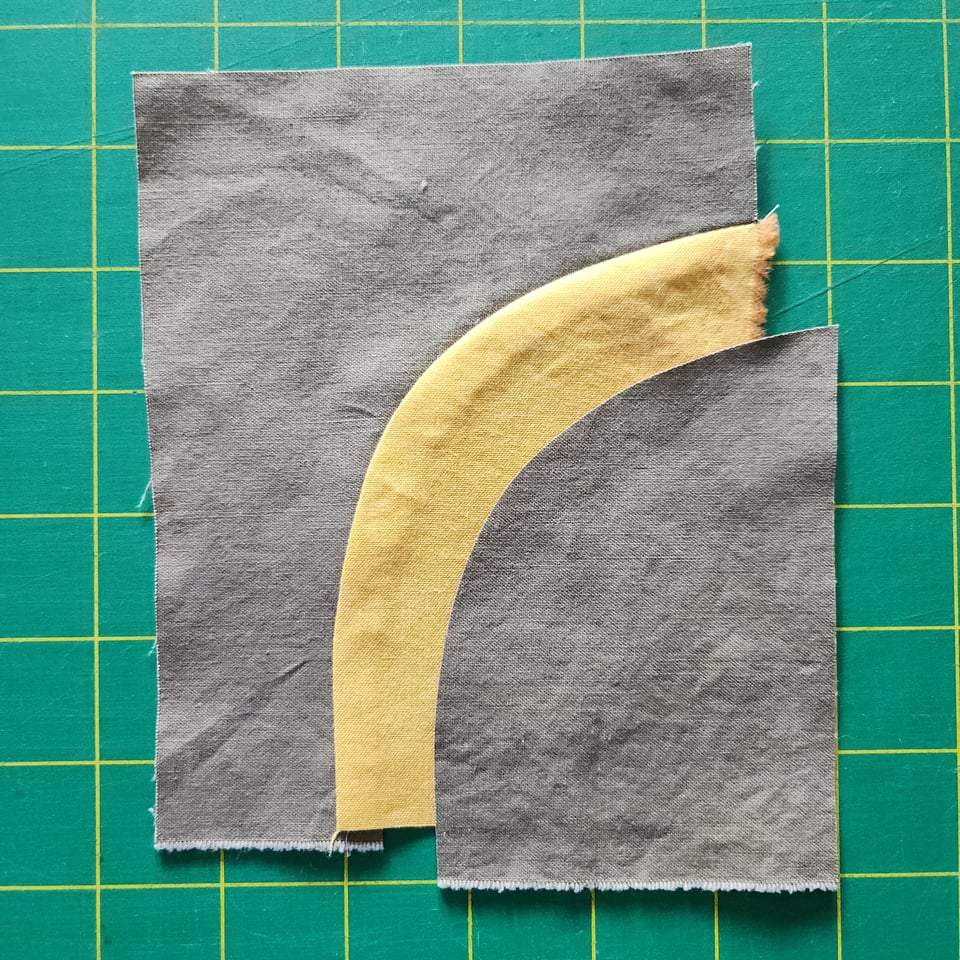
I go back to the cutting mat and place the discarded crust, again off-setting it about ⅜” from where I want my seam to be. I make another cut, echoing the shape of my first one.
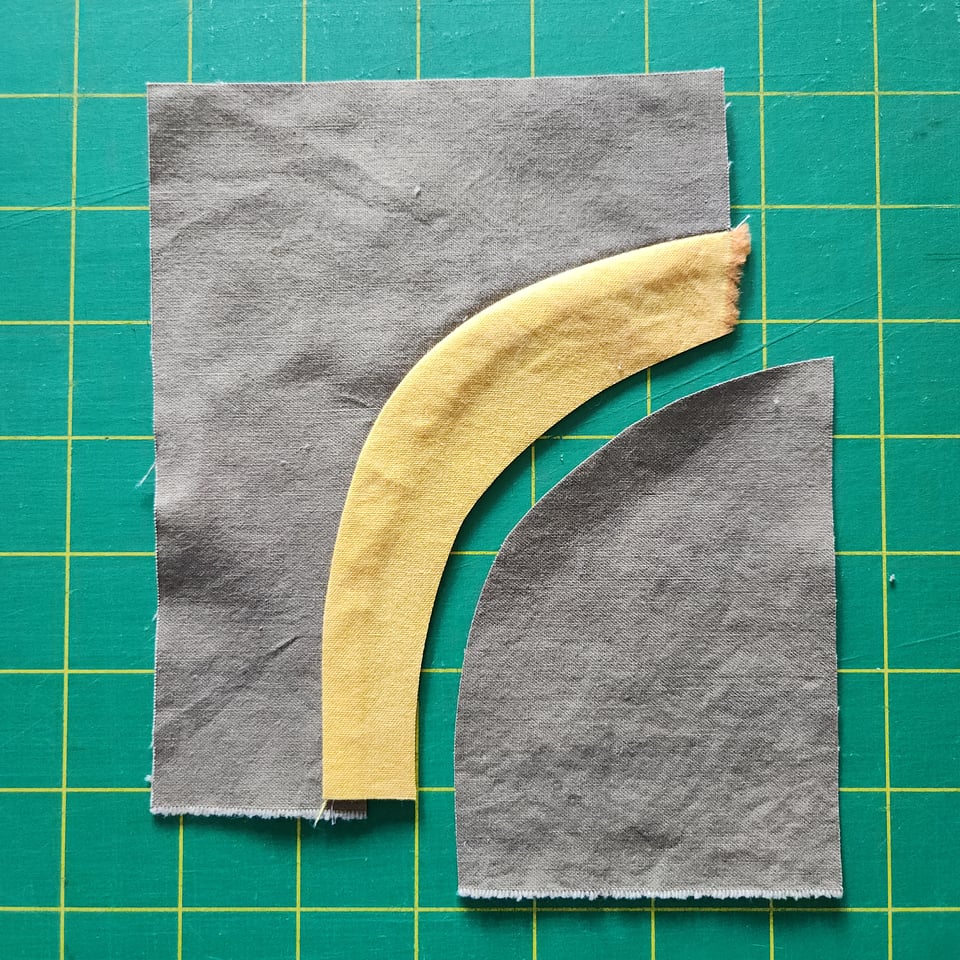
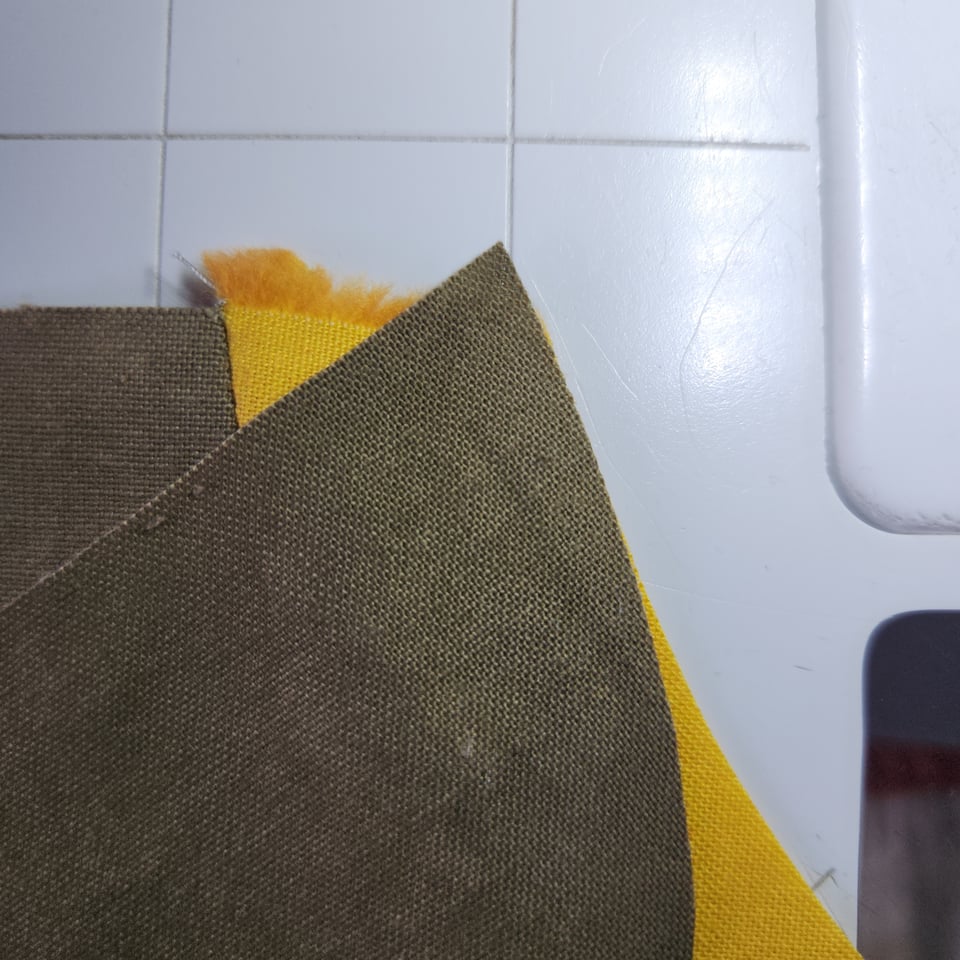
I flip the pie, line up the corners, and sew along the curve.
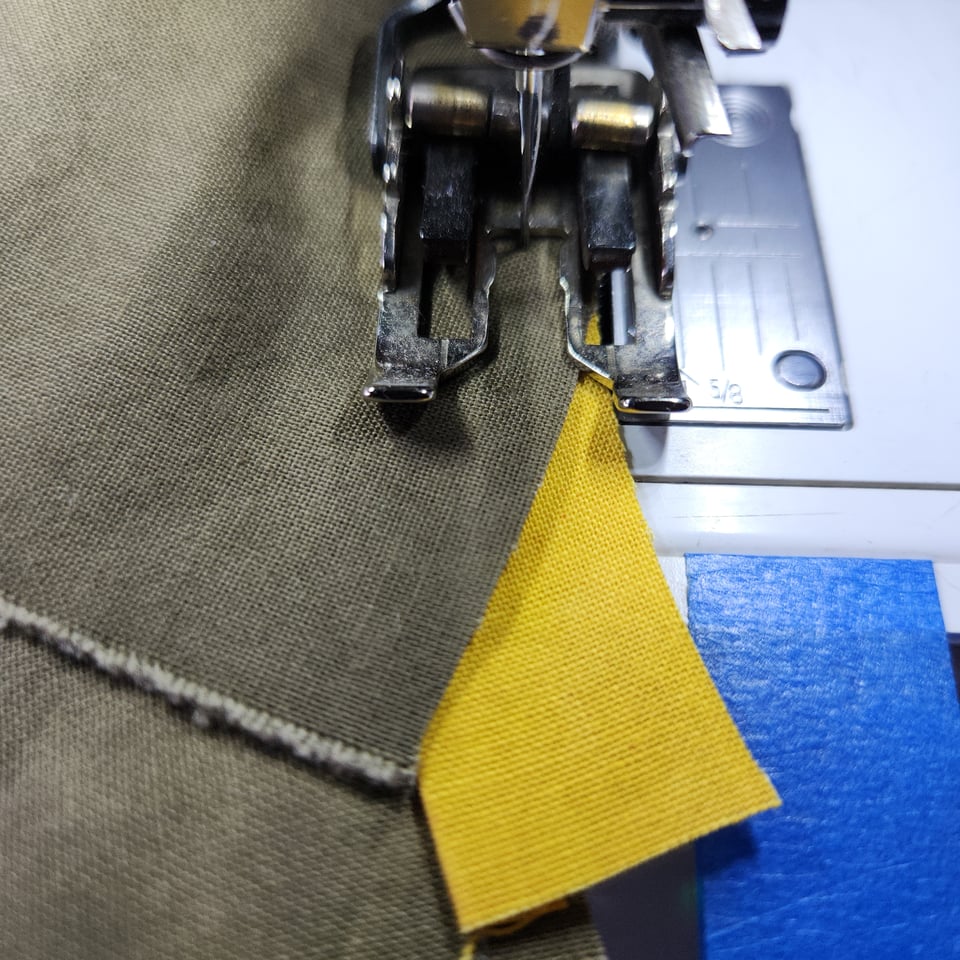
Again, I hold one piece of fabric in each hand, gently moving them so the cut edges line up under the needle.
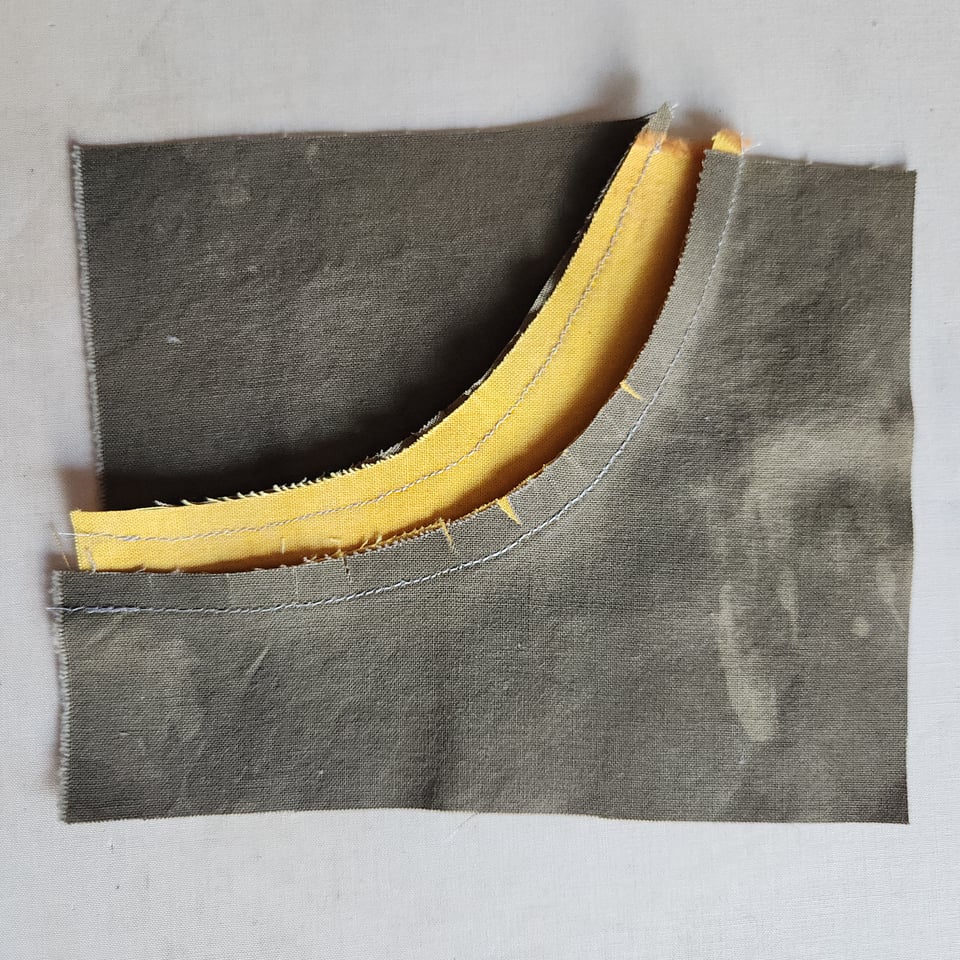
Back to the ironing board. Press the seam allowance with steam, clip the curves.
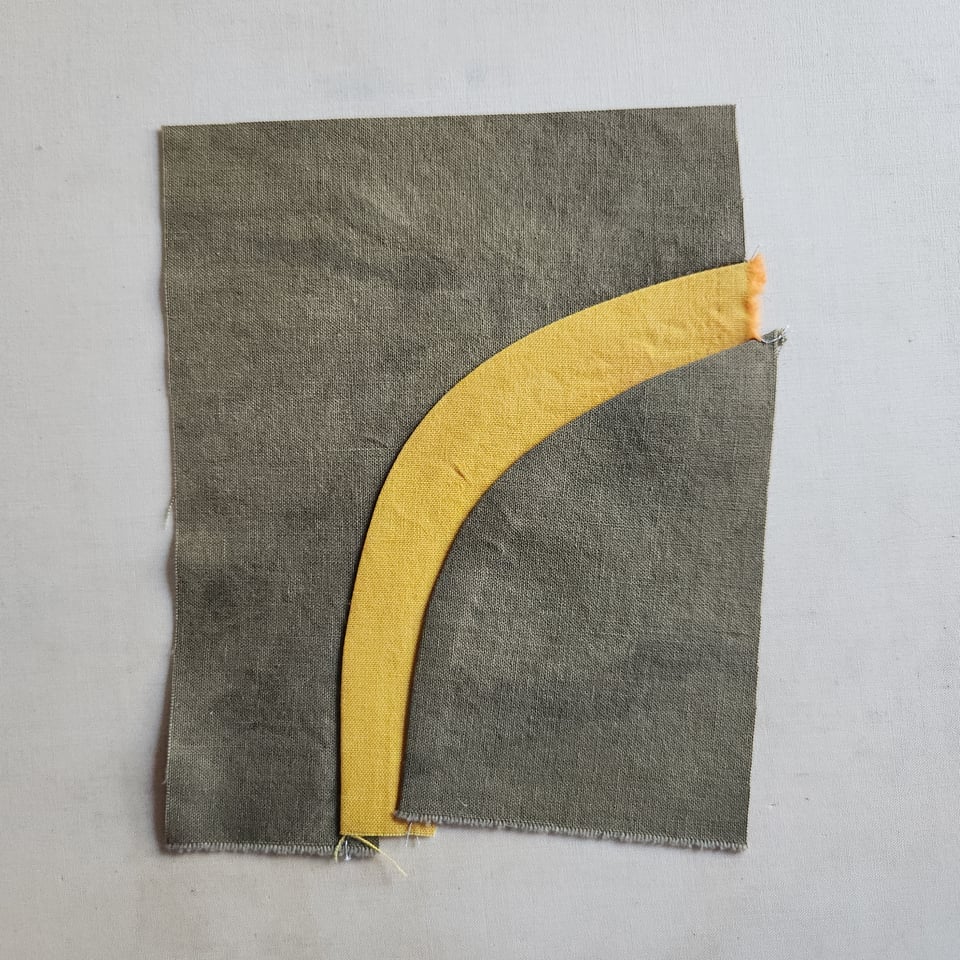
Et voila! A funky block with a curved stripe in it. Now I cut off the uneven edges of the block.
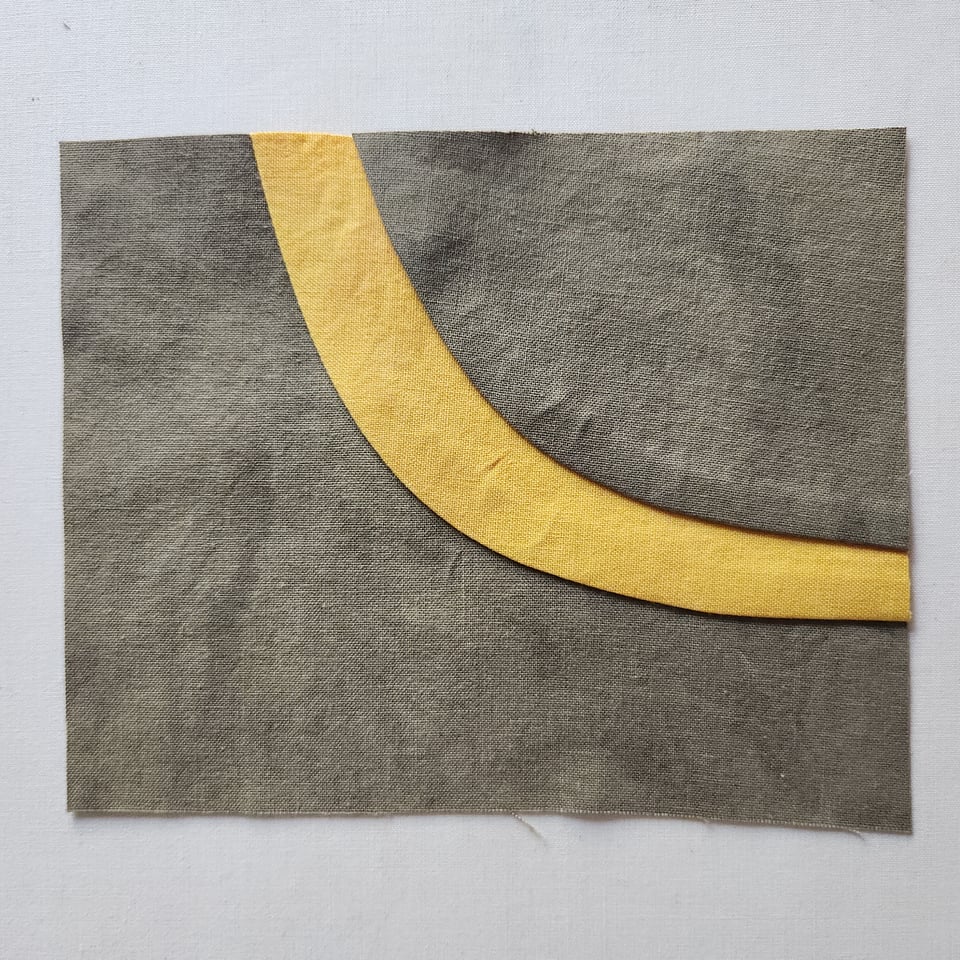
Because my blocks aren’t all the same size, I know I’ll need to make adjustments later in the piecing process. Some blocks will get smaller, others will need extra fabric put in around them. This is intentional. I have no quarrel with quilts where the blocks are all the same size. Making that quilt just doesn’t interest me. I’d rather create problems and creatively solve them. That’s how I get happy accidents.
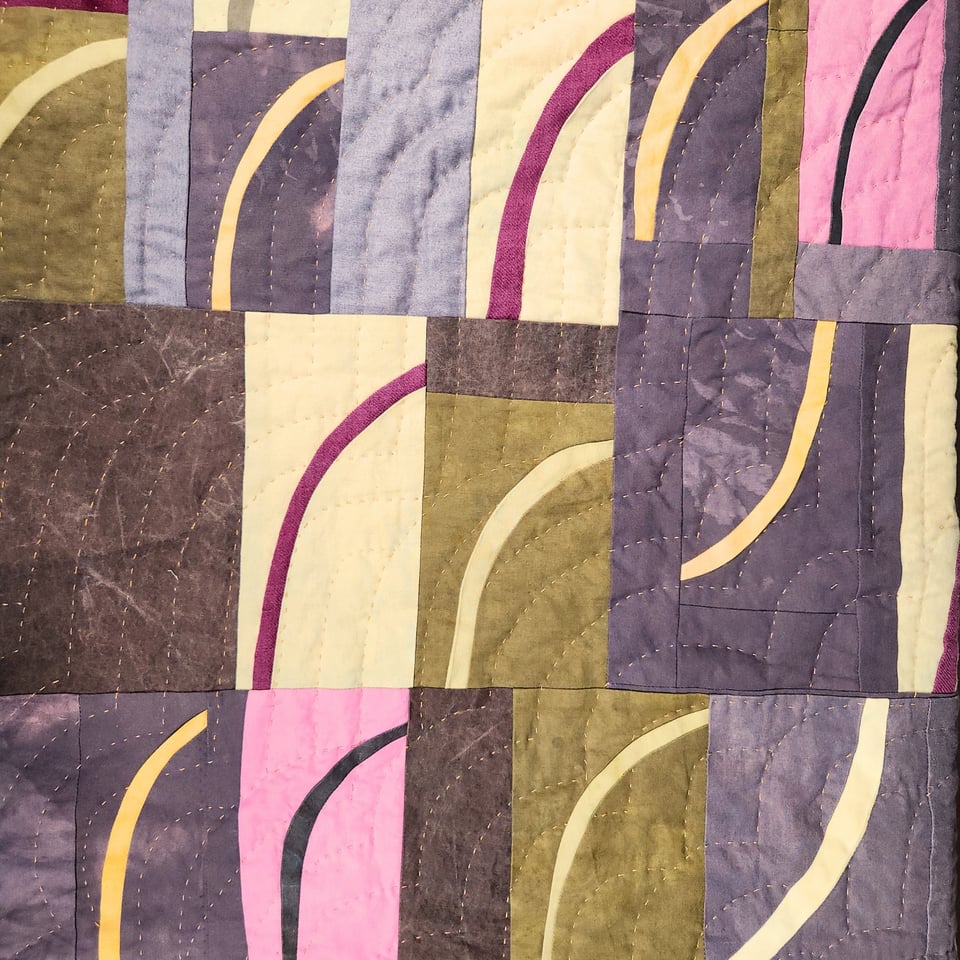
For the quilting on Arabesque II, I wanted to make lines that echoed the shapes of the blocks. My quilting here isn’t as dense as on Arabesque I. (Which is a challenge for me. I get itchy when the quilting lines are more than an inch apart.) But I enjoyed creating a secondary pattern that reflects the underlying structure.
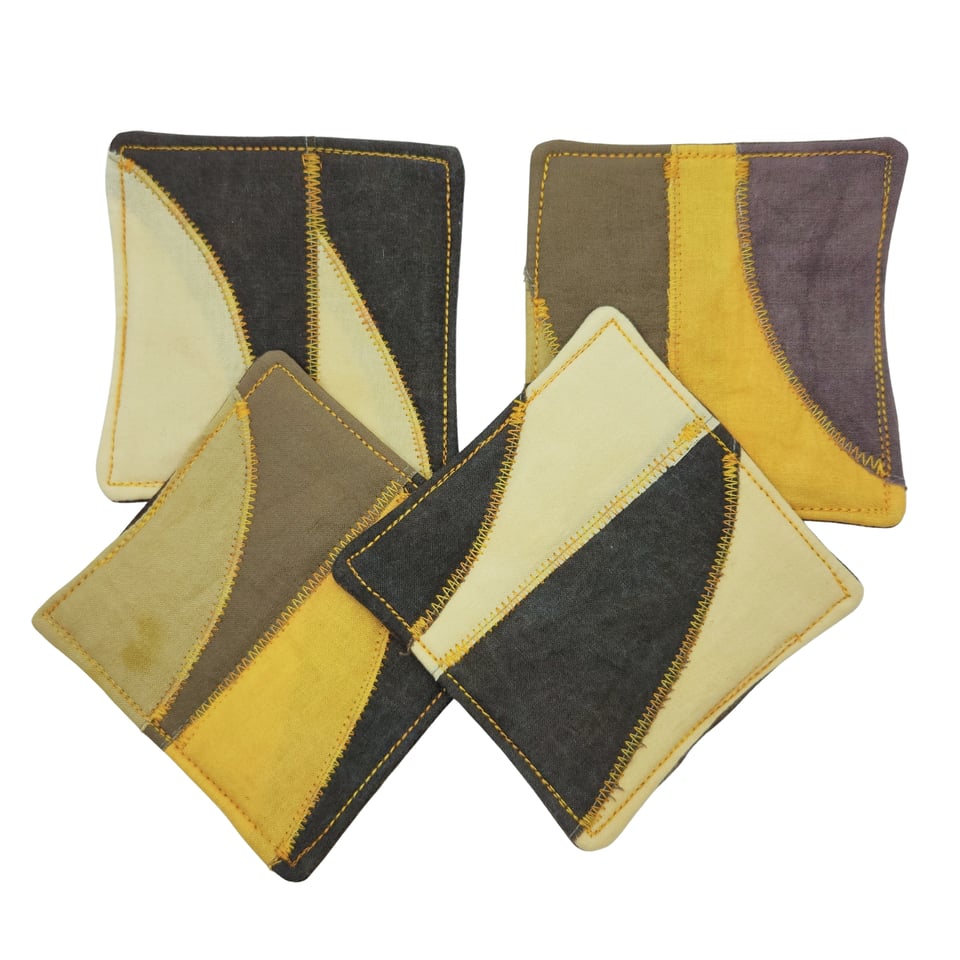
I have lots of these pies and crusts left over. I make some of them into mug mats for Arts@302’s retail shop. What should I do with the rest of these gorgeous hand-dyed fabrics?
Thanks for hanging with me through some sewing nerdery!
A GIF For Those Who Read This Far

Until next time,
xoxo Sarah