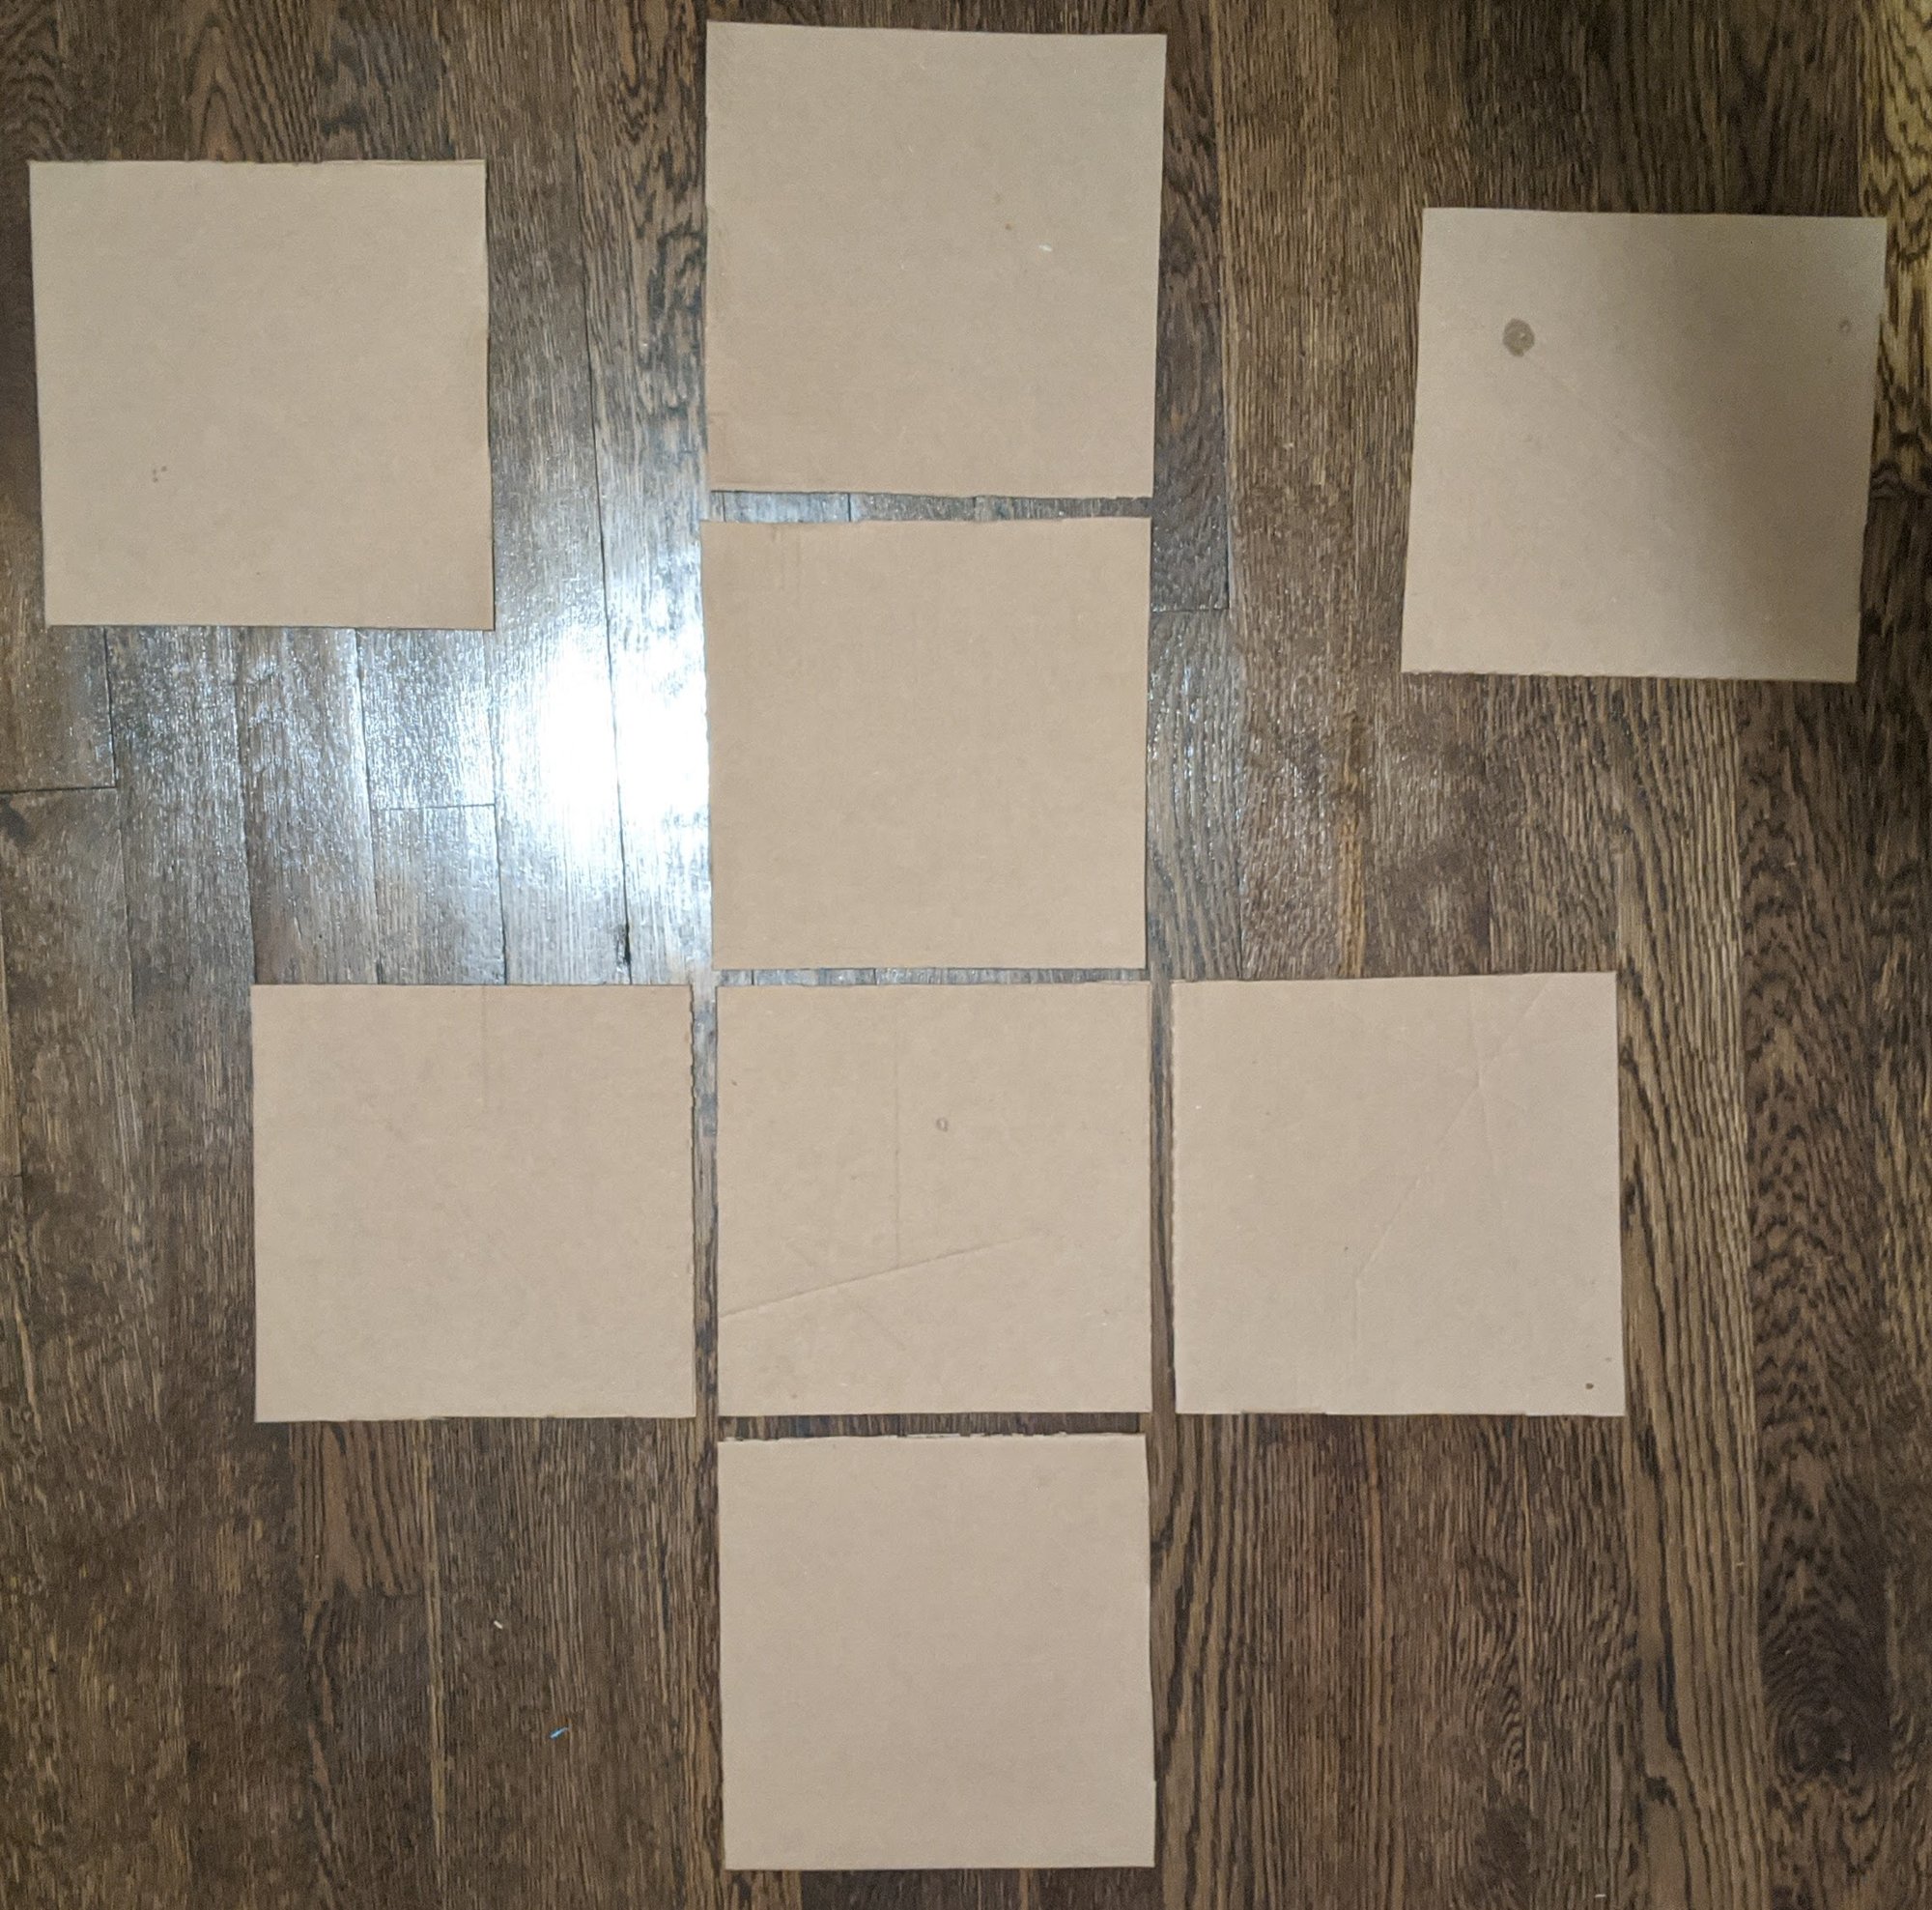
This week has been more about cutting cardboard than about taking photos. The bar I set for myself, a new camera that could take light test photos, was too high. It turns out cutting, taping and gluing cardboard takes time! In the end I created an 8in box with a removable lid which improved my ability to focus the camera but did not enable me to take "light test" photos.
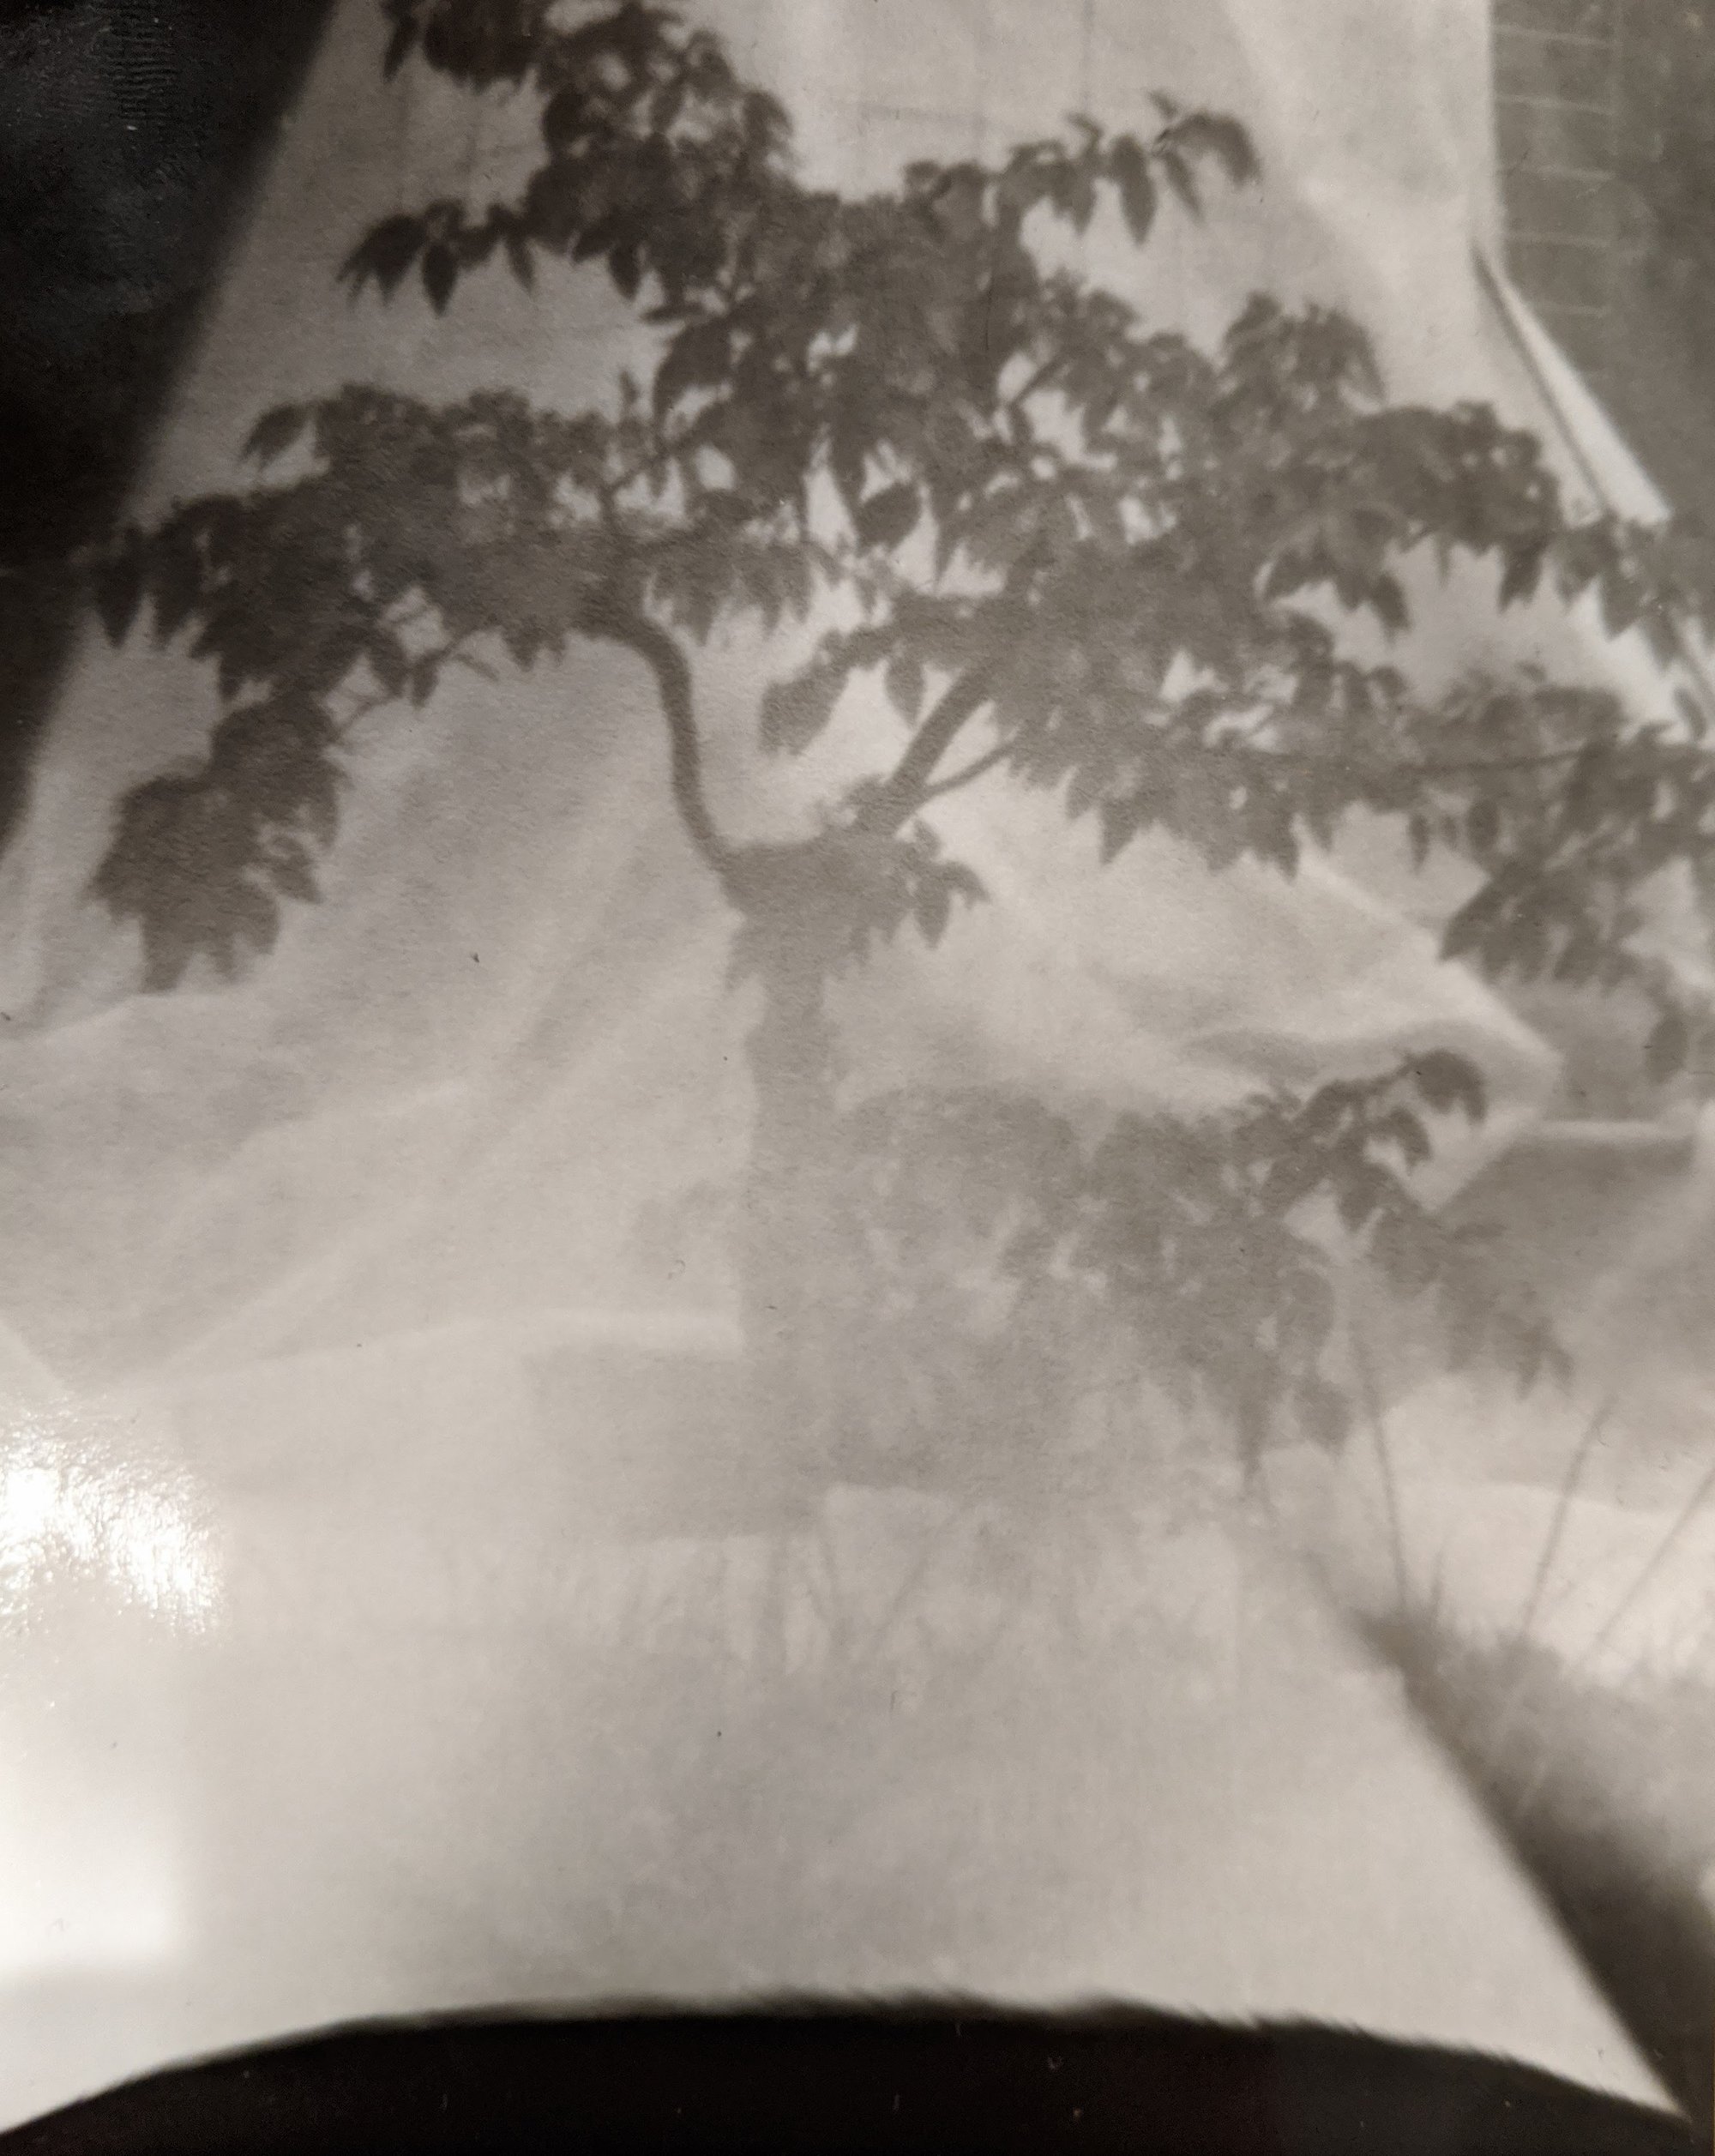
Photo 2: Vertical bonsai study

First thing to note about this photo is that its the second photo I took on the day. I've left photo 1 out as its pure white. The first exposure was for 7.5 minutes in fairly sunny weather and clearly was way too long so for this second photo I went down to a minute and a tree showed up! The bottom of the photo is pretty white with a strong black bubble at the bottom. After taking this photo I decided that the lens was a bit smaller than I wanted and widened it.
Photo 3: Horizontal bonsai study

I like this photo a fair amount. It is also a one minute exposure and you can see the full tree. I think it feels like an old photo some bonsai hobbyist might have taken years ago. With this photo I paid closer attention to how the photo paper laid in the box which (along with the wider lens) I removed the black bubble. That said, the white glow (left hand side this time) is still here. After talking with a neighbor who studied photography for school, I'm guessing this is being caused by light reflecting off the piece of aluminum I'm using as a lens. With his advice I plan to paint it black before next week.
The Second Camera

After last week I felt the need to design and build a new camera. Most of the drive for this was an idea that I could do light tests by pulling a piece of cardboard through the camera but in the end that objective needed to be dropped as keeping light out of a box with two holes in the side proved more than difficult. In the process though I made a new camera. This one is designed to have a rather normal "portrait mode" like lens. Part of what I'm finding interesting about pin hole photography is how the ratio between pinhole size, box depth and your photo paper dimensions create your lens. I assumed the only variable was the pinhole when I started, but oh, how I was wrong.

Let's imagine for a second that the long gray box above is my pinhole camera. On the far left is its pinhole. Once light breaks into the box it starts expanding. The thickness and size of the pinhole determines the rate this cone of light grows.
For my first camera the photo paper was set 3 inches back from the pinhole, or, it had a focal length of 3 inches as the length the light has to focus on the photo paper is 3 inches. As shown in the diagram this meant that beam of light had just grown enough to fill the back of the camera and thus my photo from last week captures all the light that penetrated the box no matter its angle of entry. This is a very wide angle of view.
For my second camera the photo paper is set back 8 inches from the pinhole. This means that the beam of light has had more time to expand and so it is now bigger than my photo paper. This means that the rays of light in the camera's peripheral vision don't find their way to the photo paper. The more of the bean that is left off of the photo the more the photo looks telescopic. It turns out that an eight inch focal length with a pin hole about half a millimeter wide creates a basic mid range lens that might do well taking portraits. In this case, protracts of bonsais.
Figuring this out took many people many years, but thanks to the internet and particularly to a sight called Mr Pinhole I was able to design my camera in two hours. Sadly, cutting the cardboard and gluing it together took a long time.
Pizza boxes, Beer cans, Wood glue, Gorilla and Electrical tape

Below are a few photos I took during the creation process. Most of the cardboard was from some pizza we ordered this week. The black tape is a duct tape like tape by the makers of Gorilla glue that we had lying around. It was mostly used to hold cardboard in place before I could glue it. The blue tape is electrical tape we bought for writing "compost" on a black bucket to meet our cities composting guidelines. It here is hold down lips and keep out light. The wood glue (which is doing most of the work keeping the cardboard together) is an old bottle purchased for who knows what reason. And the lens is part of a Guinness can. The same Guinness can as the last lens. The take away here is that all of this was just "junk" we had lying around. Much of it is junk we won't be able to reuse again, but still, it was fun to build something with the debris I could pick up. Here are some more detailed shots of the camera.


Thanks for reading. Next week I'm going to do some small tweaks to the current camera and to try and cut down on the reflection of light. No major changes planned.
-MCW
You just read issue #18 of Headbirths. You can also browse the full archives of this newsletter.