
Workbench Adventures Ep 5: One small craft at a time
In which Kat makes a frame for her pins, fixes a broken foot and dips her toes in metal engraving.
The portal spits you into the tower, and a soft summer breeze leans in to caress your cheek. The song of a robin, from across the grassy bog, carries through the open window and fills the study with unknowable verses.
The desk is tidy, and the dust covering it upon your last visit is gone. There's tools on it, neatly arranged – a knife, a sharp pencil, a tin of crayons, scraps of fabric, a hammer, a calligraphy brush dipped in gold. Looks like someone's back at work.
Downstairs, the common room has been transformed: one wall, previously stone, is now entirely windows, all open to let the summer air in. Wildflowers and grasses sway above the cushioned windowsills, and glass bartender trays are slowly manoeuvring around couches and pillows, carrying colourful lemonades and small footed bowls of chilled fruit. You settle comfortably in the soft seats, letting the breeze caress your skin, as a tray rolls up next to you and shivers, clinking the glasses together invitingly.
I've been making time for small crafts lately. Not even one-day projects. (Whole days are in short supply.) I could categorise these as "just knocking stuff together". A few stolen hours at the wood workshop making a broom closet shelf, a post-work evening spent with needle and thread, quality bonding time between pieces of leather and contact cement, that kind of stuff.
All in the name of making my new residence feel like a home.
Let's take look!
First, the pin frame.
I'm not really in the habit of wearing pins – I used to have some on my old backpack, but my current daily rider is made of waterproofed technical fabric I'm scared to puncture, and so all the pins (not many) I own have been sitting at the bottom of various moving boxes for a few months now. However – very simple solution to this! All that is needed: an embroidery hoop, some fabric and a nail in the wall.
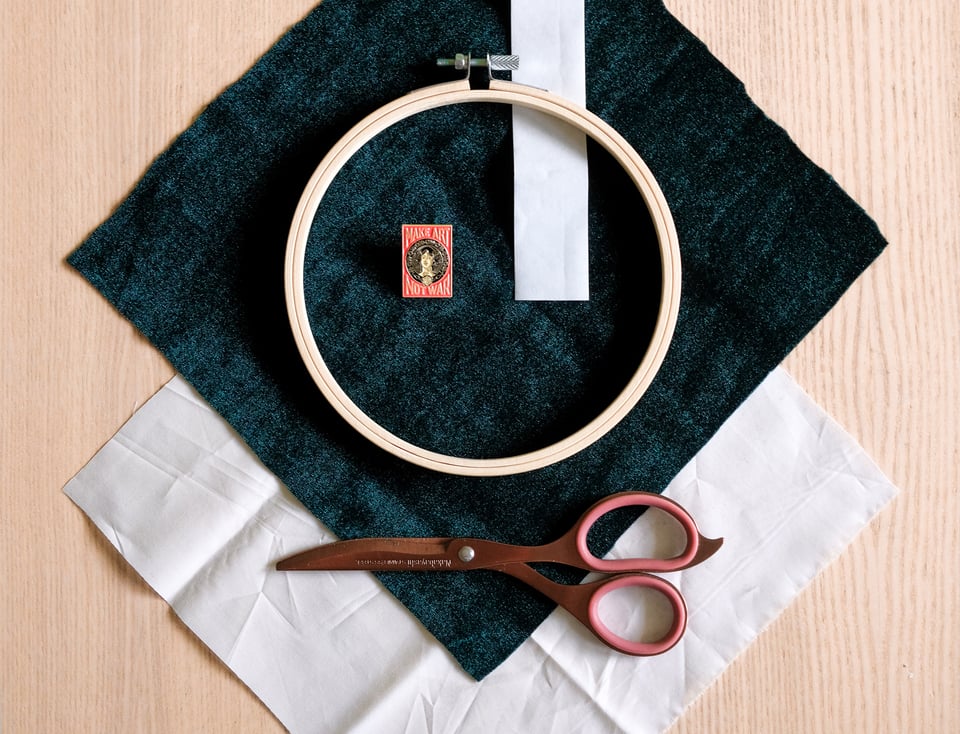
...at least in principle. But you know how it goes. I wanted it to be nice. So the dark seagreen velvet came out, left over from the trinket shelf project. However, it's rather thin and stretchy, and would be distorted by the weight of the pins, so I stabilised it with some plain non-stretchy cotton on the back. Oh, how I love thermal-activated gluey.. fabric …tape, which definitely has a technical name, hold on- ah yes, fusible webbing. Best thing since glue, I tell ya.
With a little ironing, the two fabrics became one, meaning something I would trust to hold up little metal trinkets. Into the embroidery hoop with it!
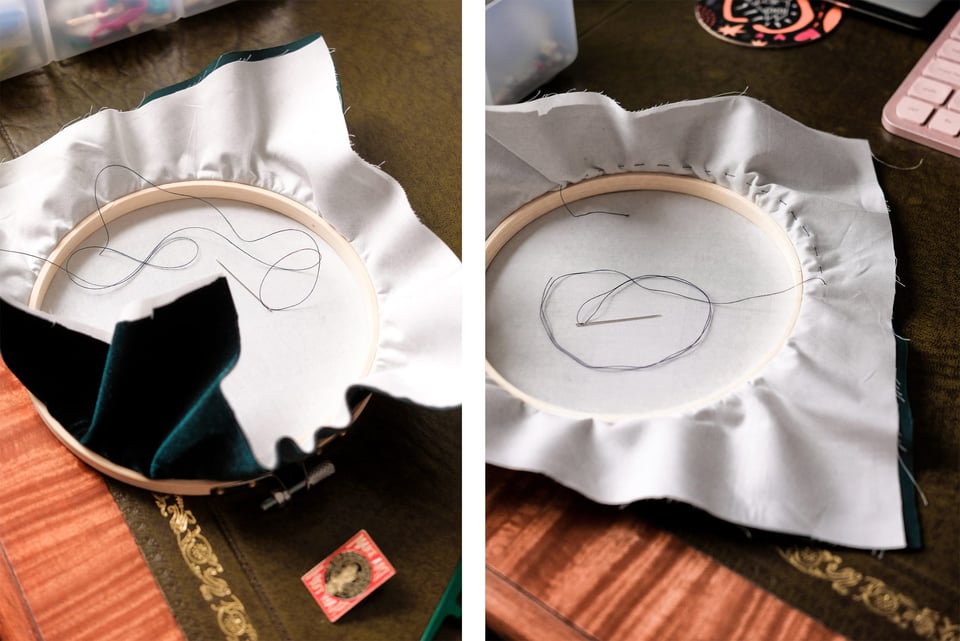
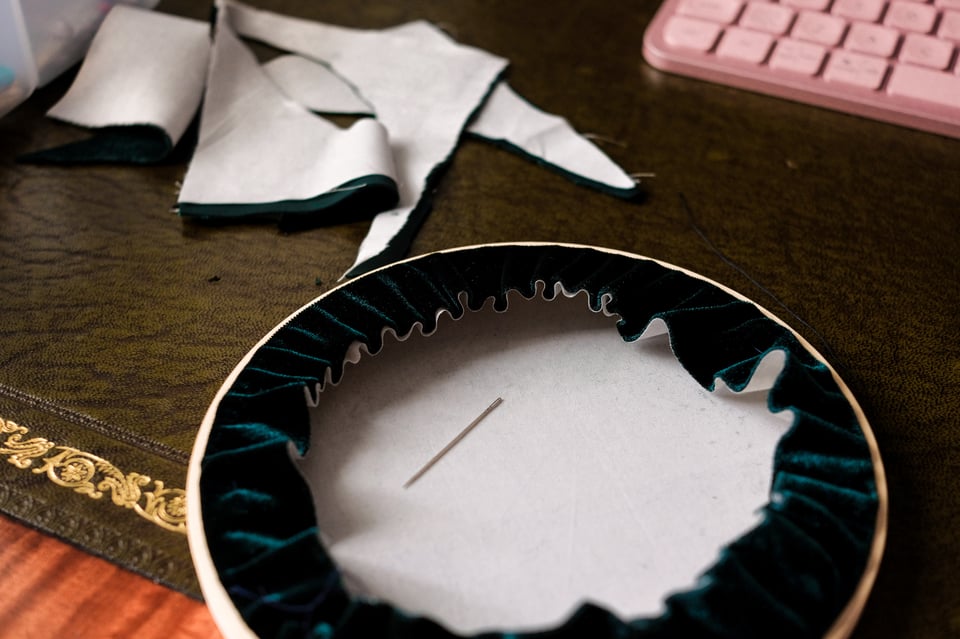
A simple running stitch along the inner edge could be pulled closed, gathering the fabric neatly behind the frame (and helping it sit flush against the wall.)
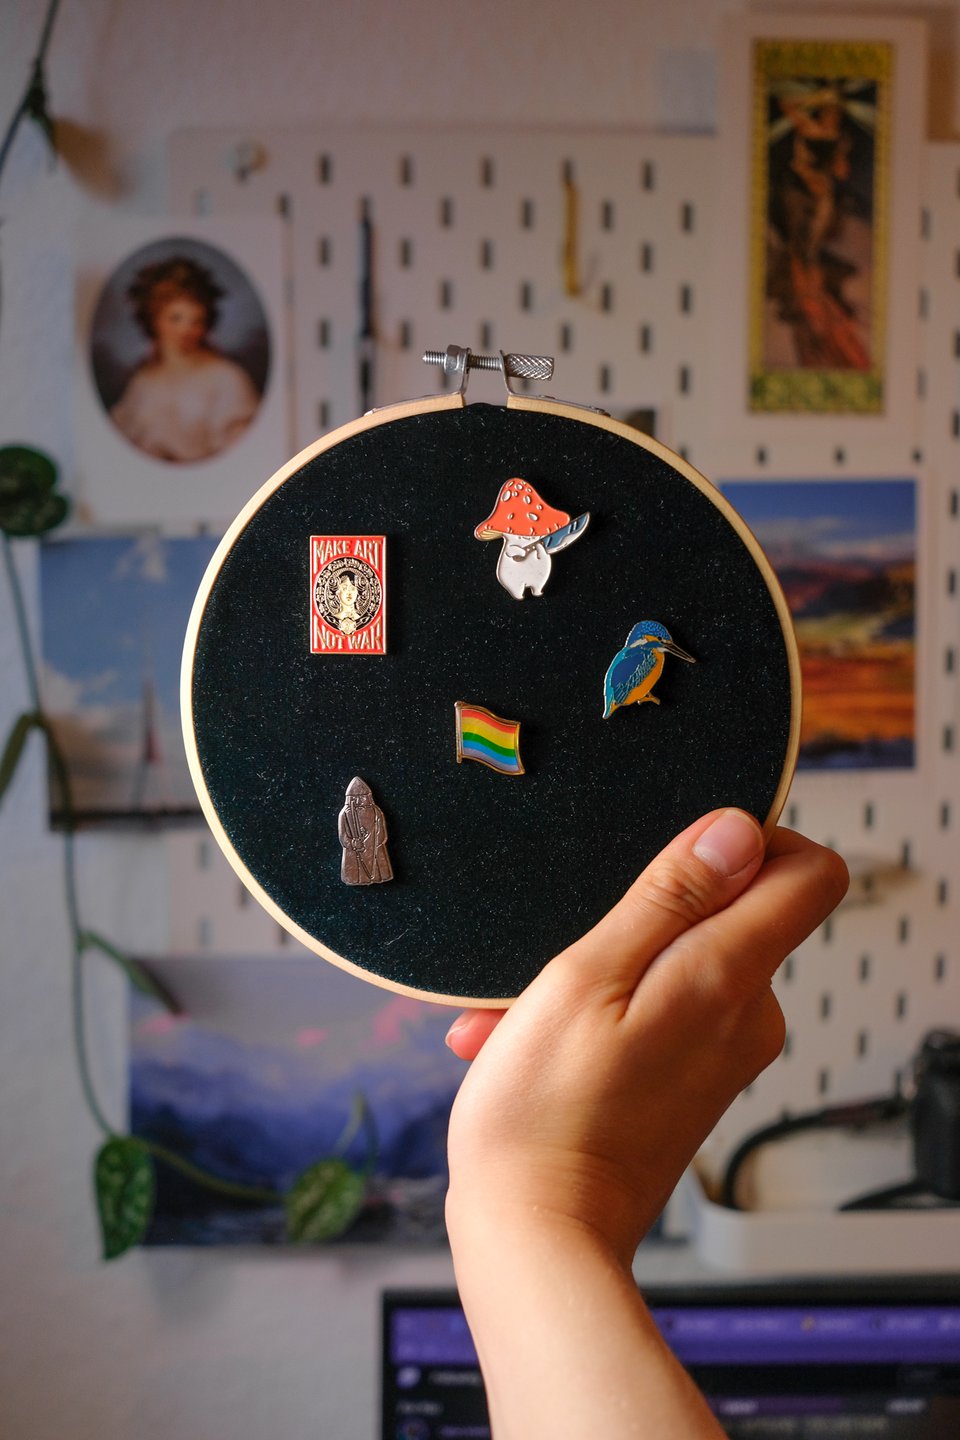
And my pins! I really don't own all that many, and I'm sure I have some broken ones laying around in forgotten corners. (I once tried soldering a pin-back (the needle part) back onto a cheap pin, and it really didn't work. Some metals just don't want to be soldered, turns out. I then dropped the needle on the floor, and the patterned linoleum swallowed it instantly, thereby cursing the pin to be a useless knick of metal forever.)
My second little craft came from an accident – I dropped one of my little bowl guys and his toes fell off. He’s the very first I made, so I’m quite attached and would never throw him out, so it was an opportunity for some homemade kintsugi.
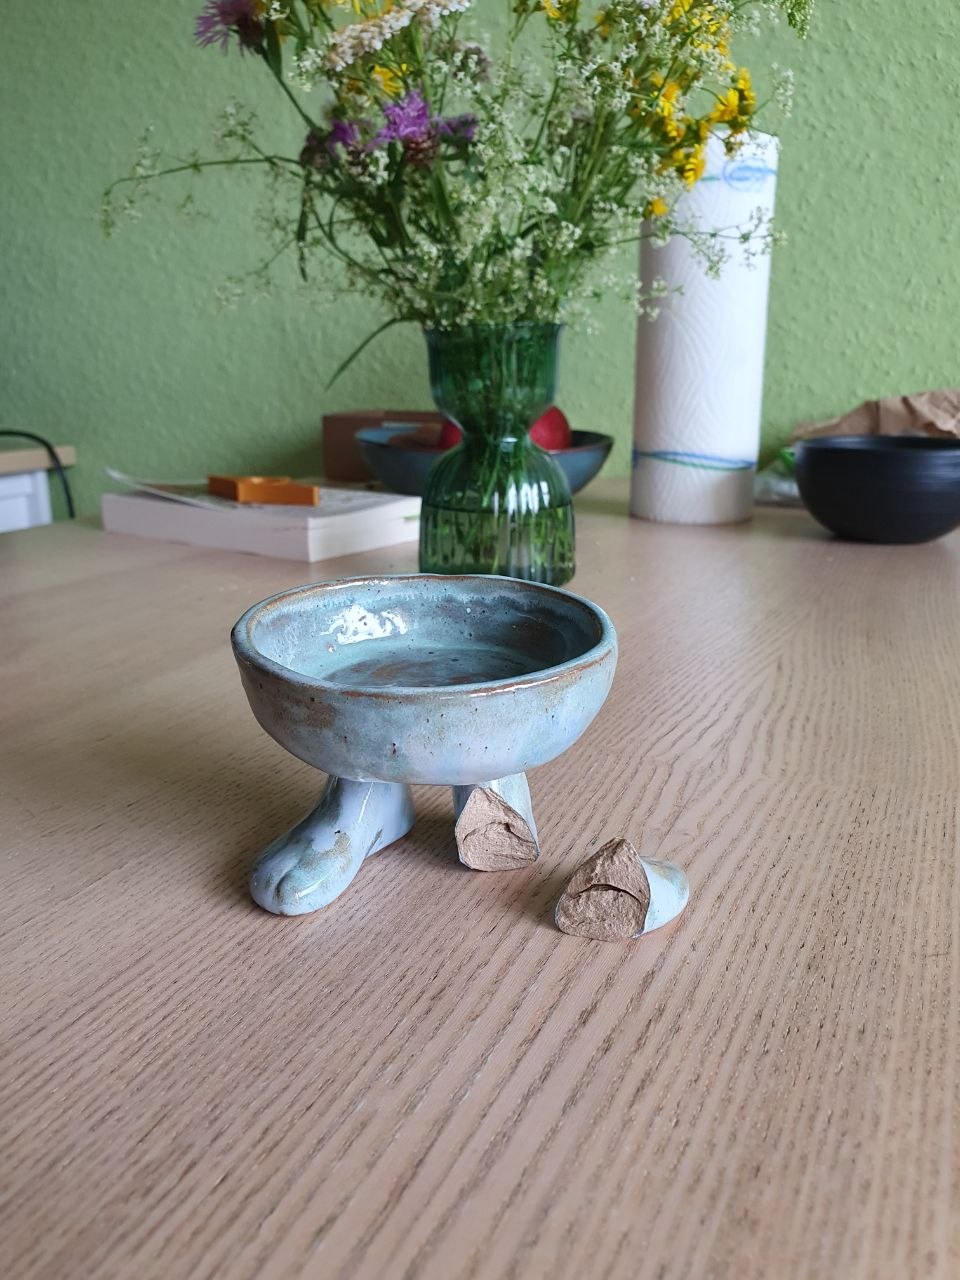
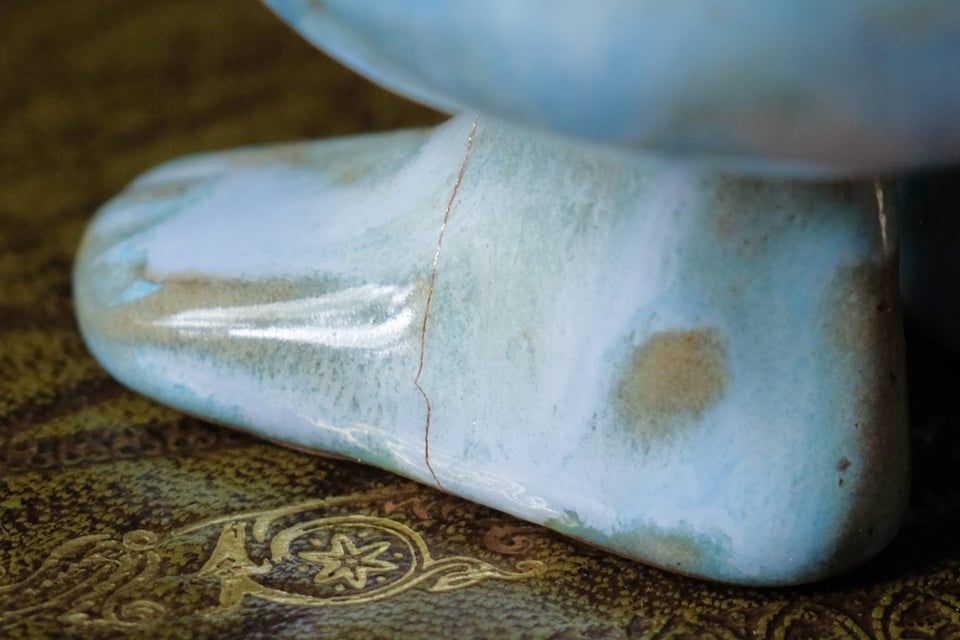
Embracing the we-have-kintsugi-at-home mindset, I replaced urushi lacquer with contact cement (no worries about food safety – his usual job is holding wet teabags, and he’s certainly not dipping his feet into anything edible) and actual powdered gold with reasonably priced gold paint. Unlike most recipe substitutions, this actually worked quite well, and though the gold isn’t very apparent, the little guy is back in on his feet.
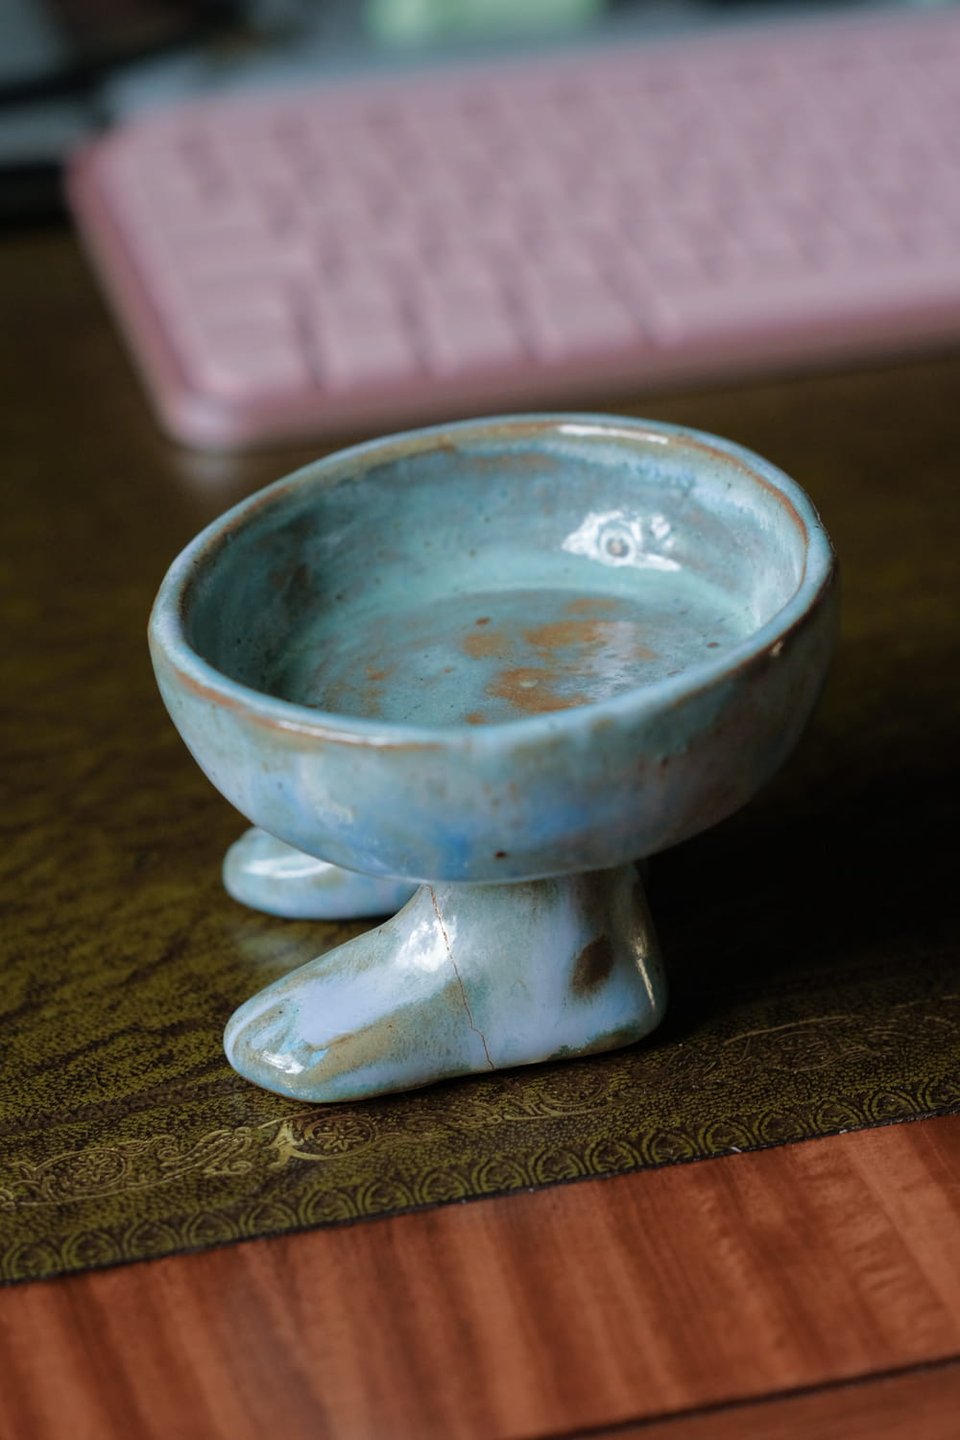
He is risen! The break was so clean it glued together almost perfectly.
And lastly, the trinket shelf has undergone some upgrades! First, I made a little maker's mark plaque for it. It felt strange to have finished something I worked on so hard, and then not sign it. Sure, I didn't make the letterpress drawer from scratch, but my hands have altered it so much that I couldn't help but feel authorship over it.
Aiming to make my first ventures into the metal workshop at uni, I cut the plaque and dremelled my mark. Ridiculously hard to control the dremel, and not like it cuts very deep anyway.
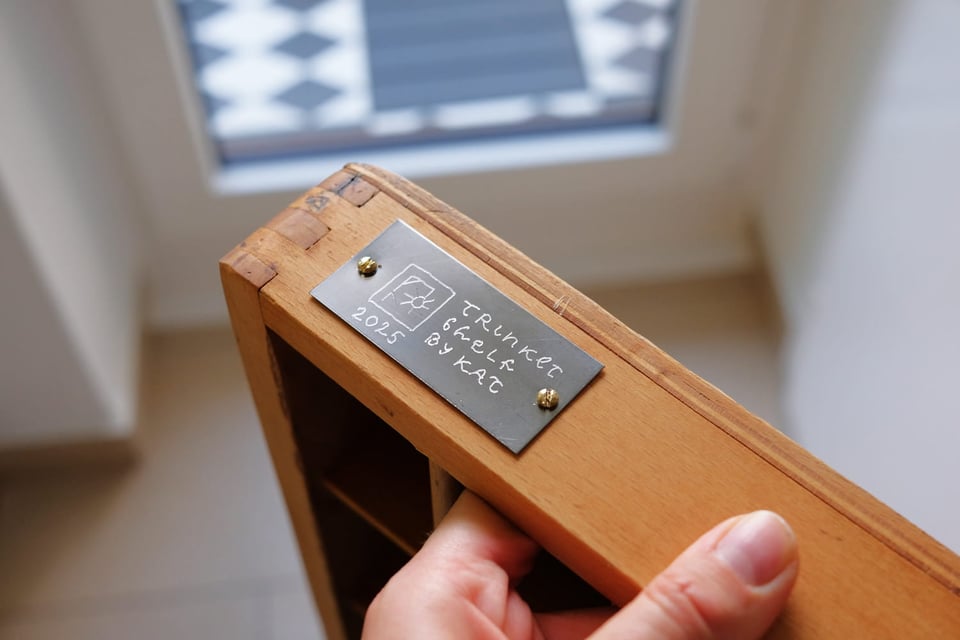
So it's more like a scratch than an engraving, and not very easy to read (or photograph!) But it's still satisfying to see it on the shelf. (My good friend Linda shrugged and said I should rub paint into it and then buff it away, so it settles where the letters are, making them readable (well, she said it in much fewer words) (“put paint on it”, I think) and I have since done that and it was very effective. Unfortunately, forgot to take pictures of that before I left for another gallivant around the world.)
But secondly, and more importantly, I attached some frame brackets to the back, and now it's finally up on a wall, just like I always wanted!
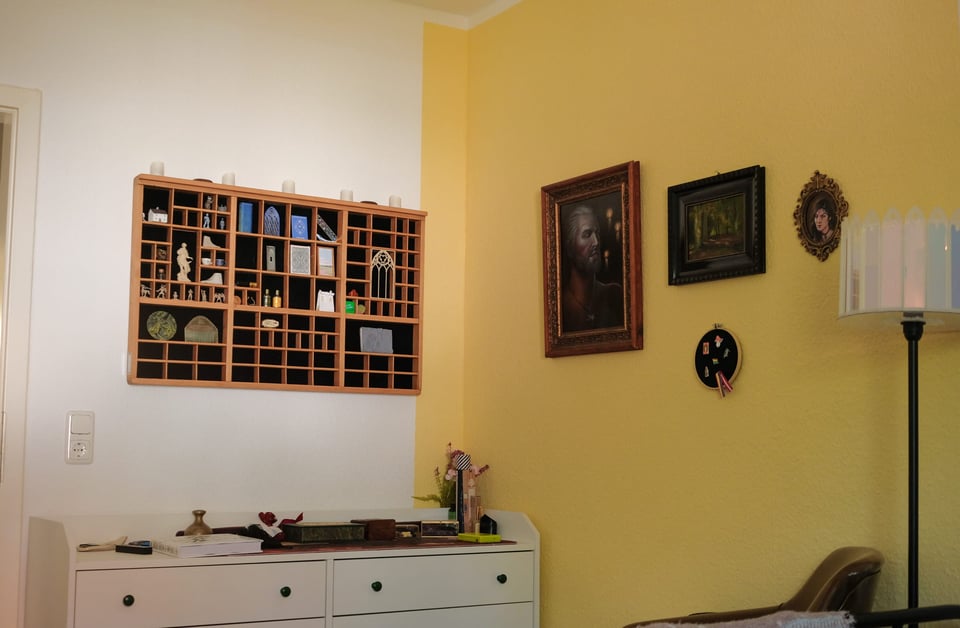
This corner of my bedroom is really starting to look like something! Of course, the rest of the wall needs to be finished (I only ran out of paint), and something's missing on the top of the commode (a nice lampshade, perhaps?), and those things will for sure result in more tiny crafts and one-day projects. But for now I am very happy!
