
Workbench Adventures Ep 3: Trinket shelf!
In which Kat bravely restores a piece of vintage furniture, not because it is easy, but because she thought it was going to be easy.
By the time you return to the Castle on the Bog, the overflow of books has been cleared away. However, the bookshelves lining the walls haven't found new inhabitants yet, and the stone walls behind them are plain to see. Before you can explore further, a bright -plink!- catches your attention and you look down. On the wooden floor, drawn in blue chalk, you find a complicated circular pattern with various glyphs surrounding it. In its middle, a small pile of junk. A miniature porcellain duck has just landed on top of it and is slowly sliding down the cornucopia of tchotchkes, coming to a halt at the edge of the circle. Next to it is a sign that reads, "Trinket summoning circle. DO NOT ENTER!!"

Humoured and intrigued, you head down to the common room. In the familiar warm light, you grab yourself a drink and a snack from the snack cabinet (graciously served by a footbowl) and settle on one of the low couches, surrounded by a plethora of tasseled pillows. You see me setting up at the far end of the room, straightening a new shelf that's just been hung. I peer intently at a toxic pink bubble level balanced on the top edge of the shelf, and, satisfied with its alignment, relocate to my favoured armchair. With a snap of my fingers, a white screen pops into existence and rolls open dramatically against the back wall. The lights go dark and the show begins.
Let's talk letterpress drawers. Their original job, as part of a letterpress cabinet, was to store metal type (or sort) (if you're a nerd for hyperspecific nomenclature, go spelunking in the typesetting side of Wikipedia. it's crazy) (like, did you know most digital font terms are directly carried over from physical typesetting? Companies that produce digital fonts are still called foundries, even though none of those hipsters would ever dream of going close to a vat of molten metal) that would then be assembled into neat rows by a typesetter and printed on paper using a printing press.
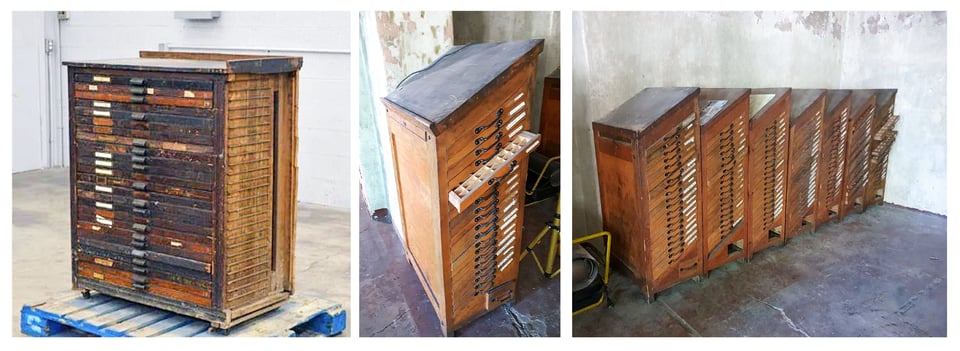
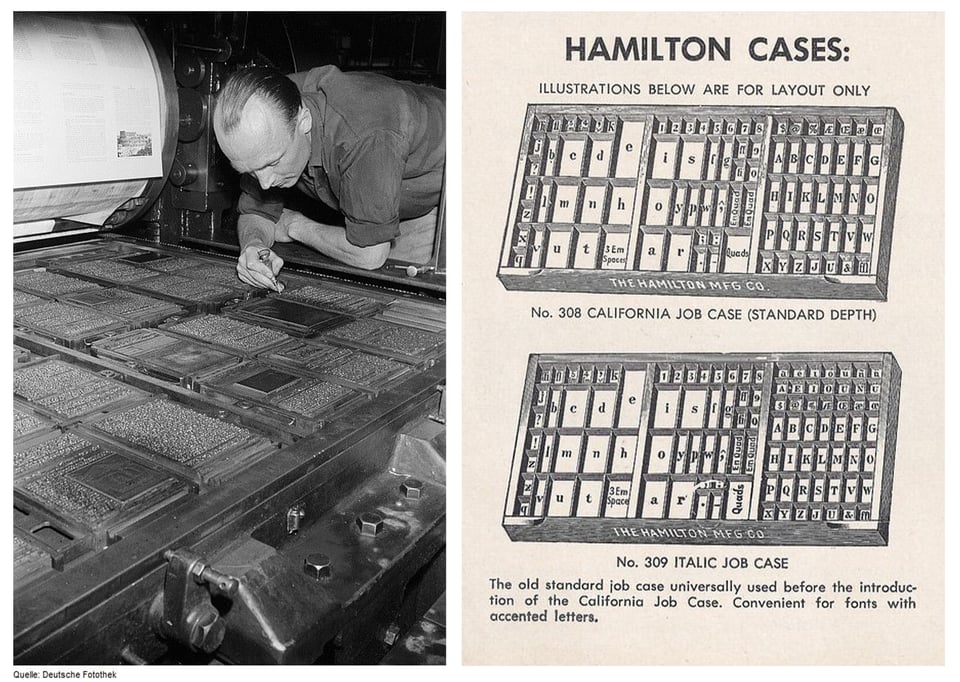
The type needed to be organised for fast assembly and disassembly, and each drawer contained one font (bold and italic variants kept separately), each little compartment in a drawer containing its own character. Most used letters would warrant a double- or even triple-sized compartment.
Physical typesetting these days is no longer an occupation, but the nichest of hobbies (practiced by mostly old people who used to work in the field, and one or two printmaking students), so the cabinets are also quite literally unemployed. However, vintage furniture restoration and the acquiring of small cheap junk to satisfy consumerist cravings on a small budget are both on the rise, and so they often end up dissected and sold on Etsy to any aspiring DIYer with big dreams and a spray can.
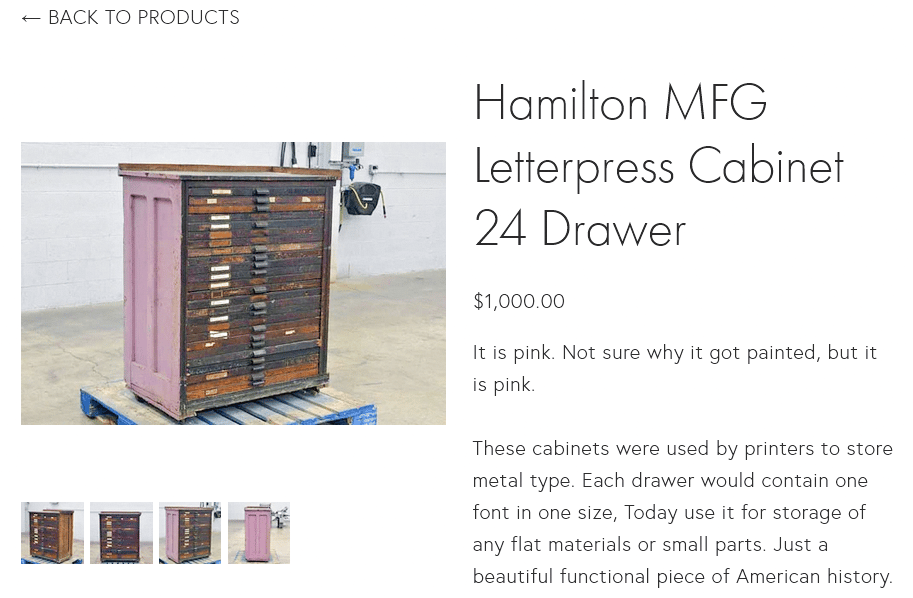
So, last summer I was prowling the city's antique shops for curiosities when I came across a letterpress drawer of formidable size. Having no experience with furniture restoration (yet!), a twinkle appeared in my eye. Perhaps now was the time to start and I had just found my first victim. After all, how much work could it be: just sand it down, oil it and it'll be good as new! Haha.
First things first, the cleanup. The compartments were backed with paper – old, stained and uncooperative, tearing off in layered flakes. It seems it was in place between the backing board and the divider lattice before they were nailed together, and as a result, pinched so tightly, I had to cut around each compartment to remove visible paper, often leaving ugly scraps that refused to budge even when coaxed with tweezers.
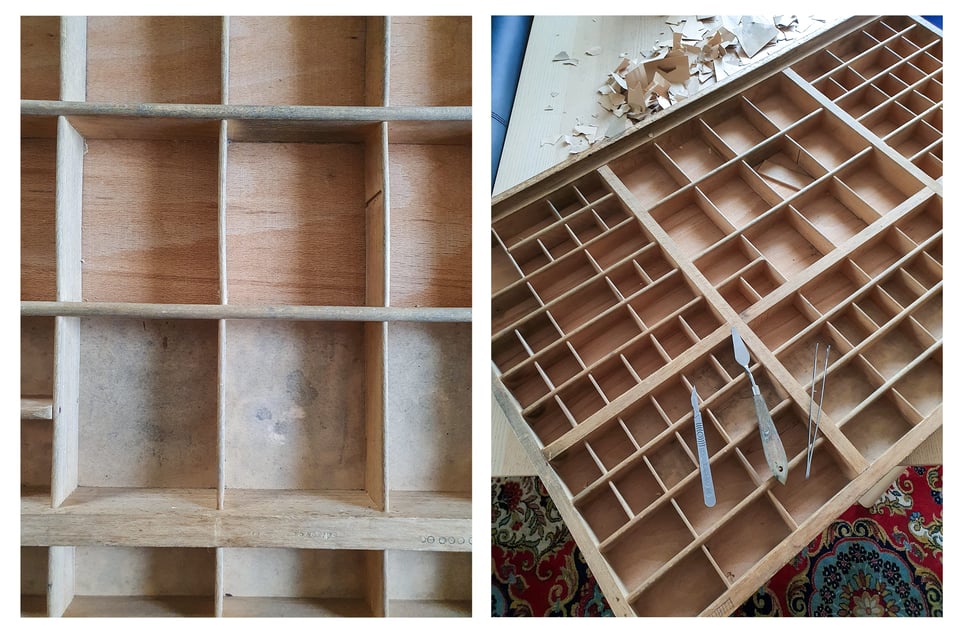
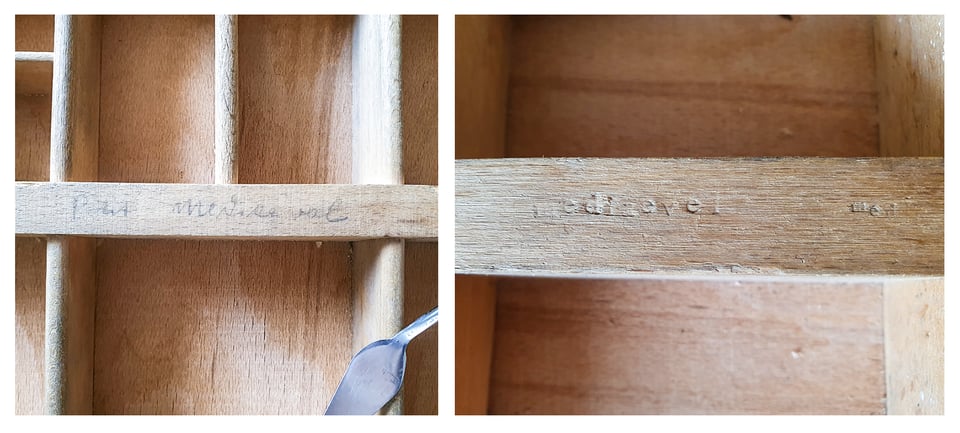
Through this annoying work, I was taking a much closer look at my ugly duckling, and discovered pencil marks and imprints, probably noting the name of the font – petit mediaeval/mediaevel. (Unfortunately these words alone were not enough to find the exact font online, but we can let our imaginations do the work.)
Once the paper was off, I took the drawer to the wood workshop at uni and started what I thought would be the most satisfying part of this project – the sanding. And what short-lived satisfaction it was. In an hour, I was done sanding what I could with power tools, and the magnitude of the work ahead became apparent. See, the little compartments were far too small for any power tool to reach inside. And boy were they grimy. In addition to the normal oily residues from years of handling by ink-stained fingers, it appeared that the drawer had already made its career change to an upright shelf before ending up in my hands. And not only that, but someone had placed candles on either side of it, presumably to add to the witchy vibe. Hmgh. I had plenty of time to think about this over the following days spent sanding away the resulting soot stains by hand!
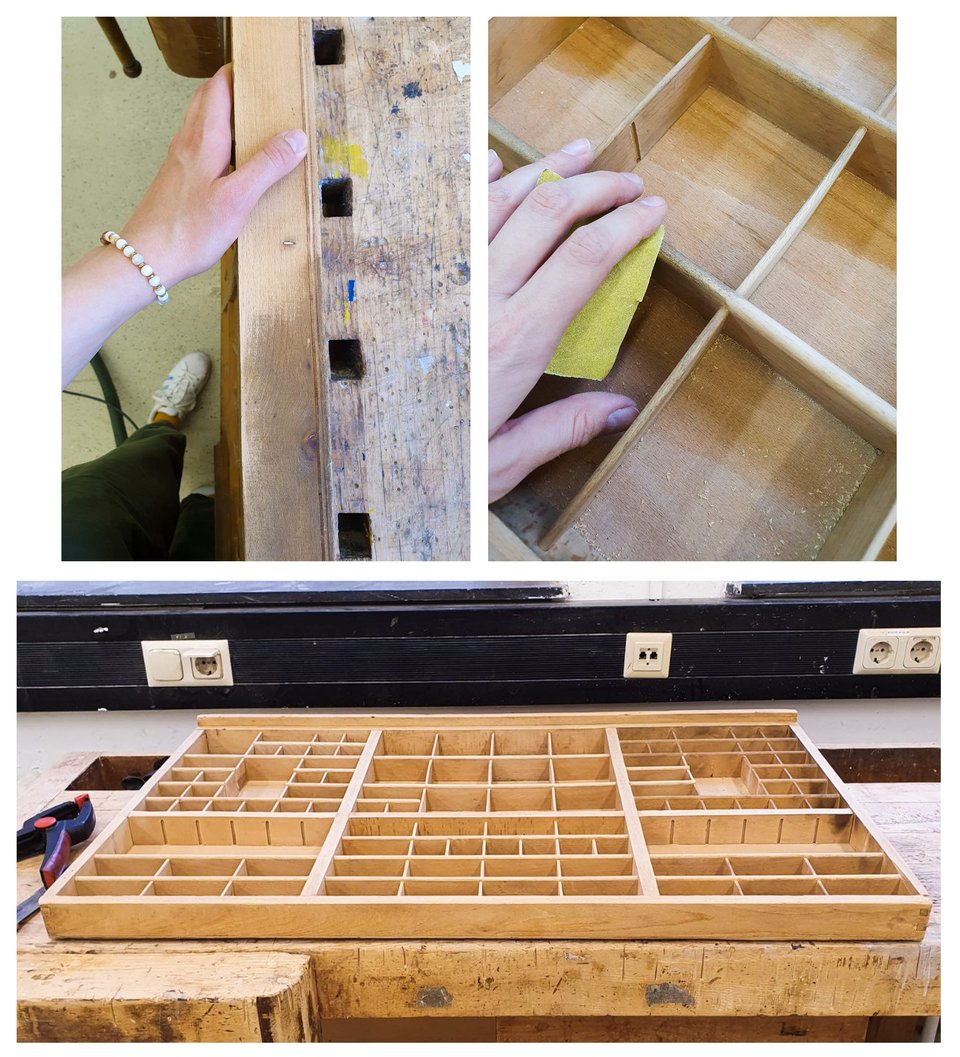
During this, I also removed some of the dividers to make space for bigger items. Compositionally, it made for better balance, with smaller compartments crowding at the top and leaving space for bigger things at the bottom.
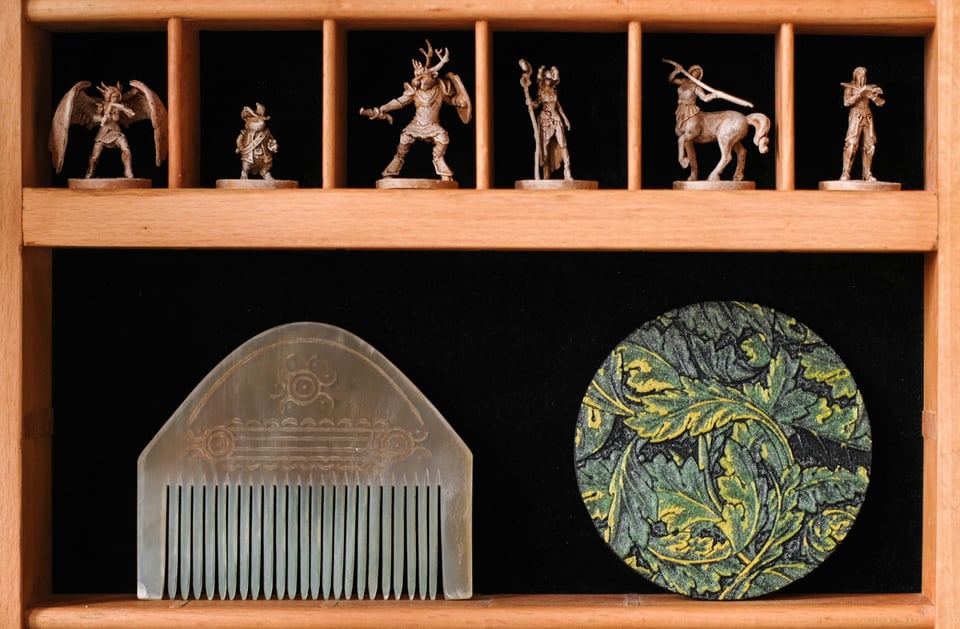
After a couple of weeks, the sanding (180 grit) and the sanding (320 grit) and the oiling (1st coat), the sanding (320 grit), the oiling (2nd coat) and the sanding (320 grit) was finally over, not only had the fingerprint sensor on my phone stopped working for some reason, but I also had a clear idea for the final product. See, I had to hide those ugly paper scraps somehow, and the grain of the backing wood, while beautiful, didn't match the rest of the construction, so I was going to cover it with dark green velvet. Erring on the safe side, I opted for separate squares of fabric, wrapped around cardboard and slotted into the compartments. How clever, I thought. If something stains them, they can easily be replaced!
And I'll only have to make ... ninety...six of them.
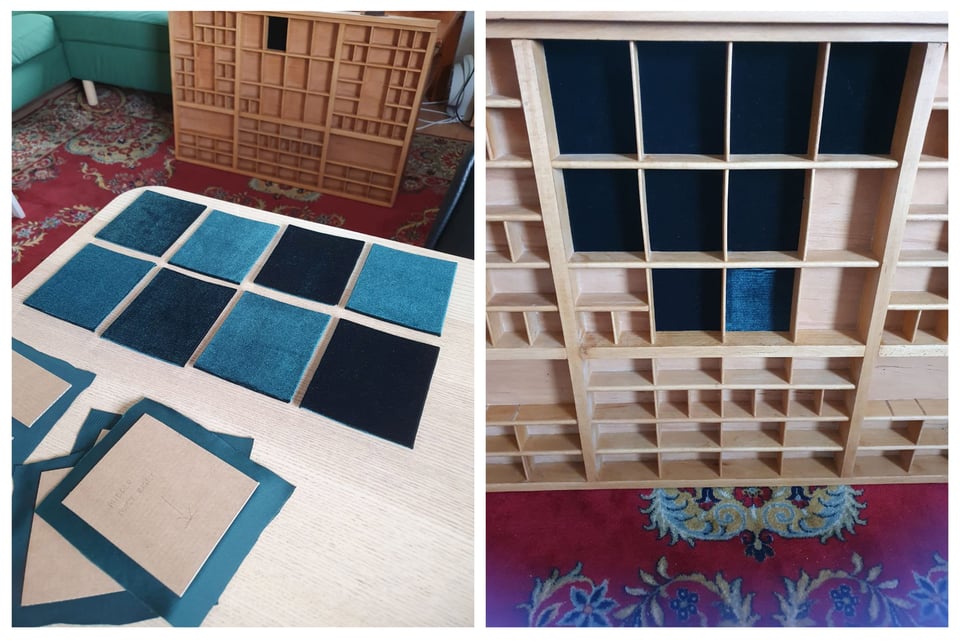
So I made a handful of them for the proof-of-concept (it was gorgeous) annnnd then I let the project sit. Summer was over and there were things to do. And, well, the thing that keeps me going at projects is the problem-solving. ¯\_(ツ)_/¯ I already know how to make the fabric squares. I already knew it looks great, so there was no problem left to solve! By all accounts, the project was finished!
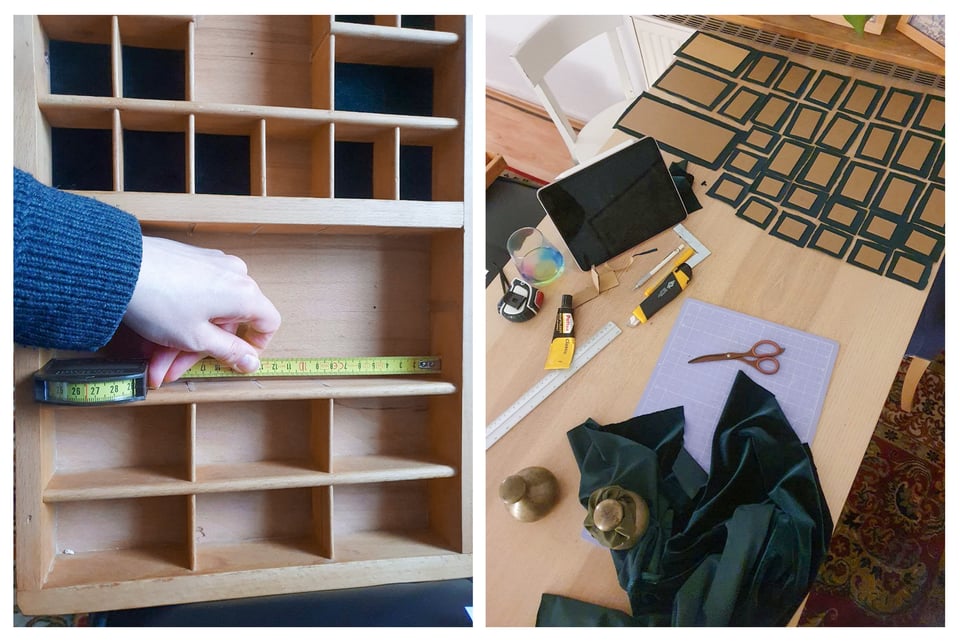
In the end, it was the New Year giving me the motivation to sit down and finish the rest of the velvet squares. That, and running out of storage space for the growing number of trinkets. It was slow and stinky work (contact cement offgasses awfully! thankfully it's a walk in the park with my respirator), but I powered through it methodically in two days. The satisfaction of finally pressing the pieces into their perfectly sized slots was worth it. And it was a perfect use case for my new panoramic measuring tape :)
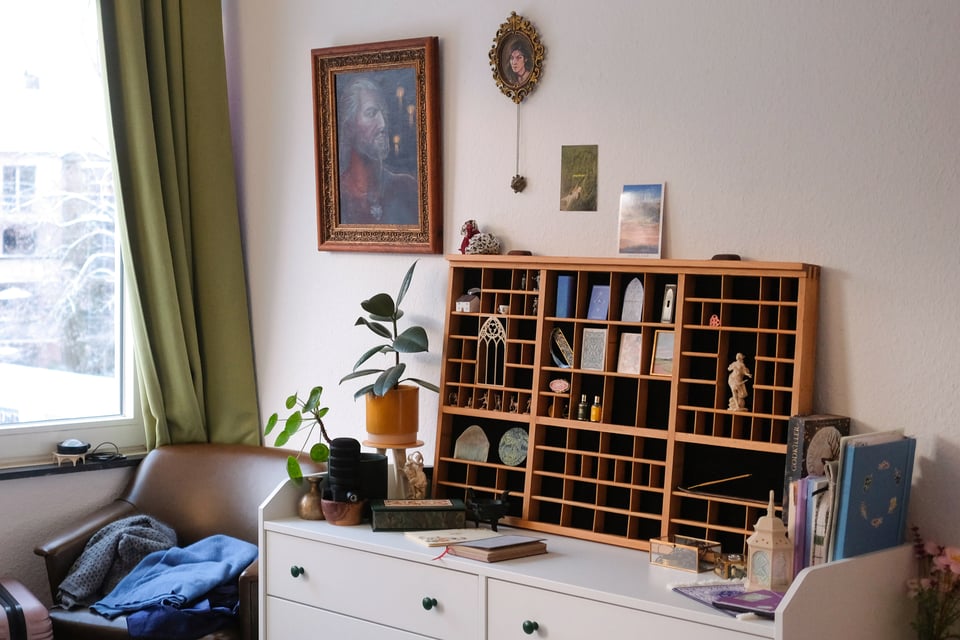
As soon as the glue was done stinking, I rearranged my room to make space for the shelf. Turns out I don't have enough trinkets to fill every nook yet, but that's good! This can eventually become a rotating museum of small artifacts to delight me and my guests.
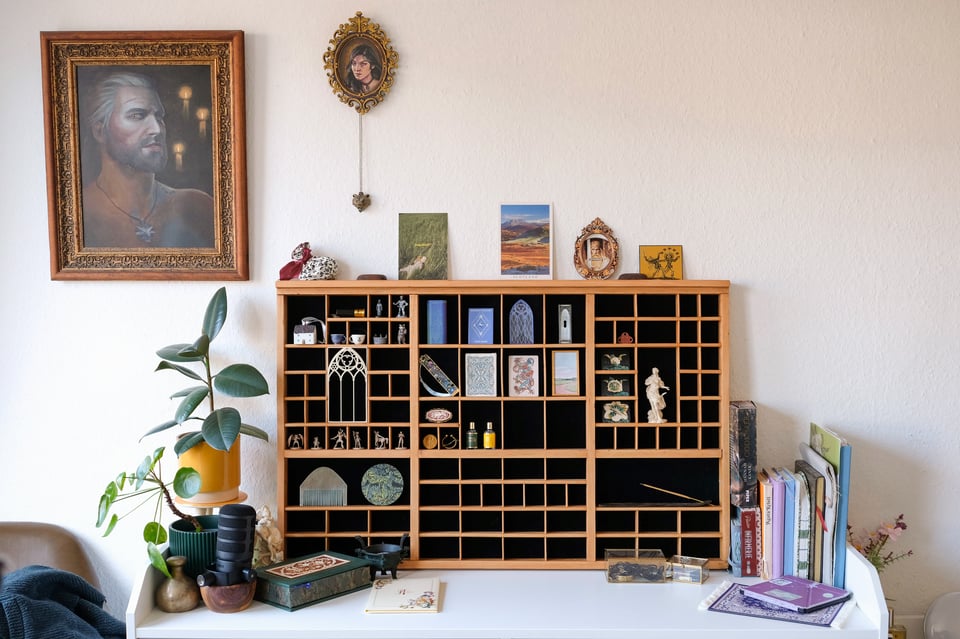
Ta-da! And now, time for some beauty shots:
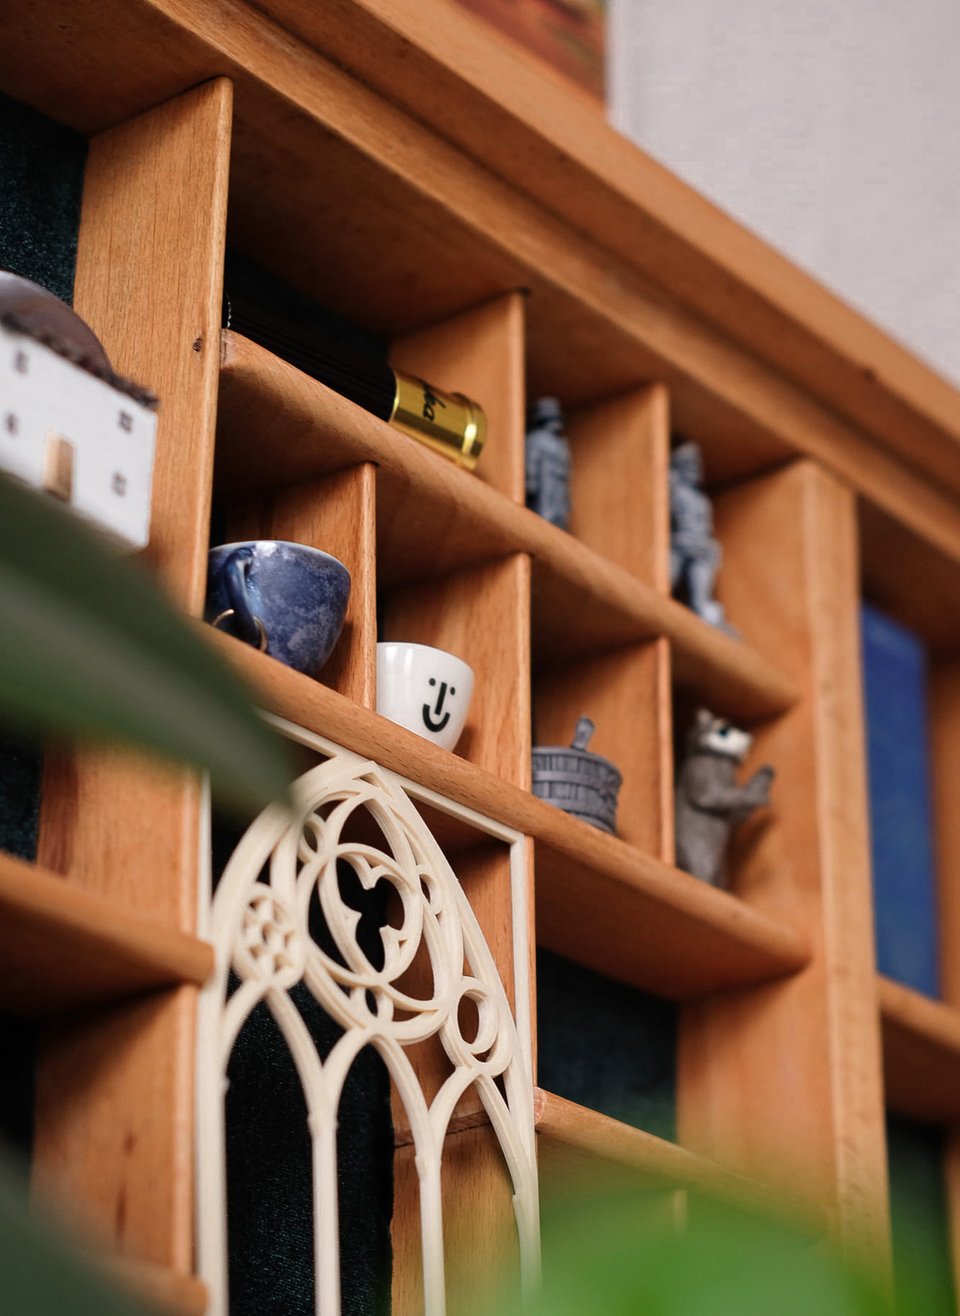
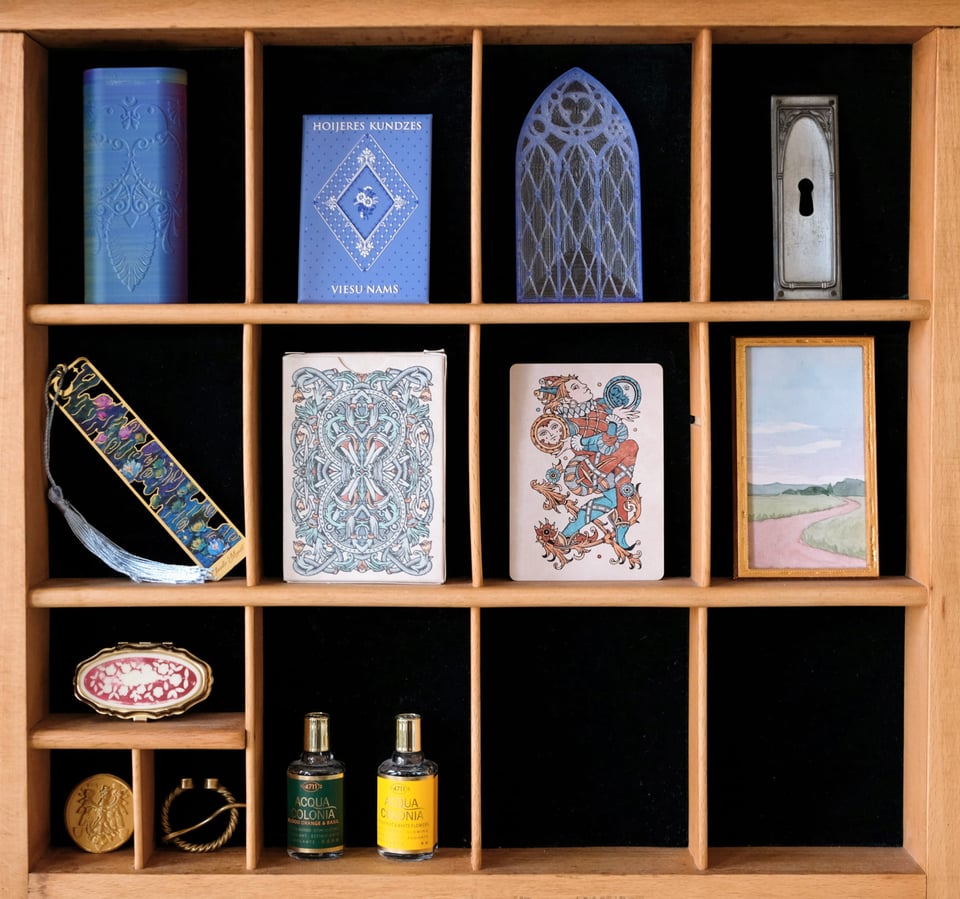
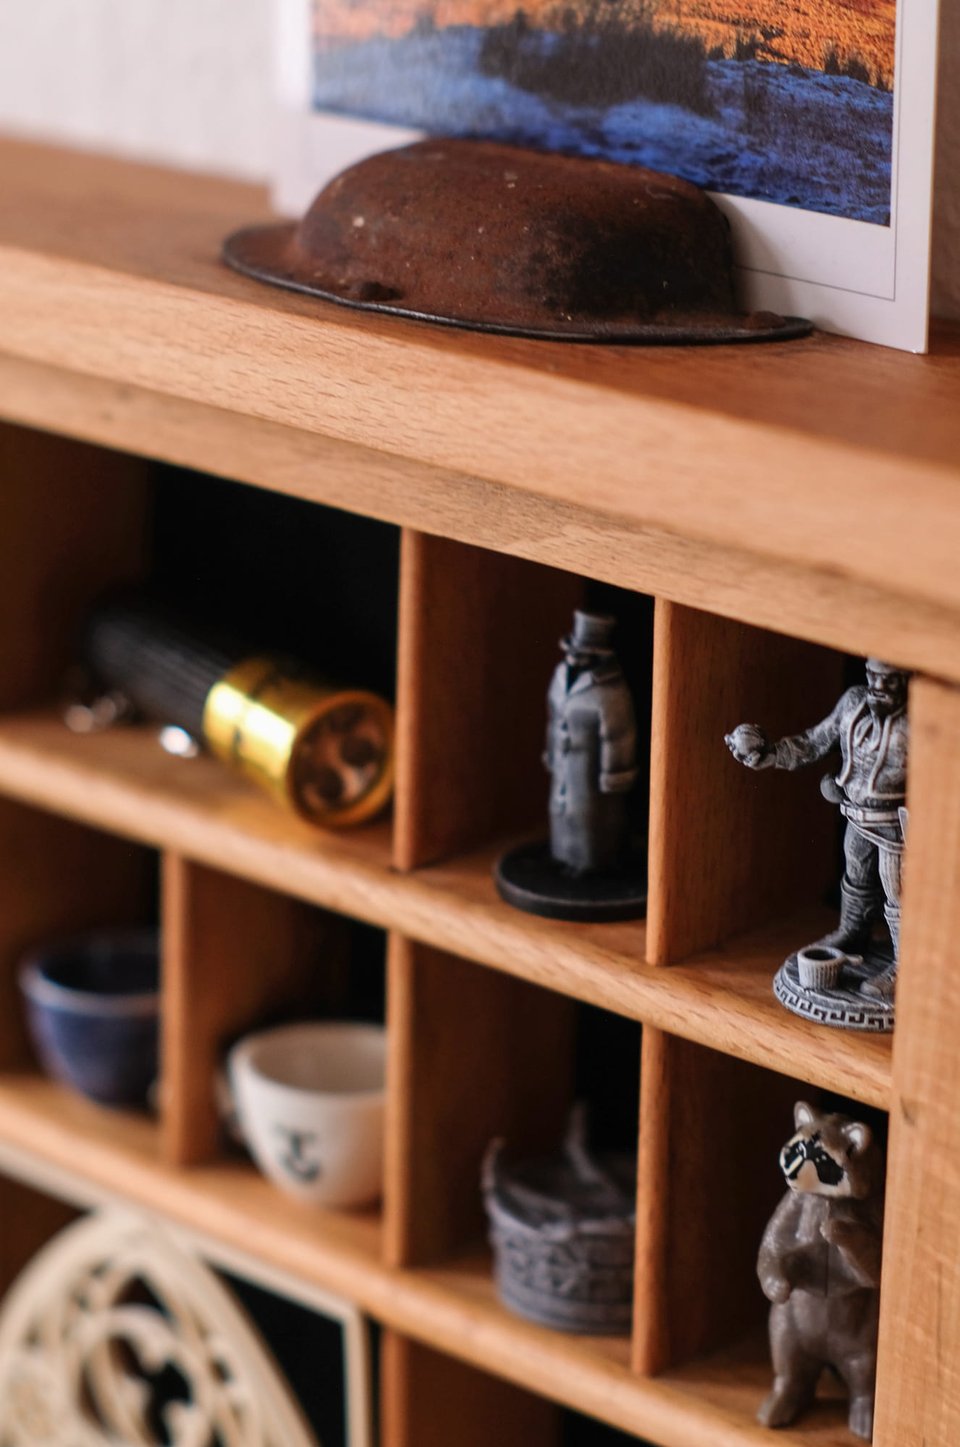
Sidenote: I was originally planning to add hooks to be able to mount it on the wall, but the weight of it really discouraged me. The harder I thought about it, the more the potential -WHAM!- of the shelf falling off the wall and spilling its guts all over the place in the middle of the night began to scare me. Once I live in a place with solid walls, I’ll consider it again, but for now it's sitting comfortably on my dresser. Do you think I should maybe put candles on either side, to add to the witchy vibe?
As the lights come back on, you hear increasing tapping noises coming from the stairs behind you. A row of footed bowls skip down the steps, each carrying a trinket or two. They jingle and jangle with every leap, manoeuvering between chair legs, pillows and slippers, to queue up at the trinket shelf. You see me walk over and take each trinket up, placing them carefully in the shelf. The empty bowls run back up to the study. With their tiny feet, looks like this process might take a while.
