
Workbench adventures Ep 1: The Cathedral of Illumination!
In which Kat builds a lampshade, discovers that gears are complicated, and learns a lot about 3D printing against her will.
You spew through the stationary portal in a burst of sparks and find yourself in the study at the top of the tower, back at the Castle on the Bog. Only there is nobody at the desk this time. Nobody pacing along the bookshelves, not even staring wistfully out from the gothic windows. Tumblr posts lay neatly sorted in two pigeonholes labeled IN and OUT. You get the sense you might be late..?
The muffled sound of people chatting grows louder as you head downstairs to the common room. Over a dozen people have gathered here, cozied up on the couch, sitting on the tasseled floor pillows, convivially prepping warm drinks and snacks over in the corner.
You notice me balancing on an ottoman at the far end of the room, hanging up a white screen. With that done, I jump down thriumphantly, the wide sleeves of my house robe flaring out, and I go ^^ as soon as I see you. "Ah, , glad to see you've arrived! Please, make yourself comfortable, we'll start soon."
As soon as everyone has settled into silence, the room dims and a spotlight illuminates my silhouette. An image is projected onto the screen.
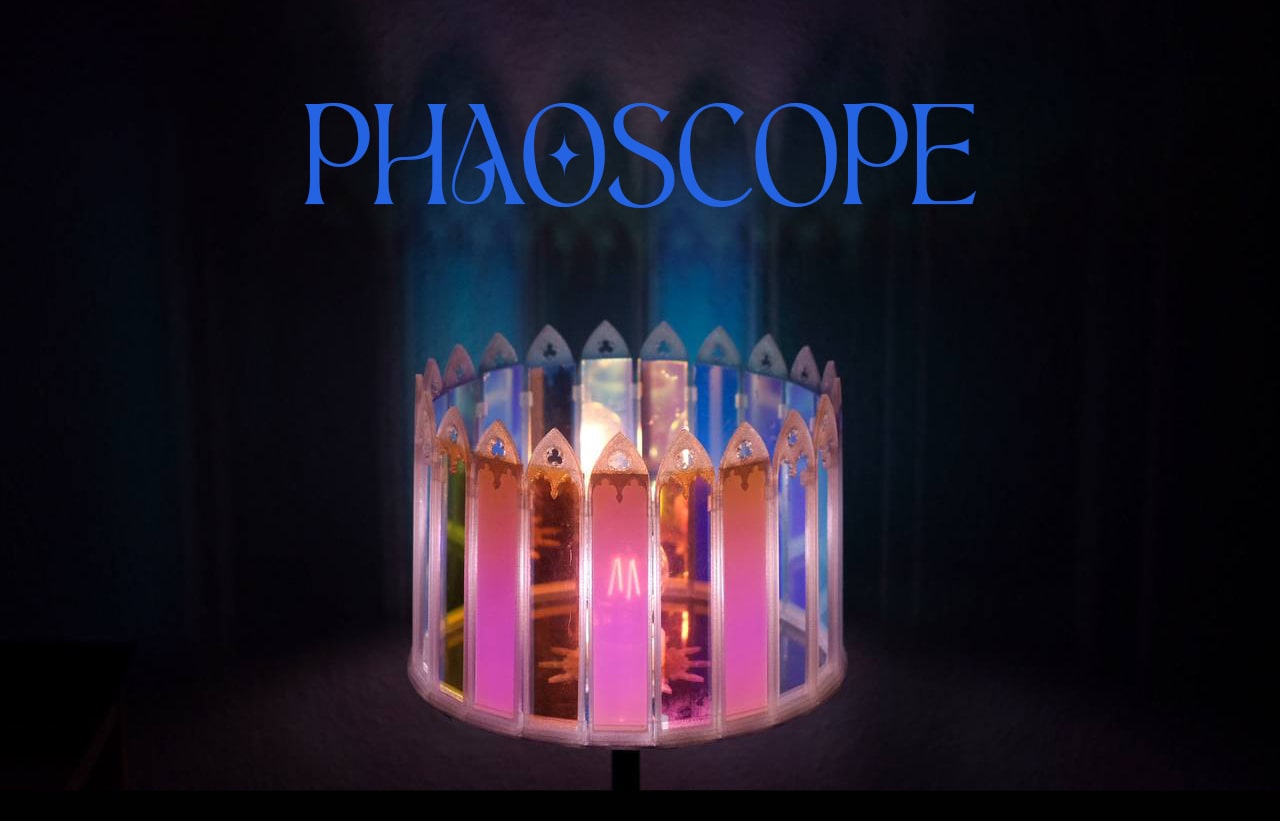
This project is, in a way, a continuation of a project I did last summer, when I built a large floating installation for the Ezera Skaņas festival. I wanted to continue exploring the materials - clear plexiglass and dichromatic film - and thereby also use up the leftovers. I've also wanted to work with lighting for a long time.
My product design professor finds lamps boring, because "you know, anything can be a lamp if you stick a bulb in it." And, well, yeah, okay. However, I could not be stopped on my quest for something dazzling.
At first I wanted to the lamp to be interactive; after all, what's the use of a colour-changing material, if there's no movement to trigger the change? So I pursued the idea of a lampshade consisting of many “shutters”, which could be rotated in unison, like Venetian blinds. I brainstormed possible mechanisms, such as strings along rails, a pulley system. However, these all are powered by gravity, which isn’t available when the shutters have to rotate horizontally. The answer? Gears! So I descended into a rabbithole on gear systems, the calculations, how can I generate them to fit my desired size of lampshade.
Well. Let me tell you - gears are damn complicated. Feeling like a tiny kitten about to be crushed under a comically giant gear, I nonetheless drew up some sketches and 3D printed a miniature planetary gear system (small gear "planets" rotating around a big gear "sun") to try to wrap my head around it. Right off the bat there were problems: everything was wobbly and with each additional “planet” gear, the friction on the whole mechanism increased, making it harder to turn and sometimes causing it to jam completely.

What can I say, this really ground my gears. In fact so much so, that we're gonna take a tangent right here and now.
You might not know this, but I love me a good gothic window. And this aesthetic preference really snuck up on me. In fact, I only realised this when I looked up from the flimsy gears on my desk, staring thoughtfully at my wall-mounted pegboard and noticed four gothic arches within arm’s reach - a postcard of Caspar David Friedrich's "The Dreamer", a 3D print designed by my good friend Linda, a "Quest Control" screenprint by the same, and a vintage keyhole. Plus the cathedral window sticker on my design notebook.
So. You can probably guess what happened next.

I got to modelling me some windows! Instead of the "shutters" of the lampshade spinning, I was going to spin the whole lampshade. The window frames, with those lovely gothic arches, would hold interchangeable dichromatic window panes. I also had some translucent 3D filament that came with the old 3D printer, and since those prints diffused the light flowing through them, I could pass it off as a design decision and not a "let's get rid of this old filament" decision.
The projects I keep using TinkerCAD for are growing ever more serious. It’s such a simple, yet versatile 3D modelling website, I can recommend it if you’d like to get into modelling in one afternoon. To me, however, it’s like trying to quit my Play-Doh addiction on my way to becoming a professional ceramicist. I know I should use a CAD software for grown-ups like Fusion360, and I do use it when I really need the precision, but frankly Fusion360 is an old frail man who keeps falling down stairs, and TinkerCAD is young and full of energy and gets the job done… Of course, both are made by Autodesk, which is the Adobe of the engineering world, so I really should be using some third thing, and, wait, don’t we have a lamp to build?
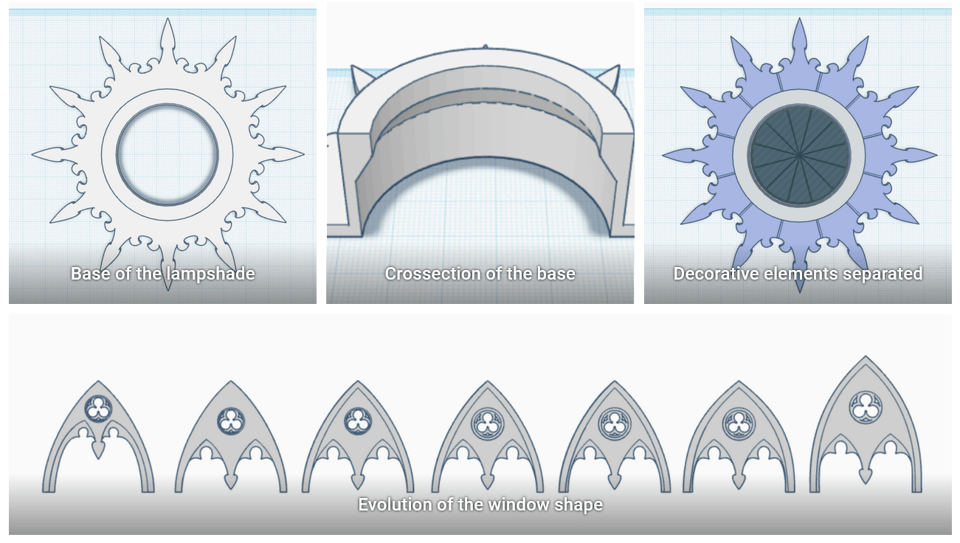
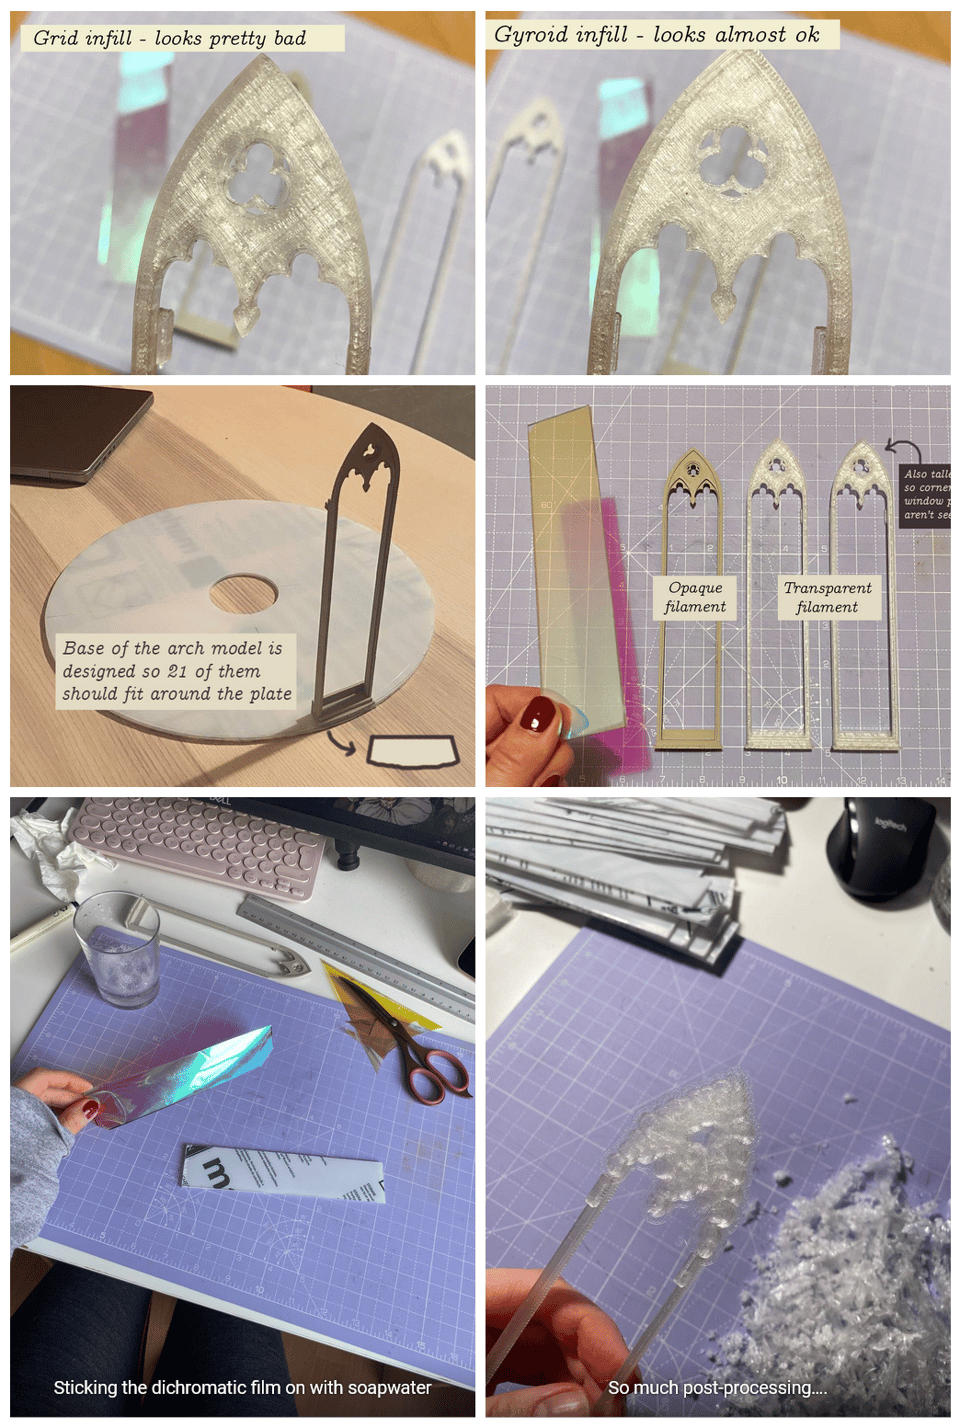
This was the first real project for which I used the 3D printer that was handed down to me. At that point I didn't know much beyond "maschine spits plastic into shapes", and truth be told, I was not an eager learner. Just thinking about the amount of 3D-printed slop out there was enough to make me gag. That's why the gears I printed were so tiny - a half-hearted attempt at minimising waste.
Still, it seemed like there was no other way to achieve my design, so I learned quite a lot about the techniques involved in birthing a 3D model into the physical world. Here I must thank my friend Arda, whose wide-ranging proficiencies include both 3D Printing and Explaining Things, both with great enthusiasm, so the experimentation with gears, infills, as well as the production of the final pieces was not the slog it could've been.
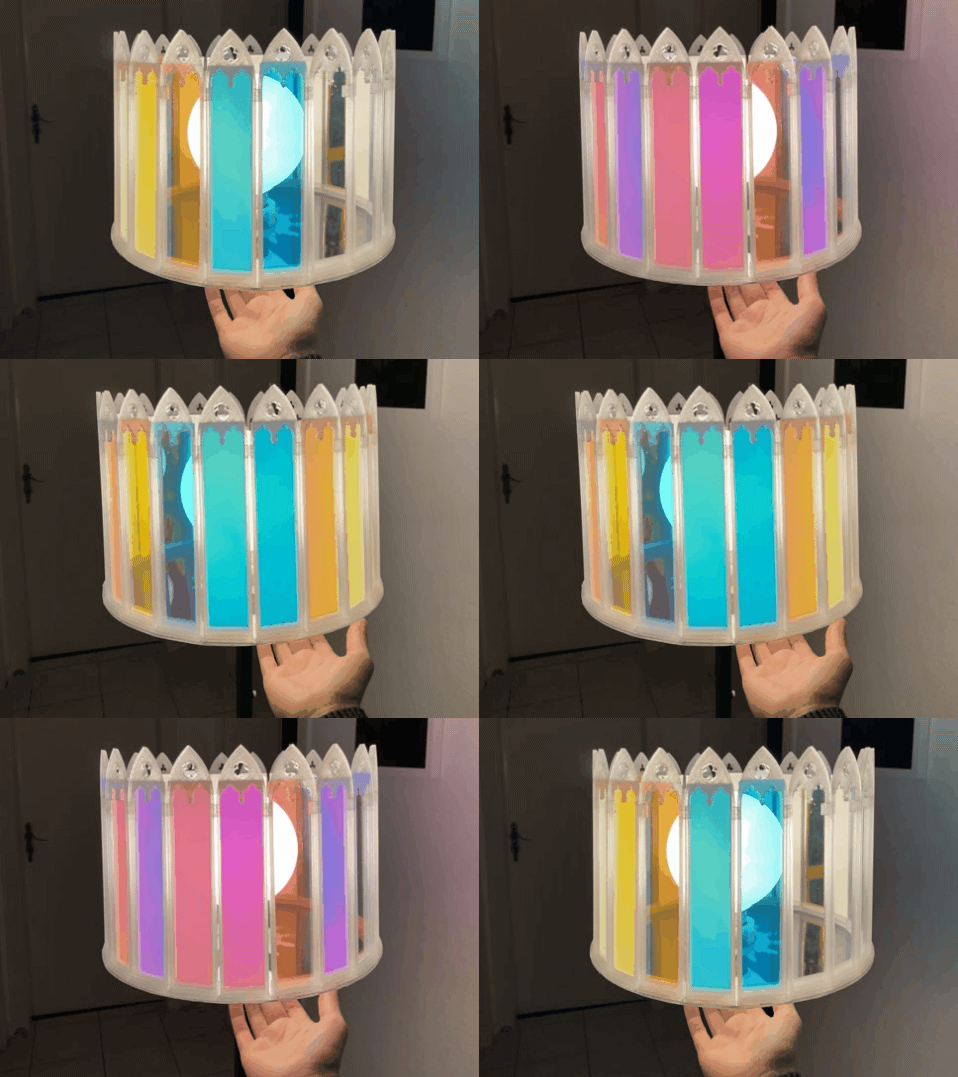
Seeing the lampshade come together was a magical process. It always is, when you’re making something entirely new. It’s impossible to truly know what the final thing is going to look like, since you’ve never seen it before. You can just hope for a strong intuition that it will look cool as heck, and follow that. The moment the first colourful window pane slid into place and I turned on the lighbulb for the first time, I was convinced. It did look cool as heck.

Since this was for a design school project, it felt appropriate to give the lamp a name. Something pretentious and design-y, you know? It came to be known as the “Phaoscope”, combining the Greek words for “to shine” and “to examine”. And where is the lamp today, you wonder? Why, in my own living room. I might submit it to some design competition in the future, but for now it’s just here to delight me and all who come by.
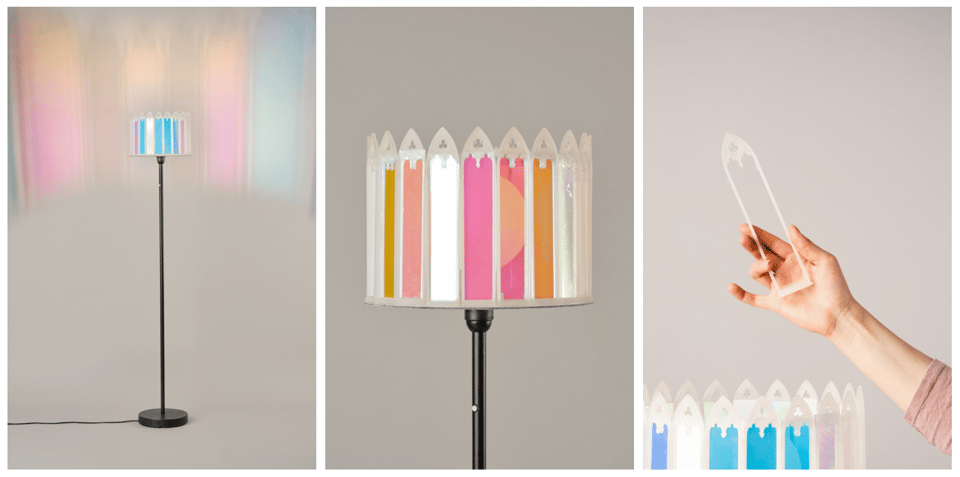
The spotlight dims and the lanterns regain their previous luminance, and those gathered begin to stir and stretch. You notice a floor lamp beside the refreshments cabinet, its arched windows lit up and spinning slowly. Was it there the whole time?
