no_children.mp3
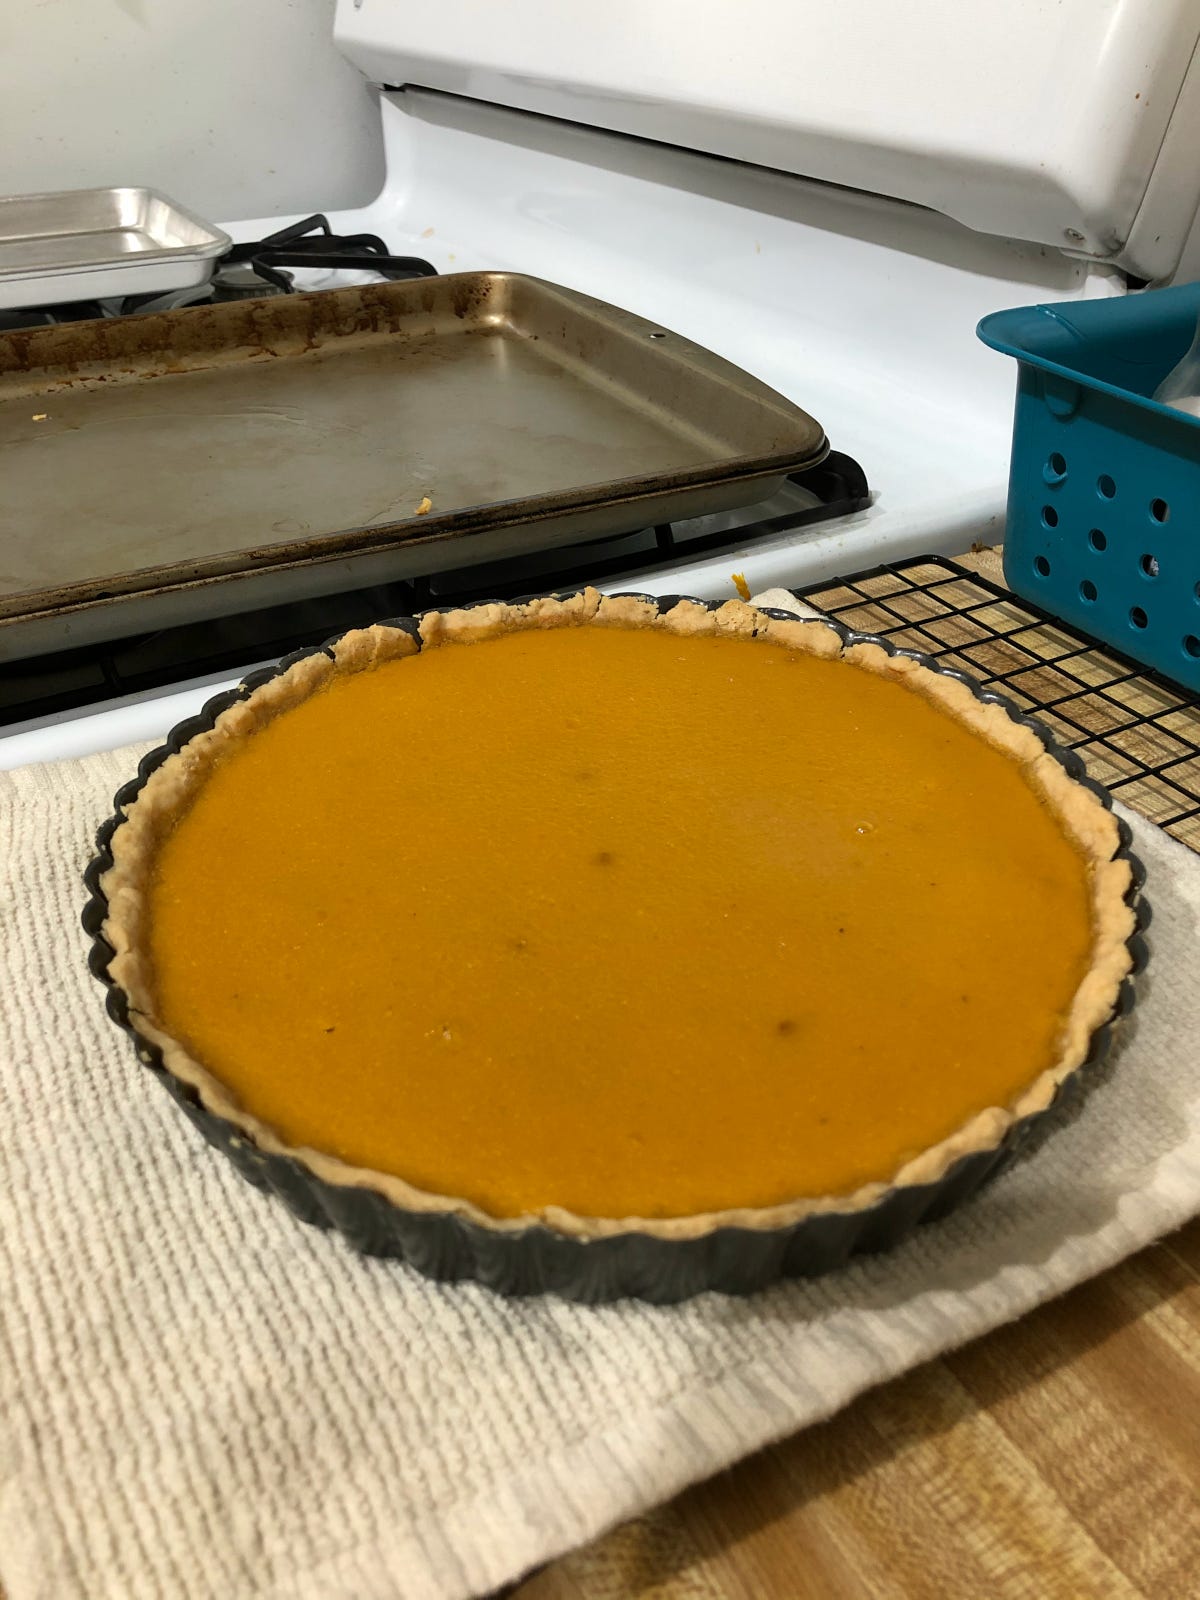
The Best Pumpkin Pie I’ve Ever Had
So first of all, cards on the table: I hate pumpkin pie. Most of it sucks. It tastes like chewed-up paper towels in a pastry shell and it relies on dairy for all of its flavor. I find this fundamentally uncreative.
However: I don’t hate this pumpkin pie! And I don’t have a long lead-in essay that you’ll have to scroll past to get to the recipe, because I don’t have to grovel at the feet of SEO for a meagre chance to boost this page up the Google rankings, because all of you inexplicably signed up for this. Don’t worry, my semi-hysterical stylings about waiting for an abuser to die will come after the recipe. Just kidding! I already wrote that essay, too! Back in my good old legible writing phase. And no, that one didn’t die — but you know what they say! Hope springs eternal, har har!
Here’s the pie. If you already know how to make a crust, skip to the pumpkin section. You can’t miss it.
Crust
(from Melissa Clark’s Brandied Pumpkin Pie recipe)
1¼ cups all-purpose flour
¼ tsp fine sea salt
10 tbsps unsalted butter, cut into cubes and chilled
2–4 tbsps ice water
Make sure you start the prep for this about half an hour before you’re ready to bring the crust together: cube the butter and put it in the freezer; fill a little ramekin with water and put it in the freezer. This way you don’t have to worry about somehow bringing your ingredients back down to ice-cold in the two minutes it takes to measure out the flour and salt.
Once you’re ready:
In the bowl of a food processor, pulse together the flour and salt.
Add the butter and pulse until you have chickpea-sized pieces. (This is not a joke!! Your crust will be better if you take this literally!! Do not turn your meticulously chilled butter into wet sand!!!! Please!!!!)
Once you have CHICKPEA-SIZED PIECES, go find one for comparison if you need to, please, stream 1 tbsp of ice water at a time through the chute while pulsing the mixture. I usually err on the side of slight dampness, if we’re being honest, but that’s because I work with non-dairy butter (more on that later). I’ve found it takes anywhere from 3 to 6 tbsps of water to bring the dough together — if you don’t make a lot of pastry, you can tell when that’s happened because the mixture will start to behave noticeably differently in the bowl. It takes on a more granular texture; it starts clumping up in new and exciting ways. Don’t we all.
Stop pulsing before you overwork it, pull out your box of plastic wrap for easy access, and lightly flour your work surface. Turn out your weird lumpy flour Play-Doh mixture onto said work surface and mold it into a vague ball shape. Your aim here is not to make it perfectly smooth and homogeneous but to make sure all the bits of it stick together well enough for you to flatten it into the world’s most effort-intensive hockey puck (think still thick but no longer spherical), wrap it tightly in plastic wrap — I do a double layer — and stick that nightmare projectile in the fridge, where it should remain for at least an hour before you get to the next part. According to Melissa Clark, it can actually hang out in the fridge for up to two days, so really the smart thing to do here would be to make your dough the day before you embark on the truly Quixotic quest to make your own pumpkin purée. I am rarely smart, and it usually works out, so you don’t have to do this. But you probably should, since the whole point of learning about history is so that you don’t ha ha ha ha! Ha ha.
Once an hour or one day or two days has passed:
Pull your dough puck out of the fridge and put it aside for a moment while you prepare your work surface. If you like to live dangerously, you can probably just lightly flour your counter, as Clark suggests. I think this is a terrible idea! Life is much better when you put down a sheet of parchment paper first and then flour that. I cannot tell you how many pie crusts I have destroyed by gluing them permanently to my counter through some weird alchemy of flour and wood veneer. No more! Also, find your 9-inch pie plate. You can use a tart pan as well if you prefer a shallower filling and easier removal — as long as it’s 9 inches.
Unwrap your dough puck and flour that as well. Honestly, just take a handful of flour and smear it over the surface until your hand no longer sticks. Flip it over and do the same thing. This is not a professional kitchen. We do not have room for finesse.
Then take your rolling pin and hit that dough puck until it stops looking like it might crumble any second!!! Yes!!! This is the part of baking that people do to relieve stress!!! Which is great because the next part of this will undo all of that. Until then, the reason you do this is because it softens the butter that you’ve carefully incorporated into the dough without warming it — so it becomes much easier to roll out without becoming sticky.
Roll your dough out into a 12-inch circle. It’s okay to go slow at this point, and no, your circle will not actually look like one. All you’re really trying to do here is avoid tears or cracks and produce a piece of dough that will fill a 9-inch pie plate. Or tart pan.
Transfer your dough to the pie plate tart pan situation. You can do this the exciting way (flip the entire sheet of parchment paper onto the pan, flinging little dough bits and flour all over your kitchen) or the fancy way (roll the dough onto your rolling pin and unroll it onto the pan) or, now that I think about it, you can probably roll the parchment paper onto your rolling pin and then unroll all of that onto the pan, paper side up, and then peel the paper off like a Band-Aid backing? Probably try that one, if we’re being honest. I’m sure you can guess what I did.
Patch up any holes, fold over or trim the edges, do a little decorative crimp if that’s your thing. What you want to keep in mind at this point is that the dough will shrink as it bakes — so err on the side of higher, thicker walls, and know that while you might do a great job patching up any tears, the likelihood is that they’ll open up again like cracks in the mud of Death Valley when you blind-bake the crust. That’s okay! There’s a fix for that. We’ll get to it later.
Prick the crust all over with a fork, lightly, and then stick it in the fridge for 30 minutes. (If you’re using a tart pan with a removable bottom, you probably want to rest it on a sheet tray for this. Just in case. Please trust me on this.)
Preheat your oven to 375 degrees F and find your pie weights! You can use the ceramic kind that are made specifically for this purpose, or you can use dried beans or rice, or you can use sugar (Stella Parks!!!) and get toasted sugar for your troubles. Regardless: Pull your pie crust out of the fridge, line it with aluminum foil (thoroughly; nudge it into the corners), and fill that with the weights.
Bake for 20 minutes, then gather the foil by its corners into a little sack so that you can remove it and whatever you used as pastry weights in one piece. Give the crust another 5–7 minutes in the oven until golden brown, then cool it on a rack until you need it.
THE GREAT PUMPKIN
One pie pumpkin (call it 8 inches in diameter? I don’t know how much it weighed. I did not think this recipe was going to work out.)
If you already know how to make your own pumpkin puree, good for you. Skip to the next section. If you don’t, now is the time to invest in maybe… a hatchet? A chainsaw? Seriously — my cleaver did its best but there were real moments when I thought the pumpkin was going to win.
Preheat your oven to 375 degrees F and find a sheet tray. Yes, you can do this simultaneously with your blind bake! Just transpose this entire section between steps 8 and 9 of the crust section, which is to say: Pop your pie crust in the fridge, turn your oven on, and then proceed to—
Break down the pumpkin. Here’s my approach: Cut it in half from the bottom up, then rip the stem in half with your bare hands and the fury you’ve accumulated from realizing just how fucking hard it is to cut a pumpkin in half, plus the repressed memories that you’ve activated by inhaling the smell of childhood Halloween. Easy!
Scoop out the insides. I recommend wearing gloves for this, just because it’s easier than scrubbing all the skin off your hands. You can save the seeds if you want? I guarantee that by the time you’re done with this step, though, you’ll never want to look at the inside of a pumpkin again. Just a word of warning!! I used a big soup spoon for this, but next time I’m honestly going to maybe use a grapefruit spoon, or perhaps I will bend one of my knives into a perfect pumpkin-scooping tool that will double as a way to stab someone around a corner. Who can say. This will test your thumb strength if you, like me, brace your thumb against the inside of the spoon’s bowl for leverage. My thumbs are weak, which is not what you’d expect from someone who spends as much time on their phone as I do. This section is low on exclamation points because it was a very dark hour in my life.
Cut the pumpkin into wedges, like you would a watermelon. Pumpkin rind, unlike watermelon rind, is hard as shit. Please don’t cut off your fingers. Again: a dark hour.
You’re done cutting up the pumpkin!!! Yes!!!!!!!!! Put it on a sheet tray — skin side up or down, doesn’t matter — and fling that fucker into the oven!! (I felt a very real sense of elation at this point.)
If you’re doing this step separately from your blind bake, set a timer for 40 minutes and go do something calming. Then come back after 40 minutes and test the pumpkin. You’re looking for it to be fork-tender. Usually this happens right around the time that the first slightly burned patches start to bloom, and it can take up to 50 minutes in my experience. Being true to time is much less important than doneness.
If you’re blind-baking simultaneously, put your pumpkin and your pie crust into the oven at the same time and set a timer for 20 minutes so that you can come back and pull out the pie weights right on schedule. Then set another timer for 5 minutes, come back, pull out your pie crust, and set one last timer for 15 minutes, after which blah blah fork tender check your pumpkin moving along.
Give your pumpkin five minutes to cool and then snap on a pair of gloves and peel that skin off!! I used a paring knife to peel the wedges as you would an apple, and then I threw them directly into the Vitamix with three tablespoons of water and blended them into a beautiful speck of paste that made me question all my life choices. Next time I do this, I’m going to buy a few pumpkins and make enough paste to freeze so that it all feels worth it. That said, I recommend starting with one! Maybe you will never want to do this again. That seems worth learning before you start investing in pumpkin futures. Anyway, you can also do this in a food processor. All that matters is that you get the purée as smooth as you can. It’s okay if there are some little shreddy fibers — there’s absolutely nothing wrong with a little texture to your pie; I just prefer a velvety custard uninterrupted by any reminder of the Sisyphean labors I went through to get it.
THE EASY PART!!!!!!!!!!!!!!!!!!!!!!!
Yes!
Just mixing now!
No more fucking pumpkin butchery!!!
1¾ cups pumpkin purée
1 cup cream
1½ tsp red miso
2 tbsp maple syrup (I prefer light amber)
2 tsp ginger powder
¼ tsp grated nutmeg
½ cup dark brown sugar
3 small eggs (you can probably get away with 3 medium, but if you only have large, maybe try 2 large eggs and one yolk? Ben Wyatt voice it’s about the ratios.)
This is, and I really, truly mean this, the best part.
Turn your oven down to 325 degrees F.
Did your pie crust crack all over the bottom? No problem! Just find a sheet tray that it can rest in comfortably (that means no wobbling, no sheet trays that it can barely wedge into so that it hovers above the bottom, no sheet trays that it can only fit onto when they’re upside-down) and put it in the oven to preheat as well. What you’ll be doing here is giving the pie something to rest on that will have full and even contact with the bottom of your pie plate, so that when you pour the filling in, it’ll come into immediate proximity with a preheated surface that will start to cook it immediately, preventing any further leakage. This works, I promise! At least it does for me. You should at least try it.
Measure out your pumpkin purée and then scrape it into a large bowl. There will be a bunch left in the cup — also no problem! Just use the same cup to measure out your cream. Then, before you add that to the purée, whisk in your red miso. It’s much easier to incorporate evenly if you blend it with a liquid beforehand, and cream is great for that — plus it’ll give you a chance to work in all those leftover pumpkin splatters.
Add your cream-miso mixture to the pumpkin, and then whisk in your maple syrup, ginger, and nutmeg. This is the right point to taste for flavor, since all your ingredients are both necessary and safe to eat thus far and all you have left to add is the sugar — which you can adjust to taste — and the eggs.
If your mixture tastes like a thought-provoking Thanksgiving side dish, great! Add your half-cup of sugar and your three eggs and whisk until smooth. Otherwise, adjust your quantities to taste and ditto.
If your pie crust cracked, then you’ll want to pull the hot sheet pan out of the oven and get the pie plate situated on top of it before this next step. If not, then just get your pie plate from wherever it’s been cooling, you fancy home baker.
Pour your pumpkin goo into the pie plate and put it in the oven!!! Bake at 325 degrees F until the only wobbly area left is a three- or four-inch patch in the center. This takes about 30 minutes if you’re using a tart pan, but up to 60 minutes if you’re using an actual pie plate, so you’ll want to check in at regular intervals regardless! (For a tart pan, that’s probably at the 15-minute mark and then the 25-minute mark and then every 5 minutes or so, assuming it’s on track for 30 minutes total. For a pie plate, you can let it go for 30 minutes and then check in every ten or fifteen depending on whether you are, like me, a deeply neurotic baker.) Regardless, what you’re looking for is that shrinking radius of wobble. When you see it, pull the pie out!
I know it doesn’t look fully done; I know this is nerve-wracking. Put it on a rack to cool and then just walk away. Go to another room. Set a timer for twenty minutes and don’t come back until it’s done. The carryover cooking, which is to say the residual heat from every other part of the pie, will finish setting the filling for you. If you bake it until there’s no wobble left, your pie will be overcooked and most likely crack. This isn’t fatal — it’ll still taste good — but what is the point of home baking if not to set yourself absurd challenges that have no bearing on anything except your ability to obtain that little dopamine zip of successfully reaching an arbitrary standard?
*I bake without dairy because I’m lactose intolerant, which I learned by throwing up in the most racist bathroom on Earth — more on that another time — and Dylan is full-on allergic to dairy. As such, you can definitely make this recipe while substituting out the dairy components for non-dairy options! Unfortunately, every non-dairy option has its own foibles. For example: Earth Balance’s non-dairy stick butter holds a chill better than its dairy counterpart, but needs extra ice water to make a dough come together, and often results in a more dense, less flaky dough. On the other hand, Country Crock’s non-dairy stick butter holds even less of a chill than dairy butter does, but makes a beautifully flaky, nicely flavored crust. (I’m still working on figuring out the best ice water ratio to avoid cracking — and next time I plan to full-on freeze the butter before and after cubing to see if that makes it even a little less prone to smearing all over the place.) I’ve only ever substituted So Delicious coconut creamer for dairy cream, because it works so well that I’ve never felt the need to branch out, but I’m sure there are other good options out there as well.