One of Dart’s strengths has always been host interoperability. Early on (beginning of 2017), Platform channels were used (and still are) to consume native SDKs. Although they are very useful, Platform channels come with costs tied to their message-handling design (a close comparison would be JavaScript’s Web Worker API).
More recently, Dart’s team has invested significantly in the Foreign Function Interface (FFI). They built a set of libraries to help you generate native bindings targeting Java, Objective-C, C, Kotlin, and more. Once your bindings are generated, you only need to call them using ClojureDart. The team also plans to continue working in this direction:
We’ll continue to invest in further interoperability—both in terms of completing the above-mentioned libraries and in terms of supporting Swift—over the coming releases. See the roadmap section below for details.
Source
I personally think it’s a game-changer. At Tensegritics, we generate lots of bindings for our projects. The process is as simple as:
1. Identifying a native SDK.
2. Writing some configuration for ffigen or jnigen.
3. Dumping the bindings.
You might have noticed that I did not mention Swift among the available languages. That’s because it’s not currently directly supported, although swiftgen is a work in progress. It is still possible, and that’s the goal of this article.
We are going to generate bindings for the CryptoKit SDK, which is a Swift-only SDK, using ffigen and some Xcode magic (or nightmares).
The operation can be summarized as follows:
1. Create a Swift file containing the functions you want to use (using @objc annotations).
2. Compile the file and generate Objective-C headers.
3. Add the dynamic library to the project.
4. Generate Dart bindings using ffigen.
Cryptobridge: A macOS Desktop Application Using CryptoKit SDK
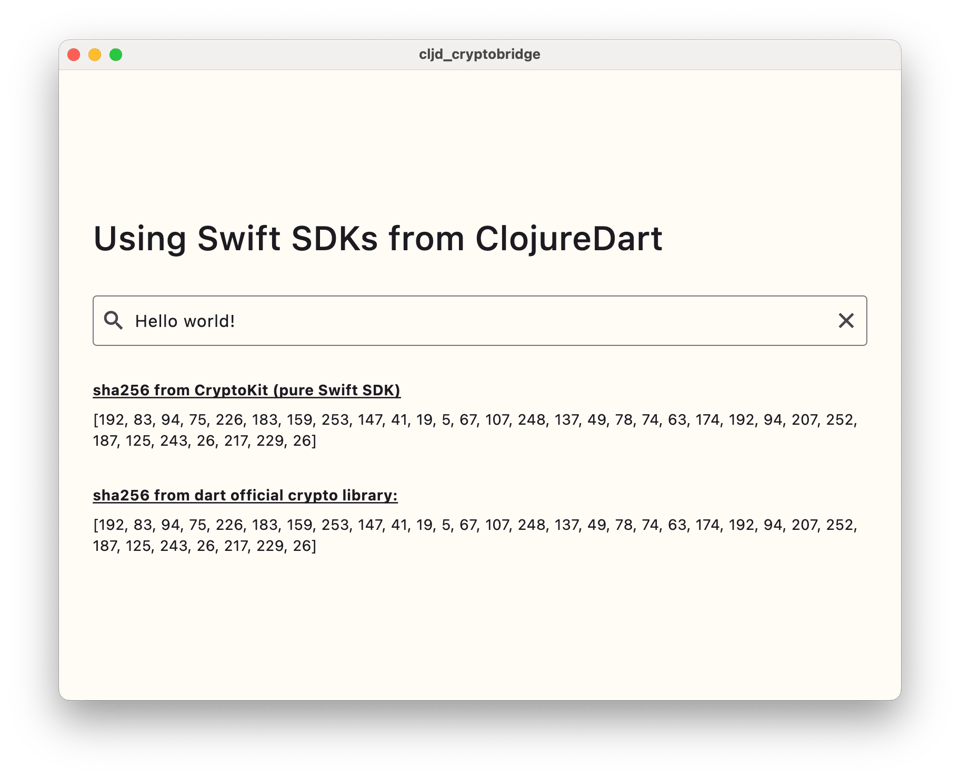
The application’s sole goal is to compare SHA-256 hashes generated from Swift and from Dart. They must be equal!
Requirements:
Having Clojure and Flutter installed. (ClojureDart comes via deps.edn.)
Initialization
First, clone the example repository:
git clone git@github.com:Tensegritics/cryptobridge.git
Then initialize it:
cd cryptobridge
fvm use # only if you are an fvm user
clj -M:cljd init
Download the official Dart crypto package:
flutter pub add crypto
And run the application:
clj -M:cljd flutter -d macos
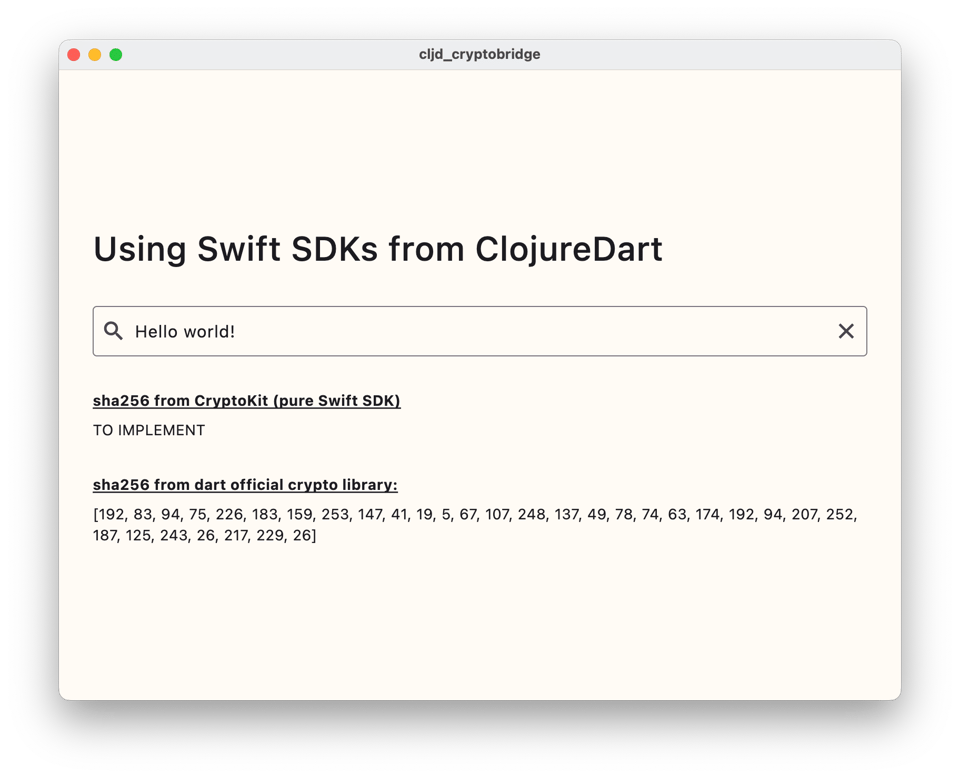
You should see the application like this:
You can stop the app for now -- adding a native dependency requires restarting the app.
Writing Your Swift Bindings
Swift can be consumed in Objective-C by using the @objc annotation. Once you’ve identified the Swift functions you need to use, it’s simply a matter of reading the documentation and figuring out how to call them. Most of the time, you don’t need to be a Swift expert.
Open the project with Xcode:
open macos/Runner.xcworkspace
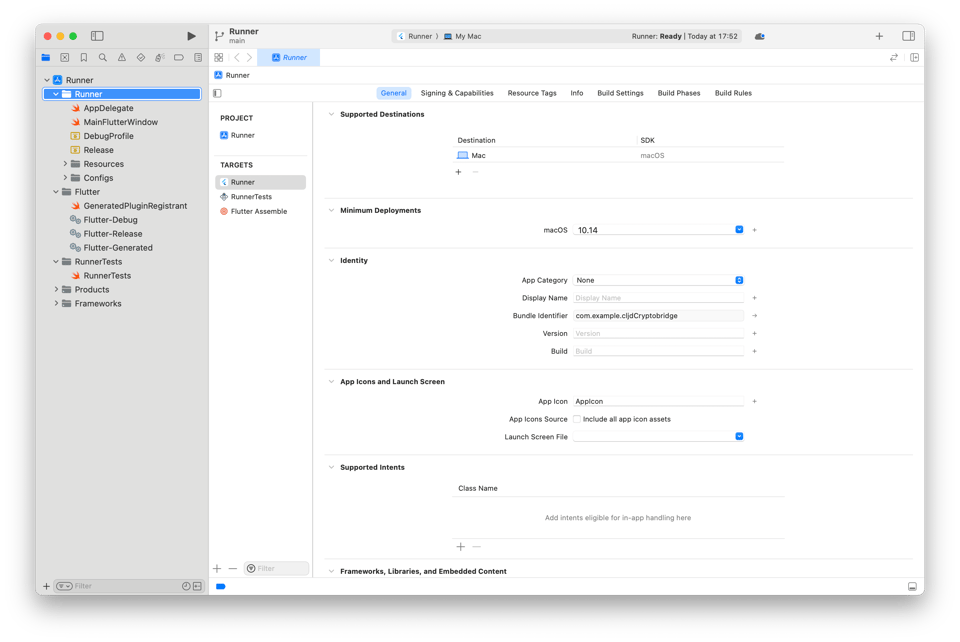
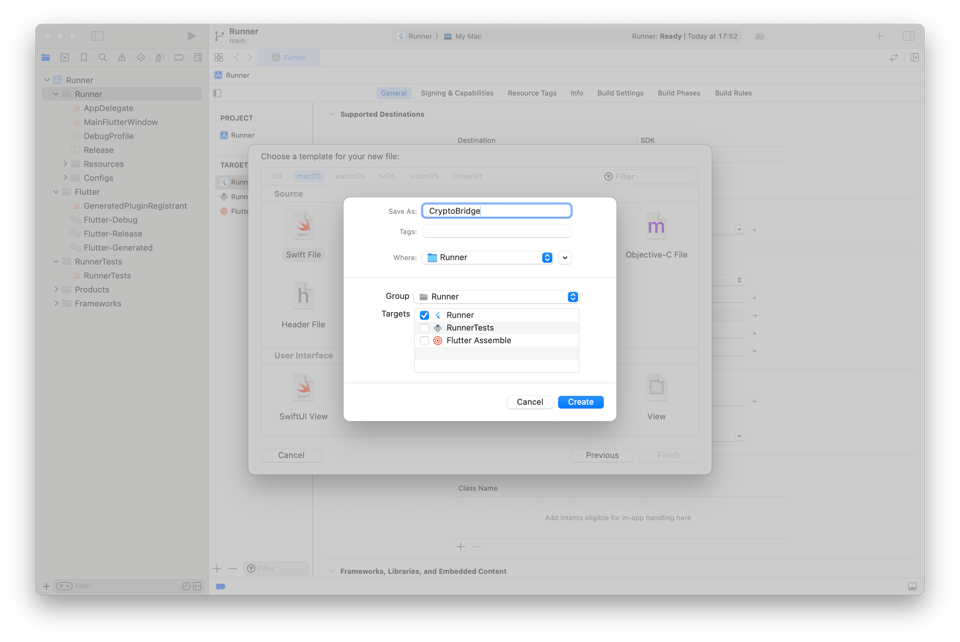
Create a new Swift file as shown in the images below:
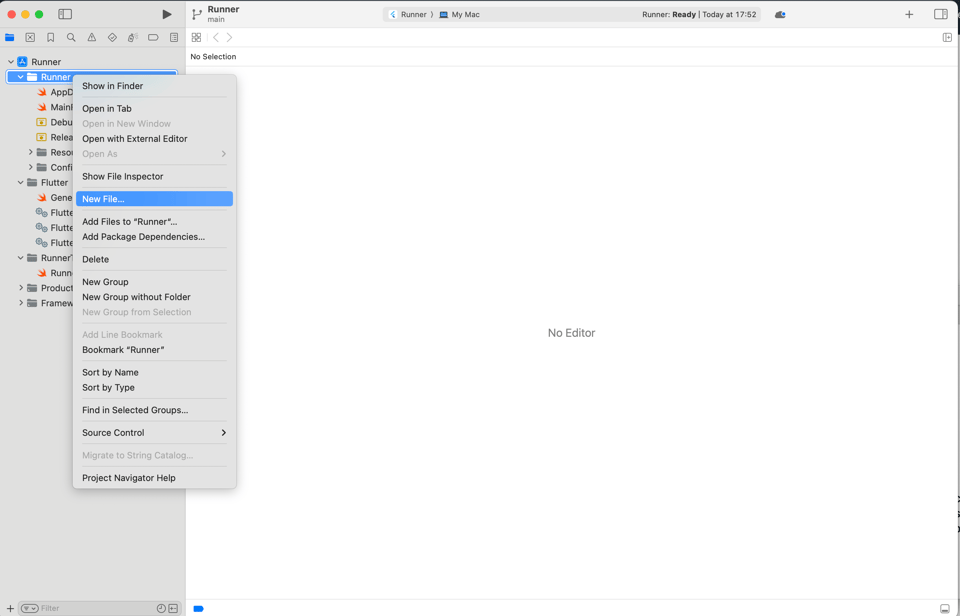

Name the file CryptoBridge.
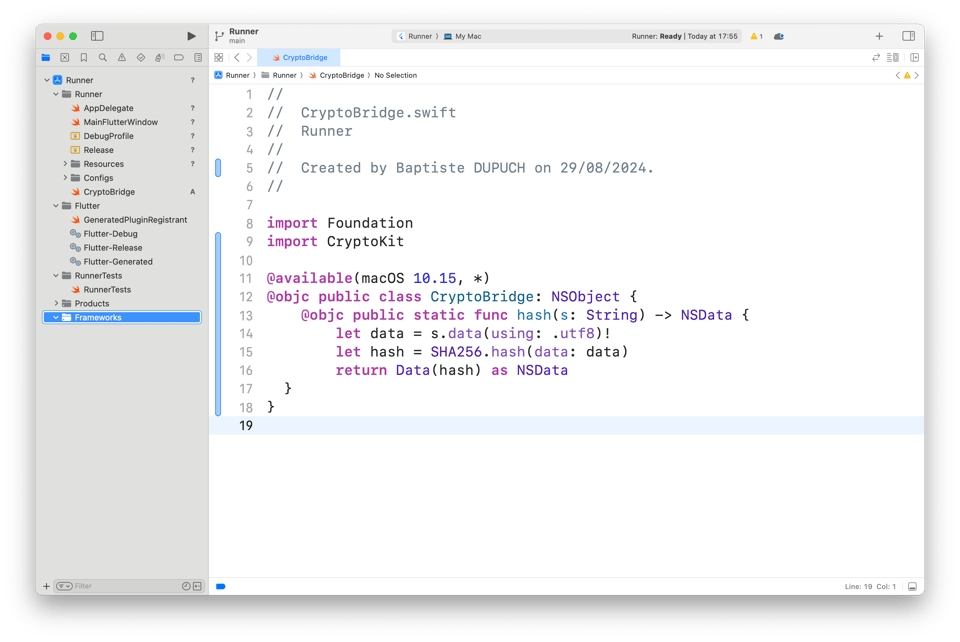
Once created, copy and paste the code below. The code imports CryptoKit and creates a public class CryptoBridge with a static method hash that takes a String as input and returns an NSData. SHA256.hash is from CryptoKit, and we wrap the result in an NSData wrapper. The official objective_c.dart package makes it simple to consume NSData.
import Foundation
import CryptoKit

@available(macOS 10.15, *)
@objc public class CryptoBridge: NSObject {
    @objc public static func hash(s: String) -> NSData {
        let data = s.data(using: .utf8)!
        let hash = SHA256.hash(data: data)
        return Data(hash) as NSData
  }
}
Generating the Objective-C Wrapper Header and Dynamic Library
Once we’re done writing our Swift code, we need to compile and generate the swift_api.h headers. Note that I am using an Apple Silicon chip here, so change the -target option to fit your architecture.
swiftc -c macos/Runner/CryptoBridge.swift -target arm64-apple-macos10.15 -module-name crypto_module -sdk $(xcrun --sdk macosx --show-sdk-path) -emit-objc-header-path third_party/swift_api.h -emit-library -o macos/Runner/libcryptobridge.dylib
swiftc generated two files:
- macos/Runner/libcryptobridge.dylib that we need to embed in our app.
- third_party/swift_api.h that we’ll use to generate Dart bindings using ffigen.
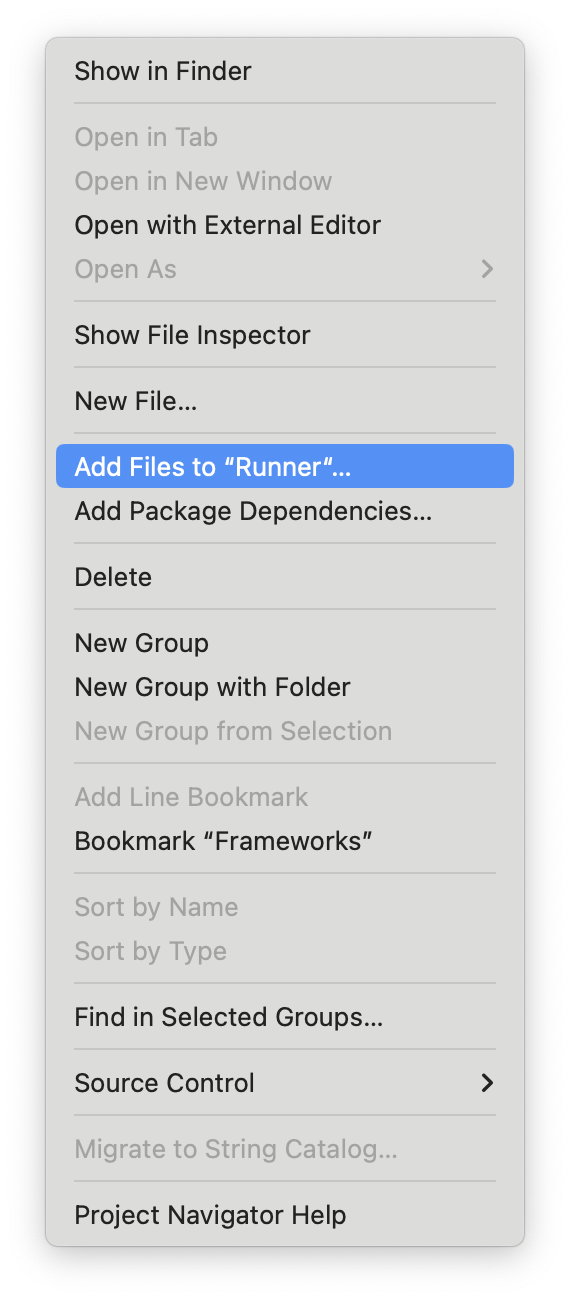
In Xcode, add the libcryptobridge.dylib library to your project. Under Frameworks, right-click, select “Add files,” and look for the dylib file.

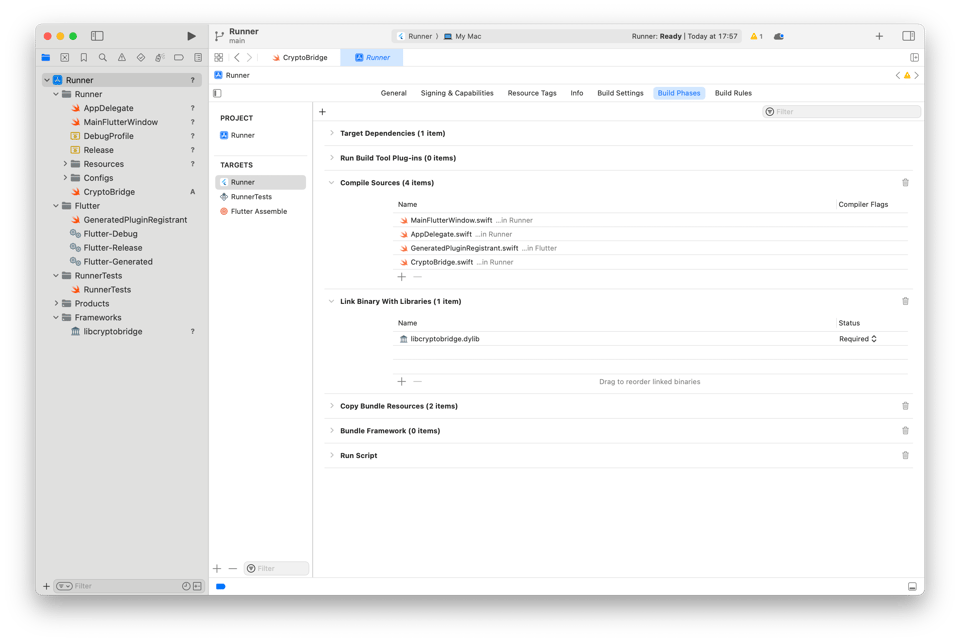
Once it’s done, when you click on Runner and then Build Phases, you should see the libcryptobridge.dylib file under Link Binary With Libraries like this:
Generating Dart Bindings and Using Them
Our Xcode job is done here. The last phase is generating Dart bindings using ffigen and using them.
If your app is running, quit it, and then run pub get for the ffigen and objective_c packages.
flutter pub add ffigen --dev
flutter pub add objective_c
Open your pubspec.yaml file and add this ffigen configuration at the very end:
ffigen:
  name: CryptoKit
  description: Bindings for CryptoKit
  language: objc
  output: 'lib/ns_cryptokit_bindings.dart'
  exclude-all-by-default: true
  objc-interfaces:
    exclude:
      - 'NS*'
    include:
      - 'CryptoBridge'
    module:
      'CryptoBridge': 'crypto_module'
  preamble: |
    // ignore_for_file: camel_case_types, non_constant_identifier_names, unused_element, unused_field, void_checks, annotate_overrides, no_leading_underscores_for_local_identifiers, library_private_types_in_public_api
  headers:
    entry-points:
      - 'third_party/swift_api.h'
    include-directives:
      - '**swift_api.h'
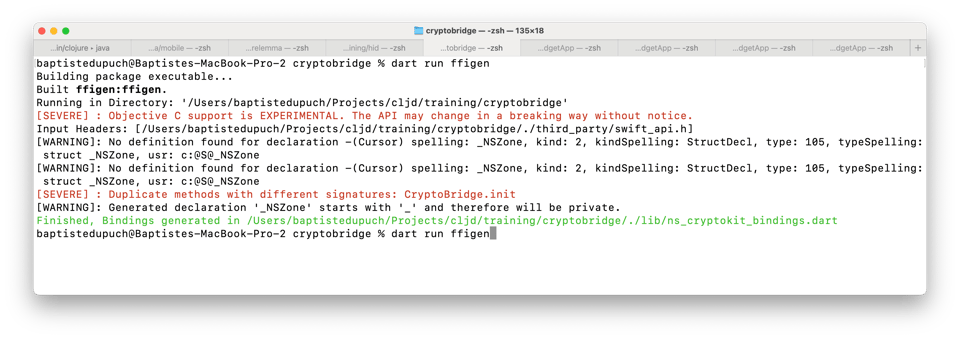
You can now generate your Dart bindings like this:
dart run ffigen
This should create the lib/ns_cryptokit_bindings.dart file:
If you open the generated file (lib/ns_cryptokit_bindings.dart), you’ll find a static method hashWithS_, which is the Dart wrapper for the hash(s: String) method we created above.
static objc.NSData hashWithS_(objc.NSString s) {
    final _ret =
        _objc_msgSend_1(_class_CryptoBridge, _sel_hashWithS_, s.pointer);
    return objc.NSData.castFromPointer(_ret, retain: true, release: true);
  }
Now, it's time to start our application anew (if you haven't killed it yet, you have to stop it and relaunches it).
clj -M:cljd flutter -d macos
The application should show up as before, except that this time it's linked to CryptoKit, but we have no apparent change yet.
Open src/cryptobridge/main.cljd and require the necessary packages:
(ns cryptobridge.main
  (:require
   ["package:flutter/material.dart" :as m]
   ;; our generated bindings
   ["ns_cryptokit_bindings.dart" :as ns_cryptokit_bindings]
   ;; objective_c utility
   ["package:objective_c/objective_c.dart" :as objective_c]
   ["package:crypto/crypto.dart" :as crypto]
   ["dart:convert" :as dart:convert]
   [cljd.flutter :as f]))
In the body of the main function, look for:
(f/widget
  :padding {:top 8}
  :watch [v controller :> .-text]
  (m/Text "TO IMPLEMENT"))
Replace "TO IMPLEMENT" with the call to our wrapper:
(f/widget
  :padding {:top 8}
  :watch [v controller :> .-text] ;1️⃣
  (m/Text (str (-> v
                 objective_c/NSString ;2️⃣
                 ns_cryptokit_bindings/CryptoBridge.hashWithS_ ;3️⃣
                 objective_c/NSDataExtensions ;4️⃣
                 .toList)))) ;5️⃣
Save and wait for hot reload to pick your changes up.
While we wait for the reload to happen, let me explain two bits of the above snippet:
- the
:watch(1️⃣) triggers on changes to thetextproperty (a string) of the controller. - let's break down the big
->form: take v, convert it to aNSString(2️⃣), call the wrapper (3️⃣), call the.toList(5️⃣) method extension toNSDatadefined inNSDataExtensions(4️⃣, it looks like we are wrapping just to call a method but we are not: it's just some weird low-level static sugar, 4️⃣ and 5️⃣ work as a single expression).
The :watch option above listens for changes in the TextEditingController and gets any new TextEditingValue. We then get the text property, which is a string. Using the objective_c package, we create an NSString from our text and pass it to our hashWithS_ bindings. Finally, we use the toList method extension to dump NSData bytes.
Conclusion
Using Swift APIs is a bit more tedious than calling Objective-C APIs as it requires an extra step (creating @objc wrappers), but it's still a straightforward process.
Native interop is making constant progress, to the point that we’ve stopped looking for ready-made wrappers.
Nowadays, you rarely have to write native languages thanks to code generation (except for the situation described above, but swiftgen is coming). The few cases where we still had to write native code in the last year (to run on a specific thread or implement a callback) have been recently addressed!
You just read issue #5 of Curiosities by Tensegritics. You can also browse the full archives of this newsletter.