If It Feels Like the End of the World, Make Something
Moving past rejection to finish up the love cross-stitch.

Quick note: The recap of my trip to Blink and GLEAM will be in the next newsletter.
Rejections are a significant part of being an artist. Initially, they hurt. Over time, the pain dulls a bit and you try to not take them very seriously.
Last month I received two rejections, one of them being my “Never Lose Your Sense of Wonder” cross-stitch that I submitted to the Portland Winter Light Festival.
I failed at not taking the Portland rejection very seriously.
In fact, I had a minor meltdown about it.
I planned to write about the meltdown and what I took away from it, but after a few days of struggling to shape my thoughts into fluid and coherent words, I decided it wasn’t worth delaying the newsletter any longer.
I’d much rather talk about finishing the love cross-stitch!
After about 4 months, it’s finally complete!!
Below is a little behind the scenes of the final assembly steps and testing of the weatherproofing.
First up, prepping the waterproof box for the electronics.
Some waterproof boxes come with grommets pre-installed, most don’t. That meant I had to drill the holes for them, which was yet another new experience and of course came with challenges.
I knew the drill bits I have aren’t suitable for plastic, so I did a Google search to find what I needed. I discovered step drill bits which incrementally make holes larger and deburr the surface so the holes are smooth. I found a set of 3 on clearance at Menards for $8!
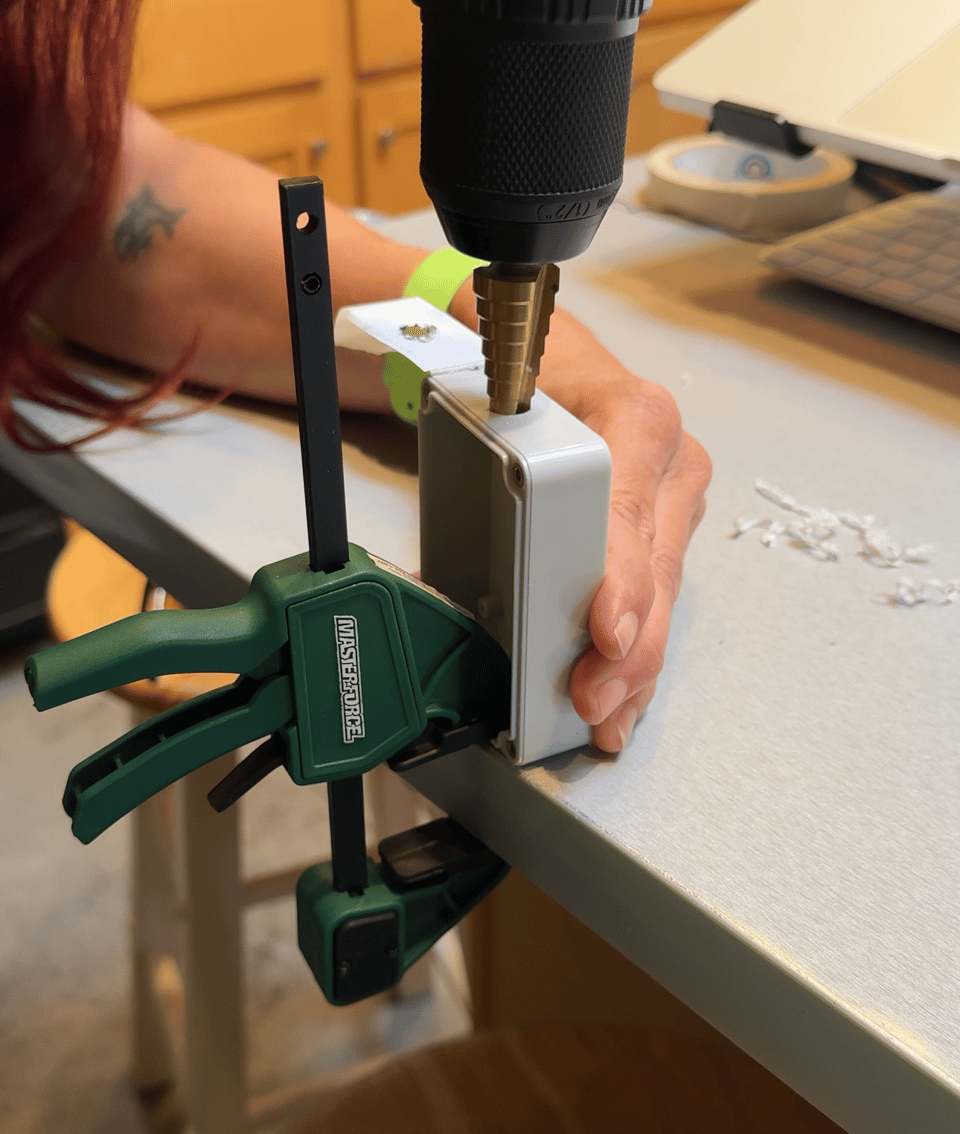
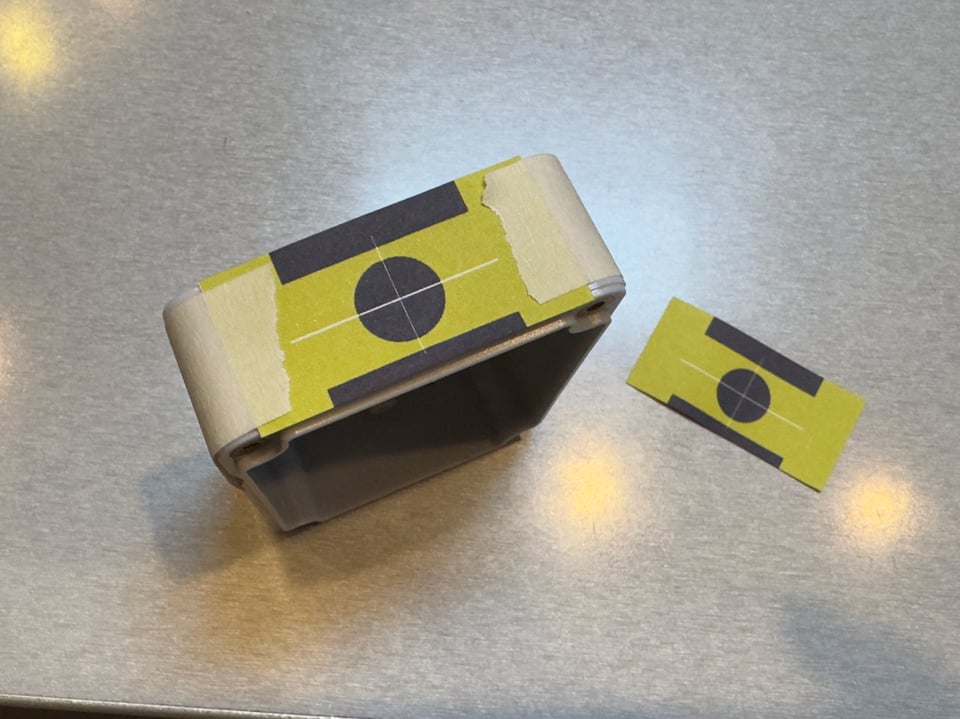
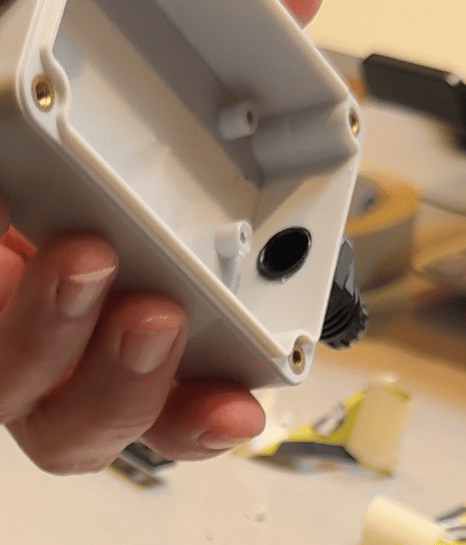
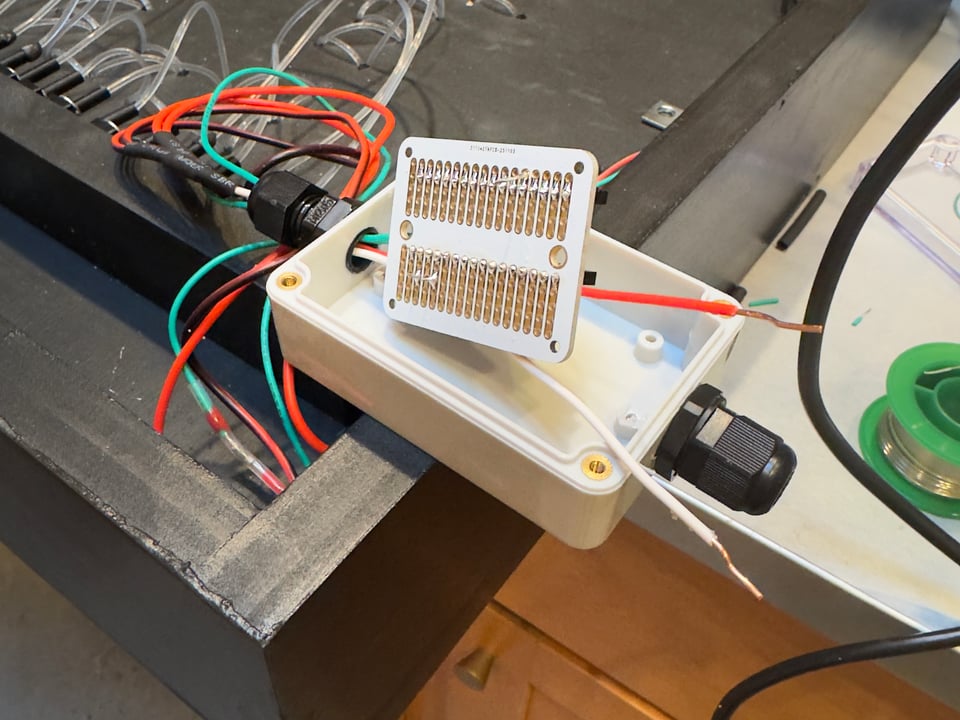
There are raised posts inside the box (visible in the second photo below) that the drill bit would hit if I wasn’t precise with the location of my hole. So I measured everything and made a guide in Illustrator that I printed out and taped to the box.
Next up, getting the electronics in the box.
Initially, assembly seemed pretty straightforward: solder all the wiring to the circuit board, then put it all in the waterproof box.
It was not that straightforward!
The first issue: the power wires I have are stranded, not solid. That meant they didn’t fit through the circuit board holes without fraying. I didn’t know that, of course, until I went to solder them.
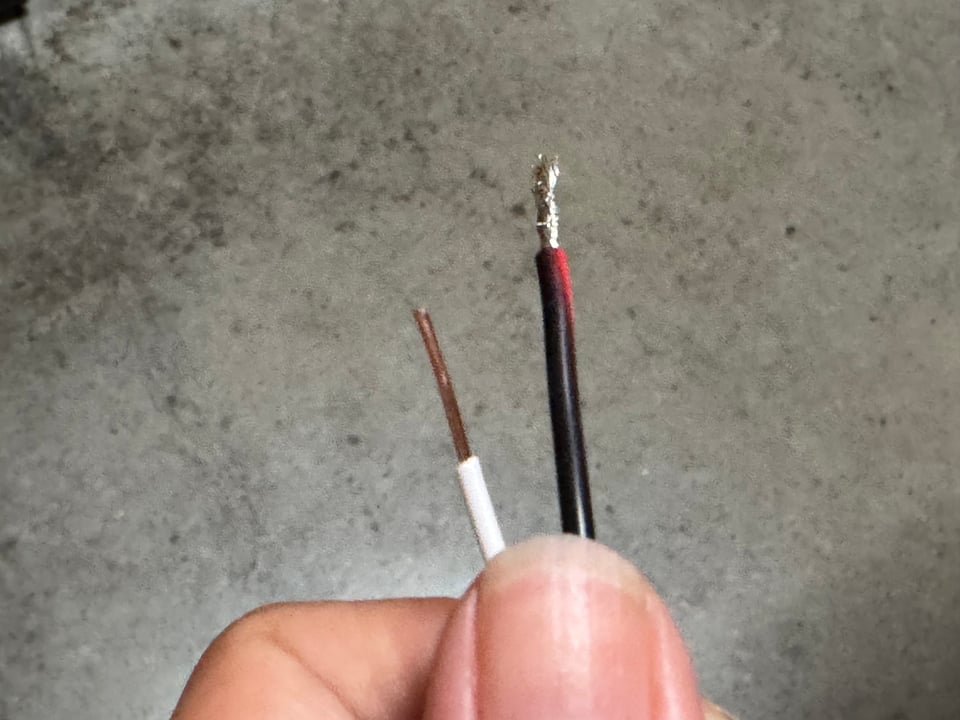
In my “please let this be available at a store and not just online” Google search, I learned that 18 gauge solid core wire is also called bell wire because it’s commonly used in doorbells.
With this amount of wire I could have a doorbell repair side hustle!
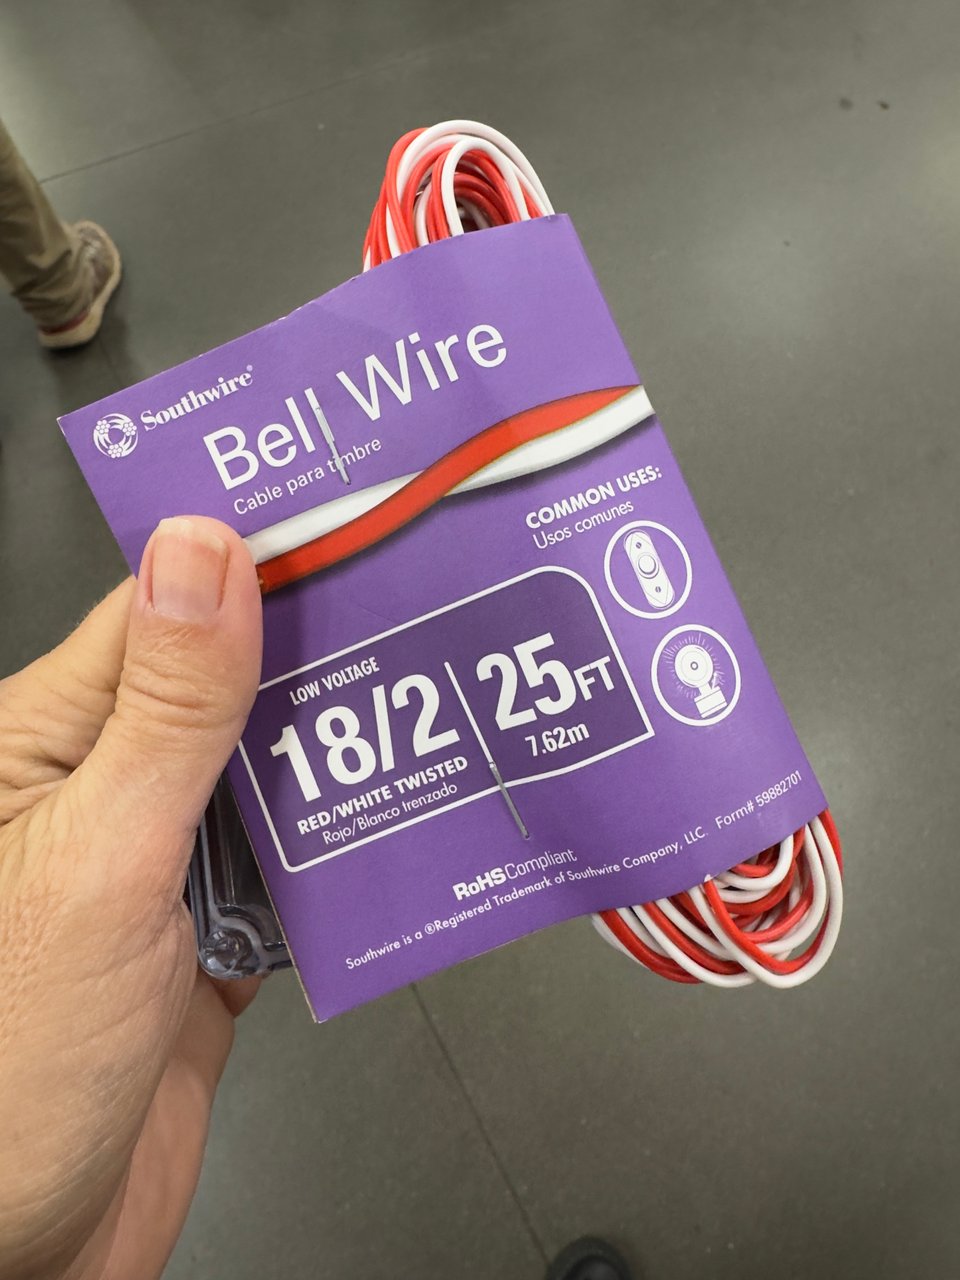
The second issue: the wires that are connected to the circuit board have to go through the grommets of the waterproof box.
In hindsight, I should’ve soldered the solid core wires to the circuit board first, fished the loose ends through the grommets, then connected them to the stranded wires outside the box.
However, my brain didn’t think of that until after I did it the hard way.
I connected the solid wire to the stranded wire outside the box first, ran the solid wire through the grommets, then soldered it to the circuit board as it sat inside the waterproof box.
It worked, but I most certainly won’t make that mistake again!
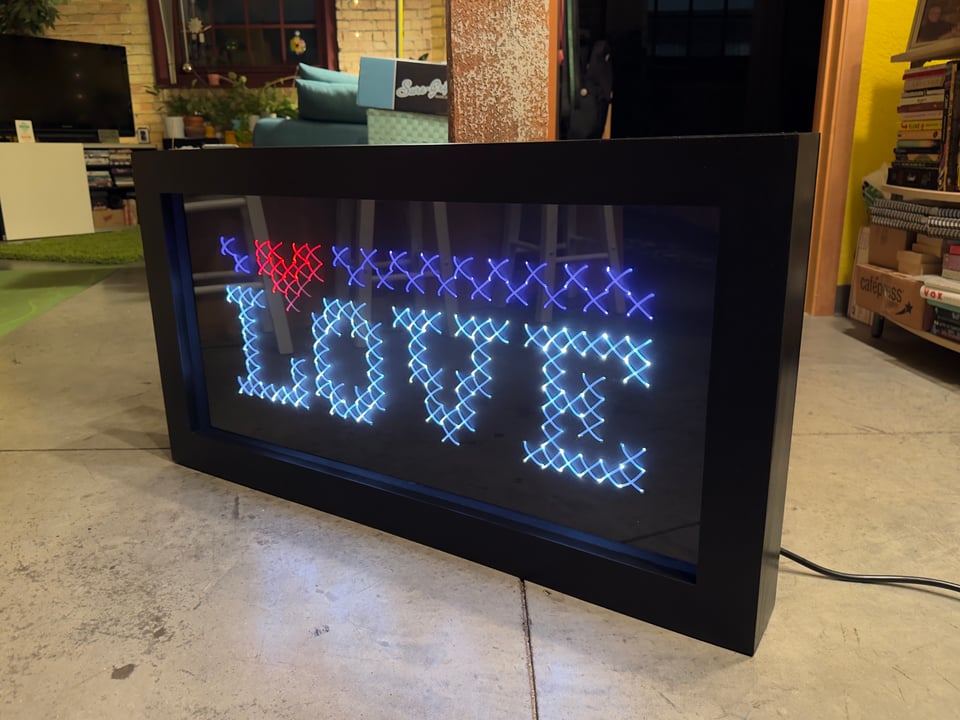
THE FINAL RESULT
I’m SO thrilled with the way this turned out and honestly can’t think of a project where I’ve learned more than this one.
Next, I had to test if it was actually weatherproof!
It’s been rainy in the Twin Cities, so I set it outside on the deck of my building.
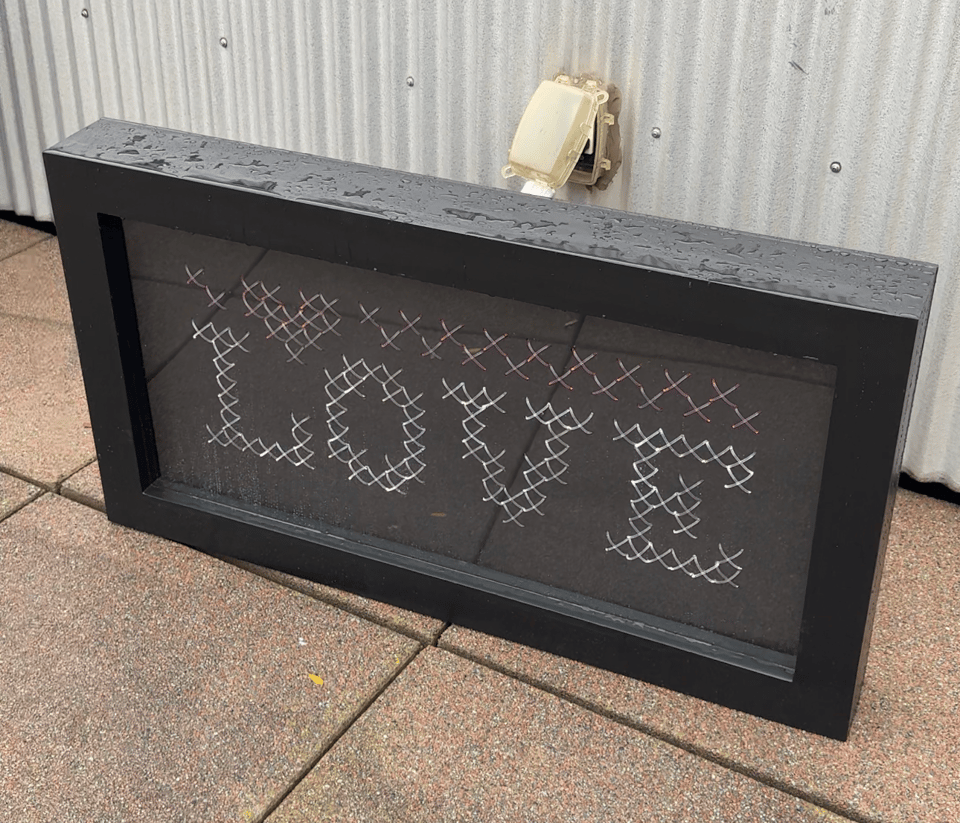
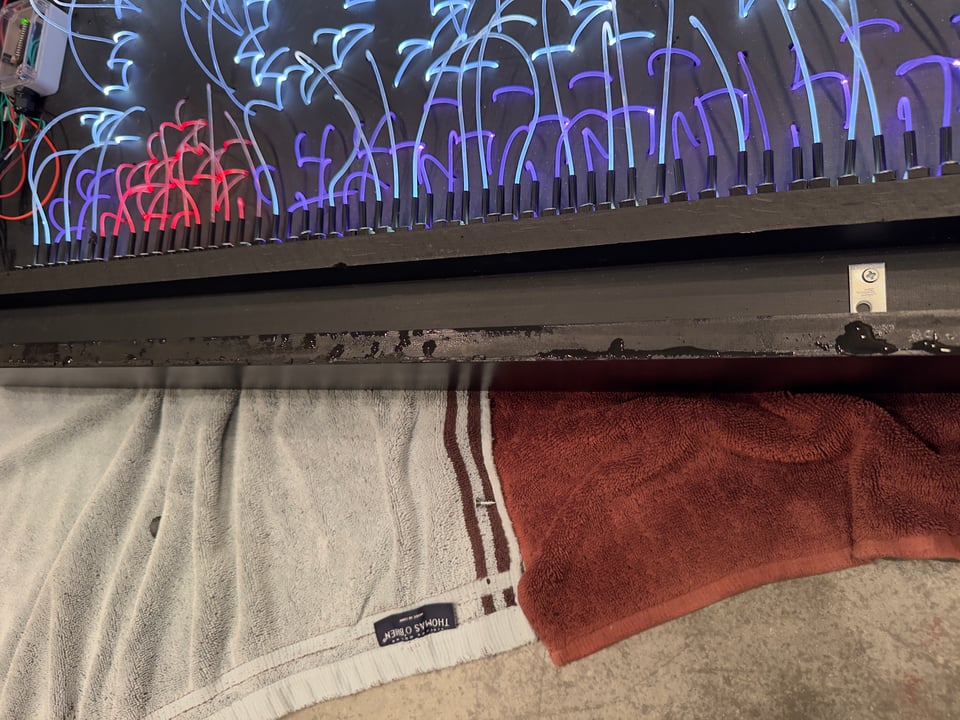
After 10 hours and some intermittent downpours, there was only one tiny leak on the top of the frame from not enough silicone putty and using 4 screws on the back panel instead of 6. Easily corrected.
Everything else was dry! SUCCESS!
So, what’s next?
More cross-stitch!
I’d like to make some small, indoor-only pieces that would be suitable for hanging on a wall or setting on a shelf.
If there’s a particular design that you’d like to see, I’m all ears!
As always, thanks so much for being here!
Until the next newsletter, be well!
Giesla
If you’re able and would like to help support my work financially, click the button below to make a donation! Any support I receive goes directly toward purchasing the tools I need as well as living expenses.
If you feel more comfortable giving to me directly, my Venmo is @giesla and CashApp is $giesla.
Thanks so much for your consideration!
DONATE NOW!
Add a comment: