Make your own bacon: a complete (and delicious) guide
You heard correctly. You can make your own bacon. At home, in your kitchen, for a fraction of the price that you pay at the store. Caleb has been making bacon for our family for over a year now. He agreed to write a guest post this week to share the process with you. So, here you go!
I suppose I’ve always known that food made from scratch is better than what comes ready-made from the store. But with certain things I think I figured the old-fashioned way had been superseded by some newer, better way.
Maybe everyone has a similar epiphany about midway through life, but I wish I had realized much sooner how many simple joys are available to us when we think of time as an ingredient. Efficiency can become a certain kind of tyranny and resisting it can be good for the soul.
And in the case of bacon it can be good for the tastebuds as well.
A few years ago a friend told me how easy it was to cure bacon at home. I was initially skeptical. Bacon seemed to me like so many other things: something that arises from a complex process only possible in facilities designed for the task.
I’m half embarrassed to admit how wrong I was, especially since curing things with salt is an ancient practice. How did I not put two and two together? I was in a rush, that’s how.
In the end my love of bacon got the better of my desire for efficiency and I gave home curing a shot. I loved the results. Home-cured bacon is dramatically less costly than store-bought while offering a level of taste beyond anything mass-produced. This I expected. What I did not expect was how I appreciated the process just as much as the results, if not more so. There’s something ineffable about attending to the simplicity and beauty of nourishing food. I think you have to experience it for yourself.
Audra asked me to document how I make bacon. Here you can see how straightforward the process is. I encourage you to try curing some bacon yourself or, at the very least, I hope that you can appreciate the small pleasure of a simple thing done well.
Bacon is made from pork belly, a mixture of salt and sugar, time, heat, and (optionally) smoke.
First, the pork belly. I get whole pork bellies from Costco. I think it’s important to get a whole pork belly instead of pre-cut chunks of pork belly. Having the whole slab gives you complete control over the size of your bacon.
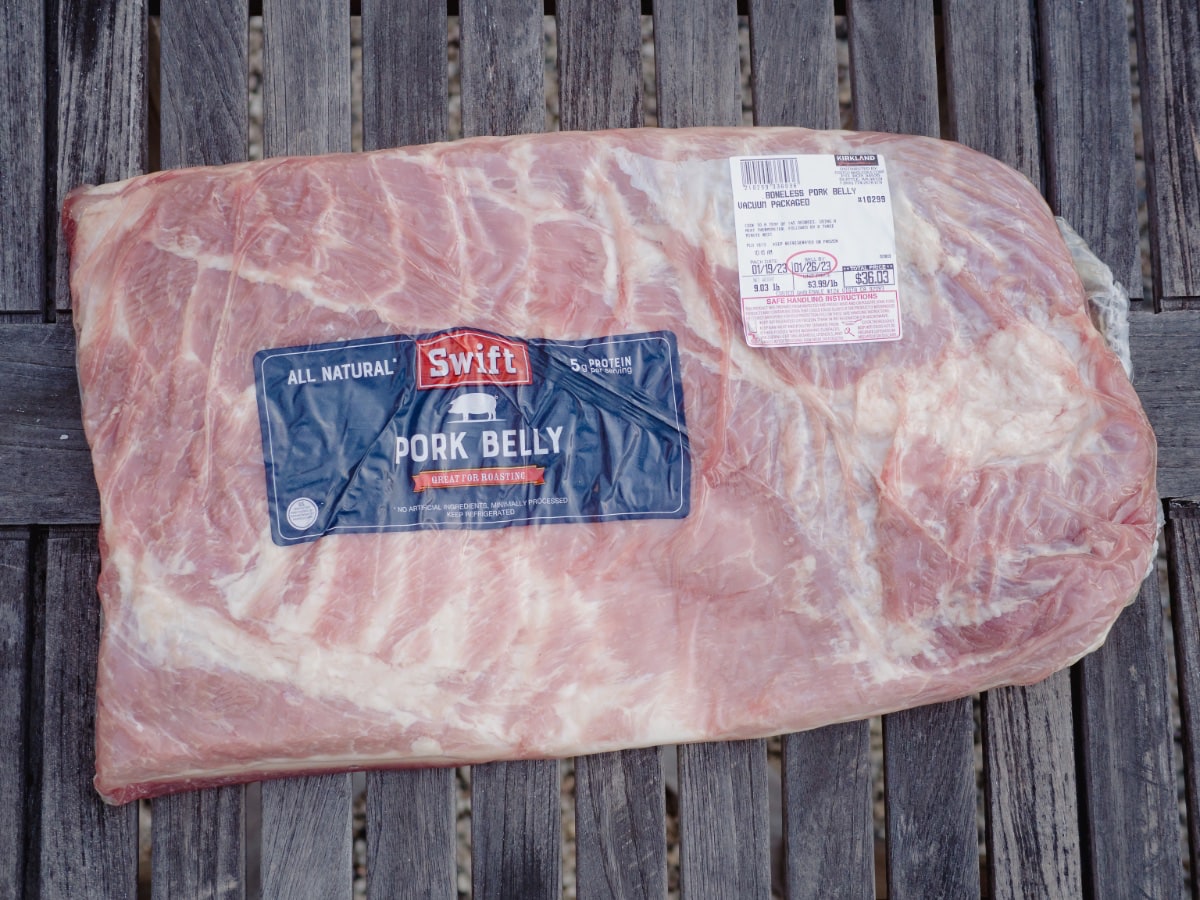
Pork belly around here used to cost well under $3 per pound, but these days it’s about $4 per pound. I don’t look at the price of store-bought bacon anymore, but I’m guessing $4 per pound is about a third of the price. You can think of home-cured bacon like a buy-one-get-three-free deal.
If you are fortunate enough to have access to fresh pork belly from a local farm then you’ll be even better off. I hope to secure a supply chain of fresh pork belly someday.
Second, the dry cure. I use a mixture of kosher salt, pink salt, and sugar. You can measure by volume, but the best way to work with dry ingredients is by weight. The dry cure is 1 lb. (450 grams) of kosher salt, 8 oz. (225 grams) sugar, and 2 oz. (50 grams) pink salt.

You must use kosher salt, not iodized table salt or crunch sea salt. The broad shape and flaky texture of kosher salt provides the best results. Kosher salt usually comes in 3 lb. boxes right next to the regular table salt at your local grocer.
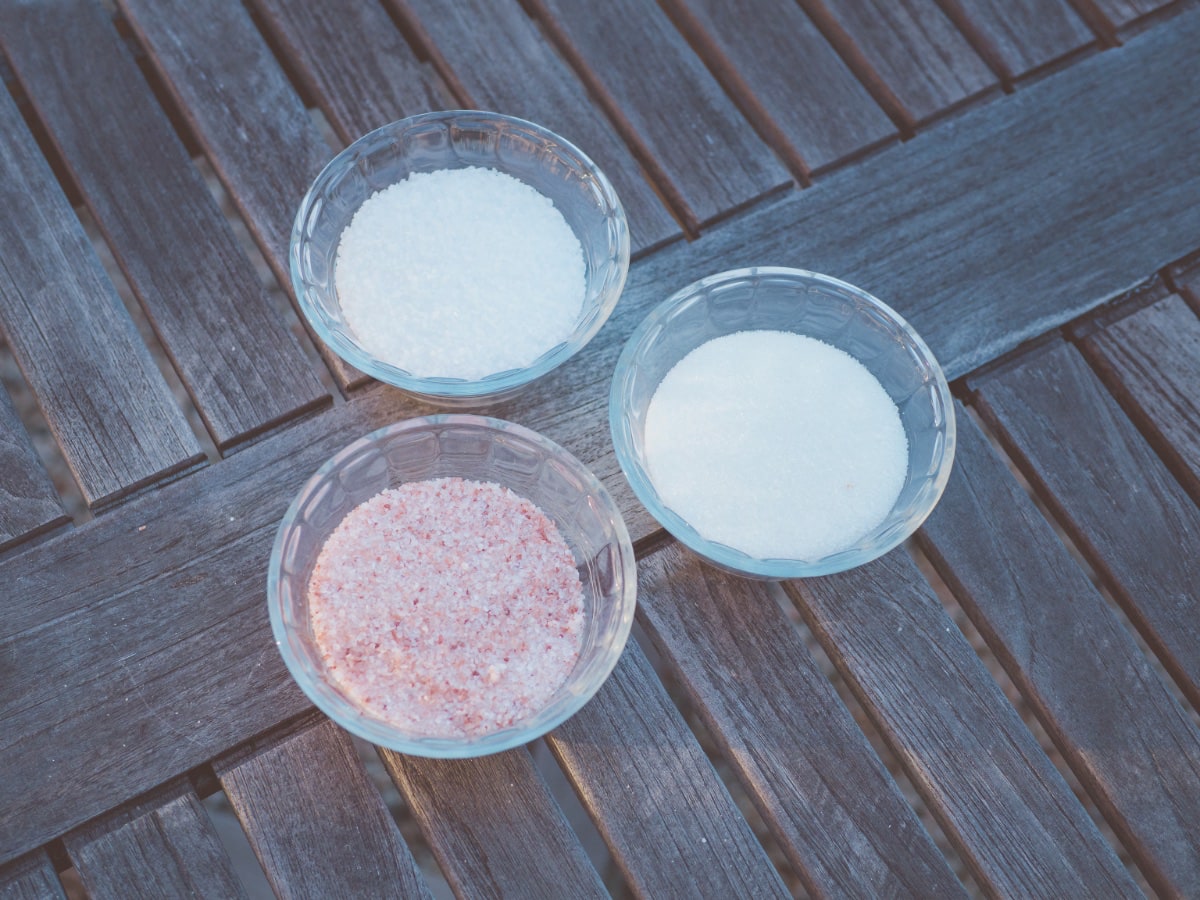
I bought Himalayan pink salt from Costco. That was the right kind of salt, but the mistake was buying it in Costco-sized quantities. Pink salt is the smallest portion of the dry cure. That huge tub of pink salt might last a decade. I suggest buying a smaller size or, if you can, split a big tub of pink salt with a friend or neighbor.
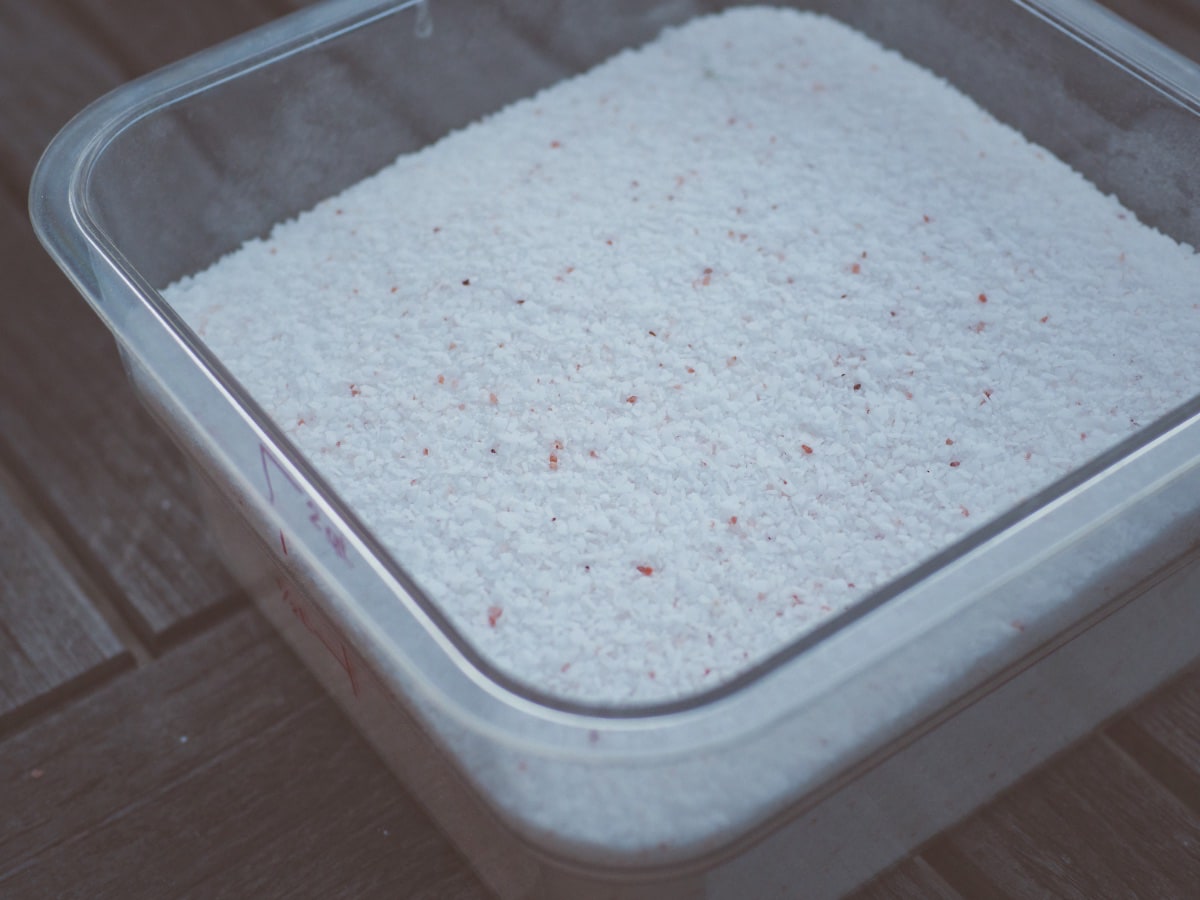
I mix the three ingredients in a plastic storage container. I make about a pound or so of dry cure at a time. It keeps indefinitely in the pantry. I just pull out the dry cure when I need it and top off when it starts to get low. You don’t use all that dry cure at once. It will last for several slabs of bacon.
The process of curing the bacon is relatively simple.
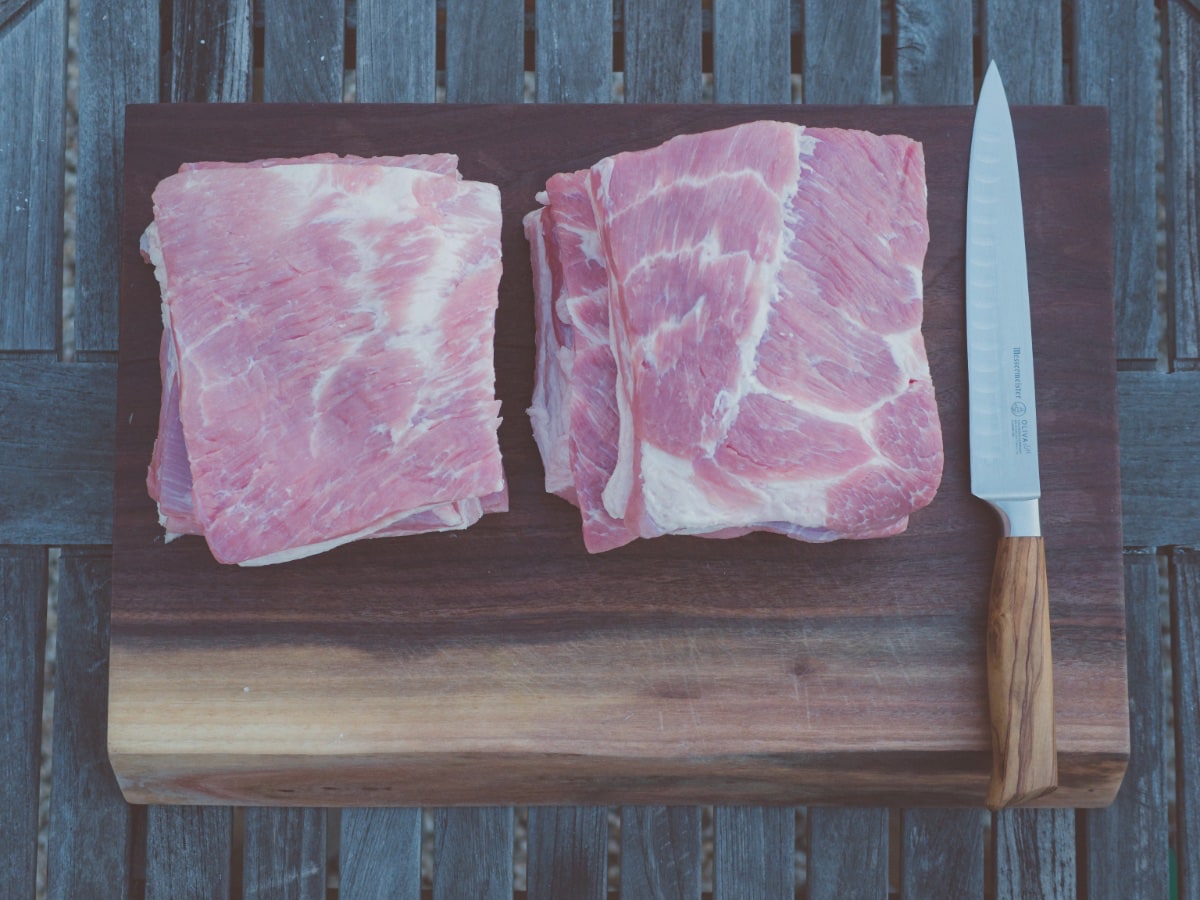
The first thing to do is cut the whole slab of pork belly down to size. I used to cut the slab into thirds but have since started cutting it into six pieces. I first cut the slab into thirds, then I cut each third in half. This yields six, roughly square pieces. I find this size is a little easier to handle and makes for easier slicing (more on that later). You can experiment with the best size for your needs. If you have a suitable container and room in your fridge you could, in principle, cure the entire slab at once.
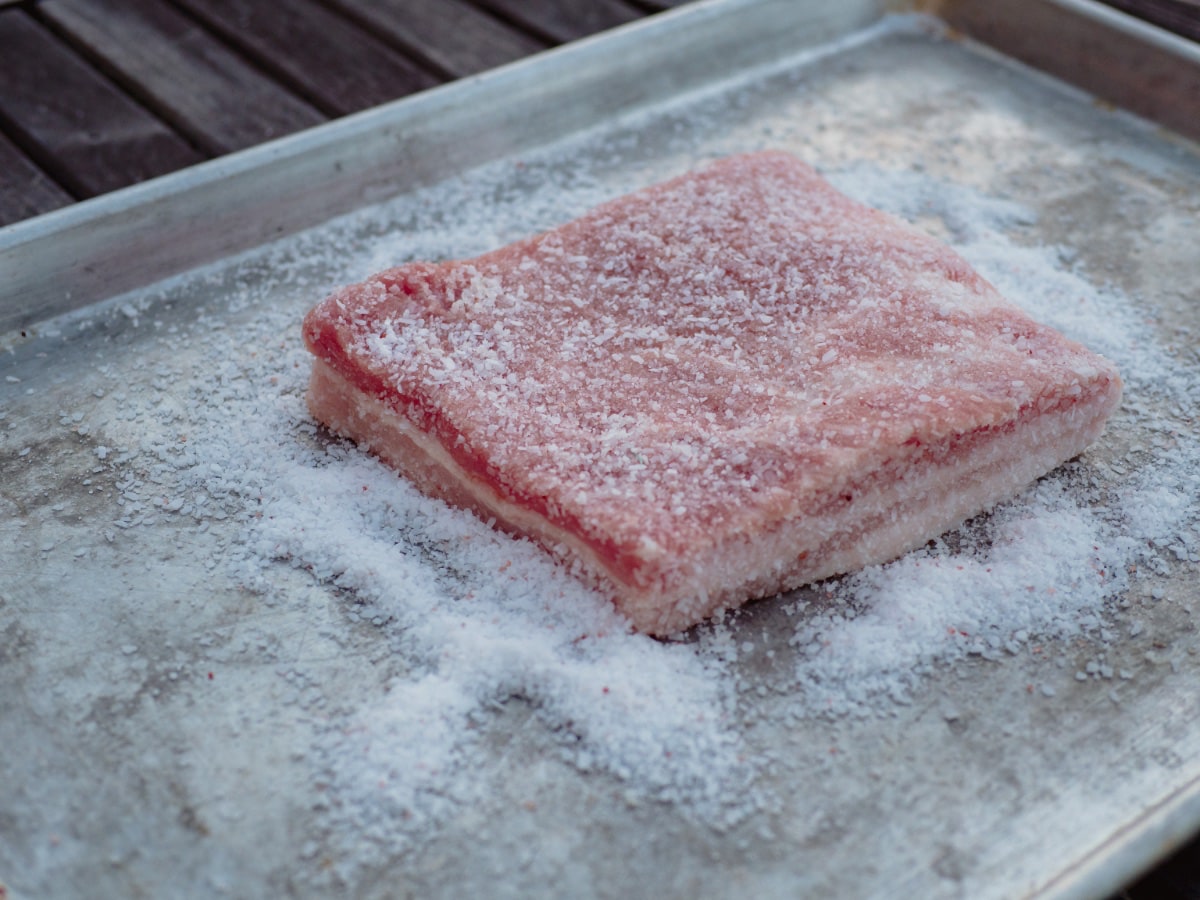
Next, using a large baking sheet as your workspace, dump a generous portion of dry rub on the first piece of raw pork. Rub the salt on both sides as well as the edges, then pick up the piece of pork and let the excess dry cure fall back to the pan. You can still use the stuff that falls off on the next piece.
Now put that salted pork into a plastic, zipper-top bag. I use a gallon-size Ziploc freezer bag. Repeat the process for each piece of raw pork, adding more dry cure to the pan as needed. I use three bags total, one for each third of the pork belly. Seal each bag tightly, making sure to squeeze the excess air out.
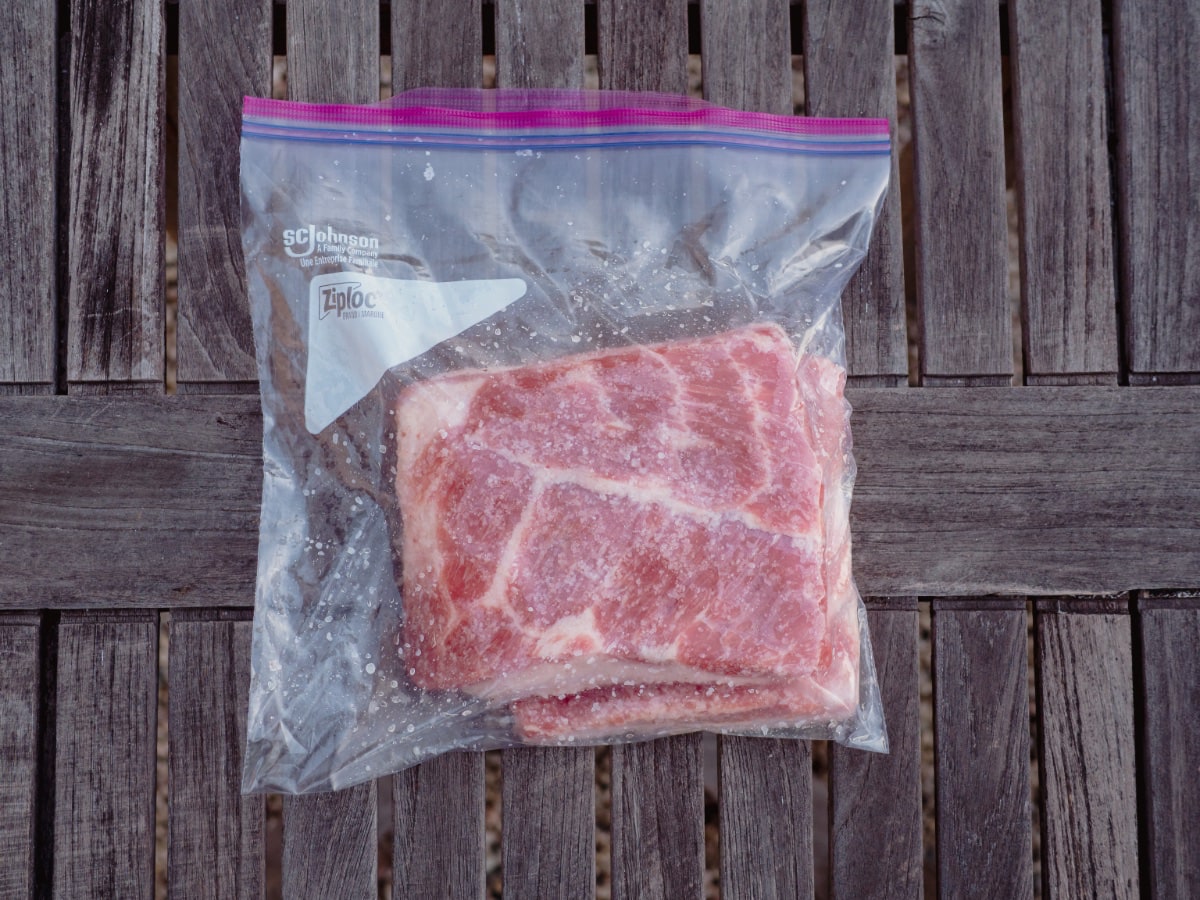
I find it useful to test the seal of each bag. The coarse salt in the dry cure often gets into the grooves of the bag’s zipper, which can prevent an airtight seal. This leads to unwanted leakage during the curing process.
And that’s it. You’ve combined pork, salt, and sugar so now it’s time to add the next ingredient: time. Put the bags of salted pork belly in your refrigerator somewhere out of the way. Lay them flat on their broad side, not vertically. You will flip the pork belly every two days. I sometimes find it helpful to mark my calendar with a note, “Flip the bacon.” The flip is important. Don’t forget the flip.
The typical recipe calls for seven days of time. Some people prefer to go with just six on the grounds that it makes the bacon less salty. I usually go with seven.
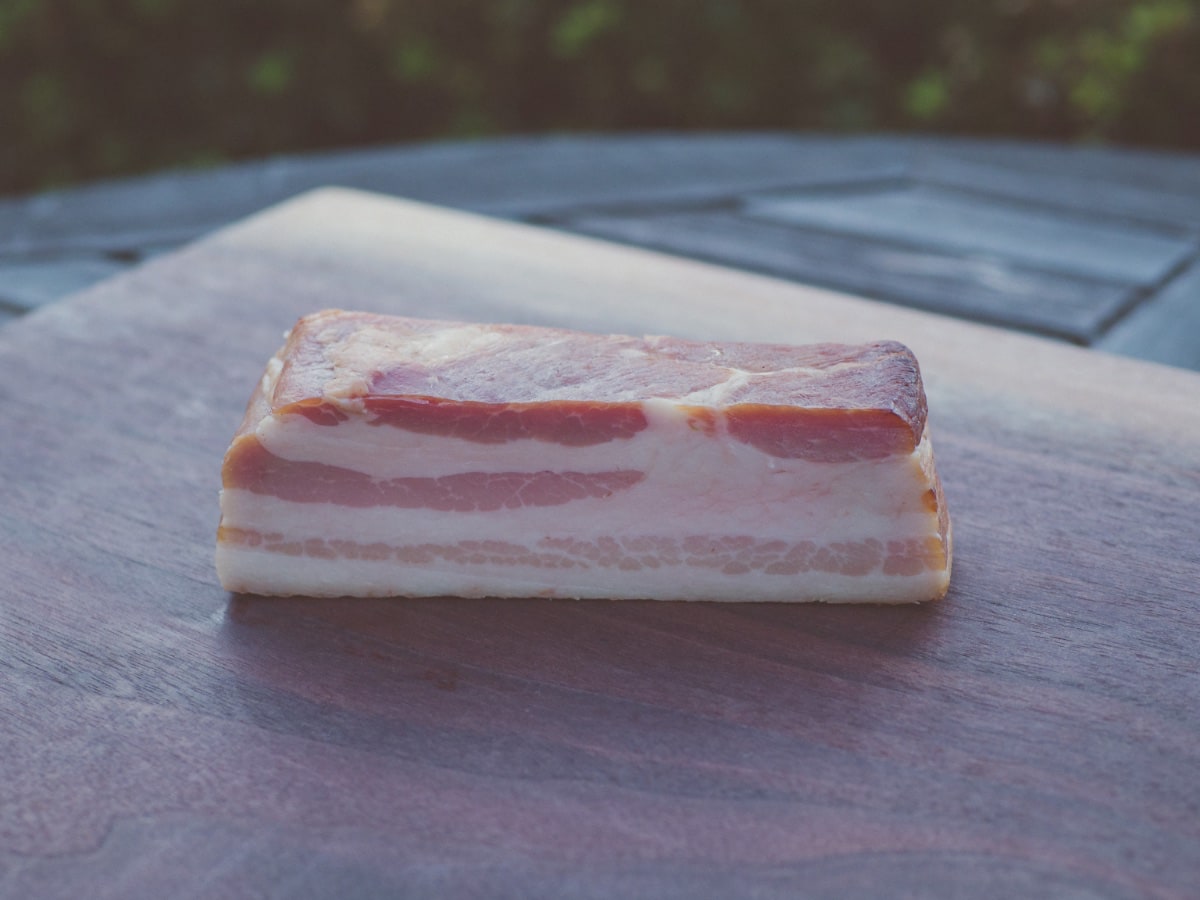
When the curing process is complete, remove the pieces of cured pork belly from their bags and rinse them thoroughly with clean, cold water. Discard the bags or wash them out for reuse. Pat the pieces of cured pork belly dry with some paper towel and place them on a pan.
The last step is to put the pork belly through some heat and, optionally, some smoke. You can finish the bacon in either the oven or on the grill.
If you are using the oven, preheat to 225º. Put the piece of pork belly on some kind of raised surface like a cooling rack. This ensures that air can flow on all sides of the pork belly. Don’t neglect this step. When the oven is up to temperature, bake the pork belly until the internal temperature registers 150º. Then, take your newly-made bacon out of the oven and let it cool before wrapping it tightly for storage. I always keep one slab of bacon in the fridge for immediate use and freeze the rest.
Now, whenever you need bacon, pull the slab out of the fridge and cut off the number of slices you need. You can make them thin or thick, the choice is yours. Or — and here’s one of the great parts of having a slab of bacon — cut the bacon into cubes (called lardons) and fry them up for use in soups and salads.
Slicing concerns are why I cut the pork belly into thirds and not into smaller pieces. By the time you get to the end of a slab of bacon it gets hard to slice simply because the slab is not so much a slab anymore but more like a sliver. The bigger the starting slab, the more slicing opportunities you’ll get. Cutting the pork belly into thirds will give you longer slices than my current six-piece approach. This is probably a matter of personal preference. Try both ways and see which you like more.
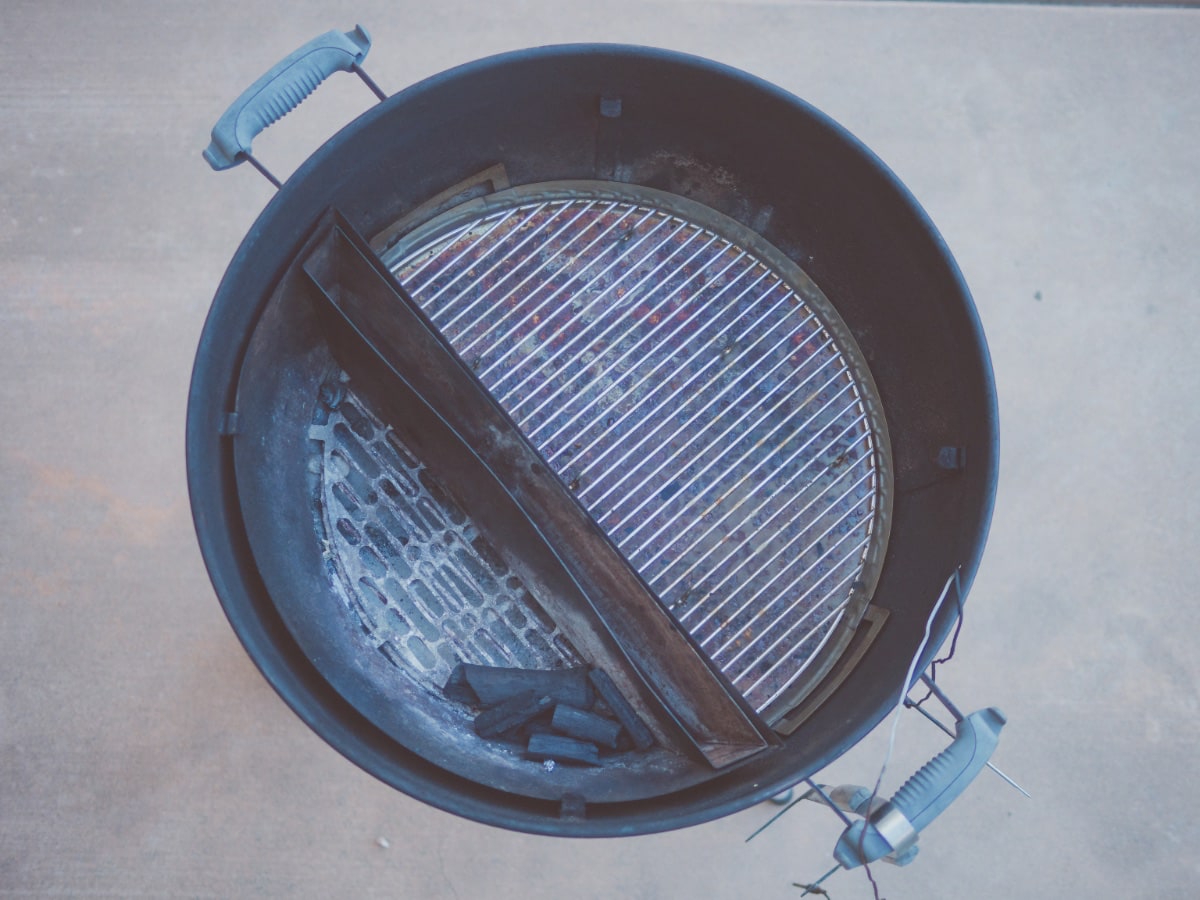
Now, if you want to smoke your bacon that’s a bit more of a process, but it’s very doable for anyone with a basic Weber kettle grill and some kind of electronic thermometer. I don’t own a smoker, to say nothing of a fancy Traeger or the like. I do have a small accessory that helps out with using the Weber kettle grill as a smoker, but even that piece is not necessary to accomplish good results. A good thermometer to check the cooking temperature is probably necessary, although you could maybe get by without if you are careful.
I use a simple hardwood charcoal, but classic Kingsford briquettes will work, too. The key to using a Weber grill to smoke bacon is to keep the heat low. This means keeping the vents mostly closed and lighting only a few pieces of charcoal and letting the fire slowly work its way through the fuel.
I start by putting three or four pieces of charcoal in a small corner of the grill and lighting it.
When it has begun to burn nicely I add the rest of the charcoal along the edge of the grill and make sure the vents are only slightly open. The restricted airflow keeps the burn rate down and the cooking temperature in range. As with the oven, the goal is to cook at about 225º until the pork belly registers 150º.
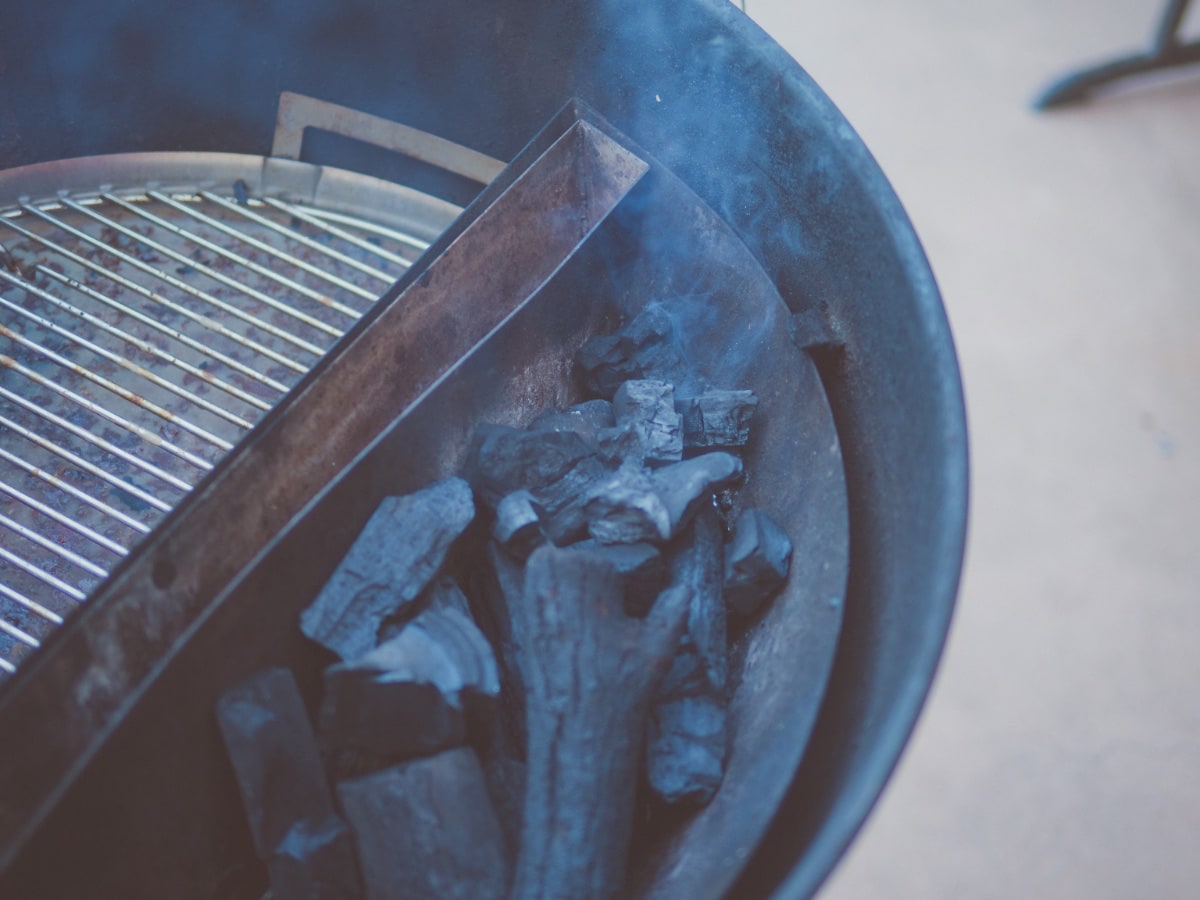
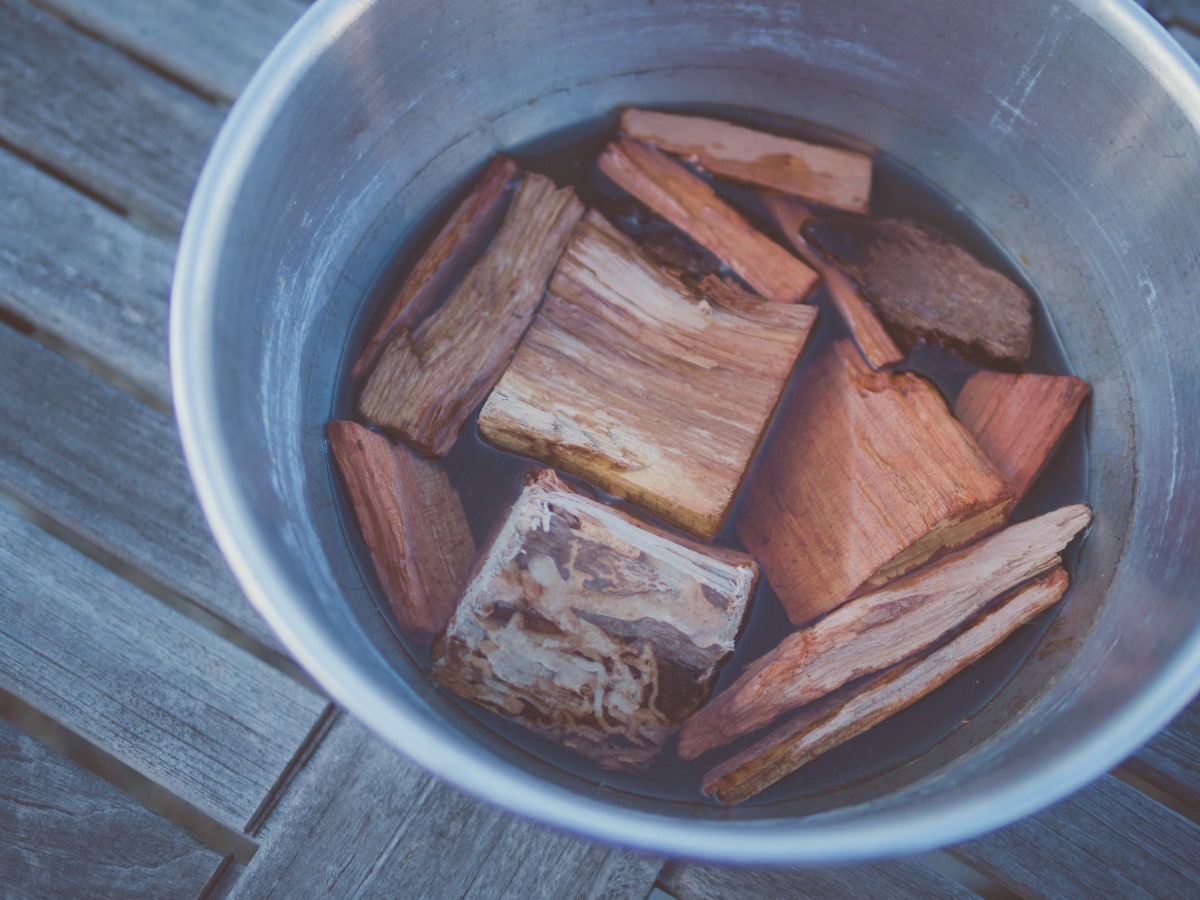
The smoke comes from pieces of hardwood. I like to use cherry wood, which I buy in chunks from my local hardware store. I soak them in water for 10 to 15 minutes before using them to slow down the burning process and increase the amount of smoke they produce.
I put the pieces of cherry on top of the burning coals, then I position the pork belly on the other side of the grill to get indirect heat (do not put the pork belly above the coals), and then put the lid on the Weber. I keep the top vent open a little bit, too. I use an electronic thermometer with an ambient temperature probe to monitor the cooking temperature, adjusting the vents to get to an even temperature. I pull the bacon off when it reaches 150º, let it cool, and then put it into storage.
Smoking the bacon is, admittedly, extra effort. Smoking food requires practice and perhaps more equipment than you already have at home. However, most everyone has access to pork, salt, sugar, time, and heat. Bacon finished in the oven is still extremely tasty. I finished my bacon in the oven for a long time before I tackled the separate task of smoking it. Sometimes I still finish it in the oven. Start small and work your way up. Just don’t let the smoking process keep you from the curing process. Learn to cure bacon and maybe later you can tackle smoking it.
Finally, if you are looking to add a book to your library that can teach you how to cure bacon along with all sorts of other tasty things, look into Charcuterie: The Craft of Salting, Smoking, and Curing by Michael Ruhlman and Brian Polcyn. You can find a detailed recipe for bacon in that book together with instructions on how to make all sorts of other adventurous foods using little more than some salt and some time.
Thanks for reading! What’s something you love to make from scratch instead of buying at the store? I’d love to hear about it! Just hit reply if you’d like to respond. (When you hit reply, your message goes directly to my email. It’s a private conversation between just us.) I read all your messages and try to respond, but not always in a timely manner. Sorry! And if you enjoyed this email, you’d be doing me a favor by forwarding it to someone else who might like it.