A perfect pie crust
I have few memories of my Grandma Great.
And one of them is pie.
Peach pie to be exact.
Every summer our family took a road trip from central Wisconsin to a little town on the west coast of Lake Huron to visit Grandma Great along with all the other many relatives who would travel to gather at her house. As soon as we crossed the Michigan border we started to look for roadside fruit stands. We wanted Michigan peaches because Michigan peaches are the best. (I said what I said.)
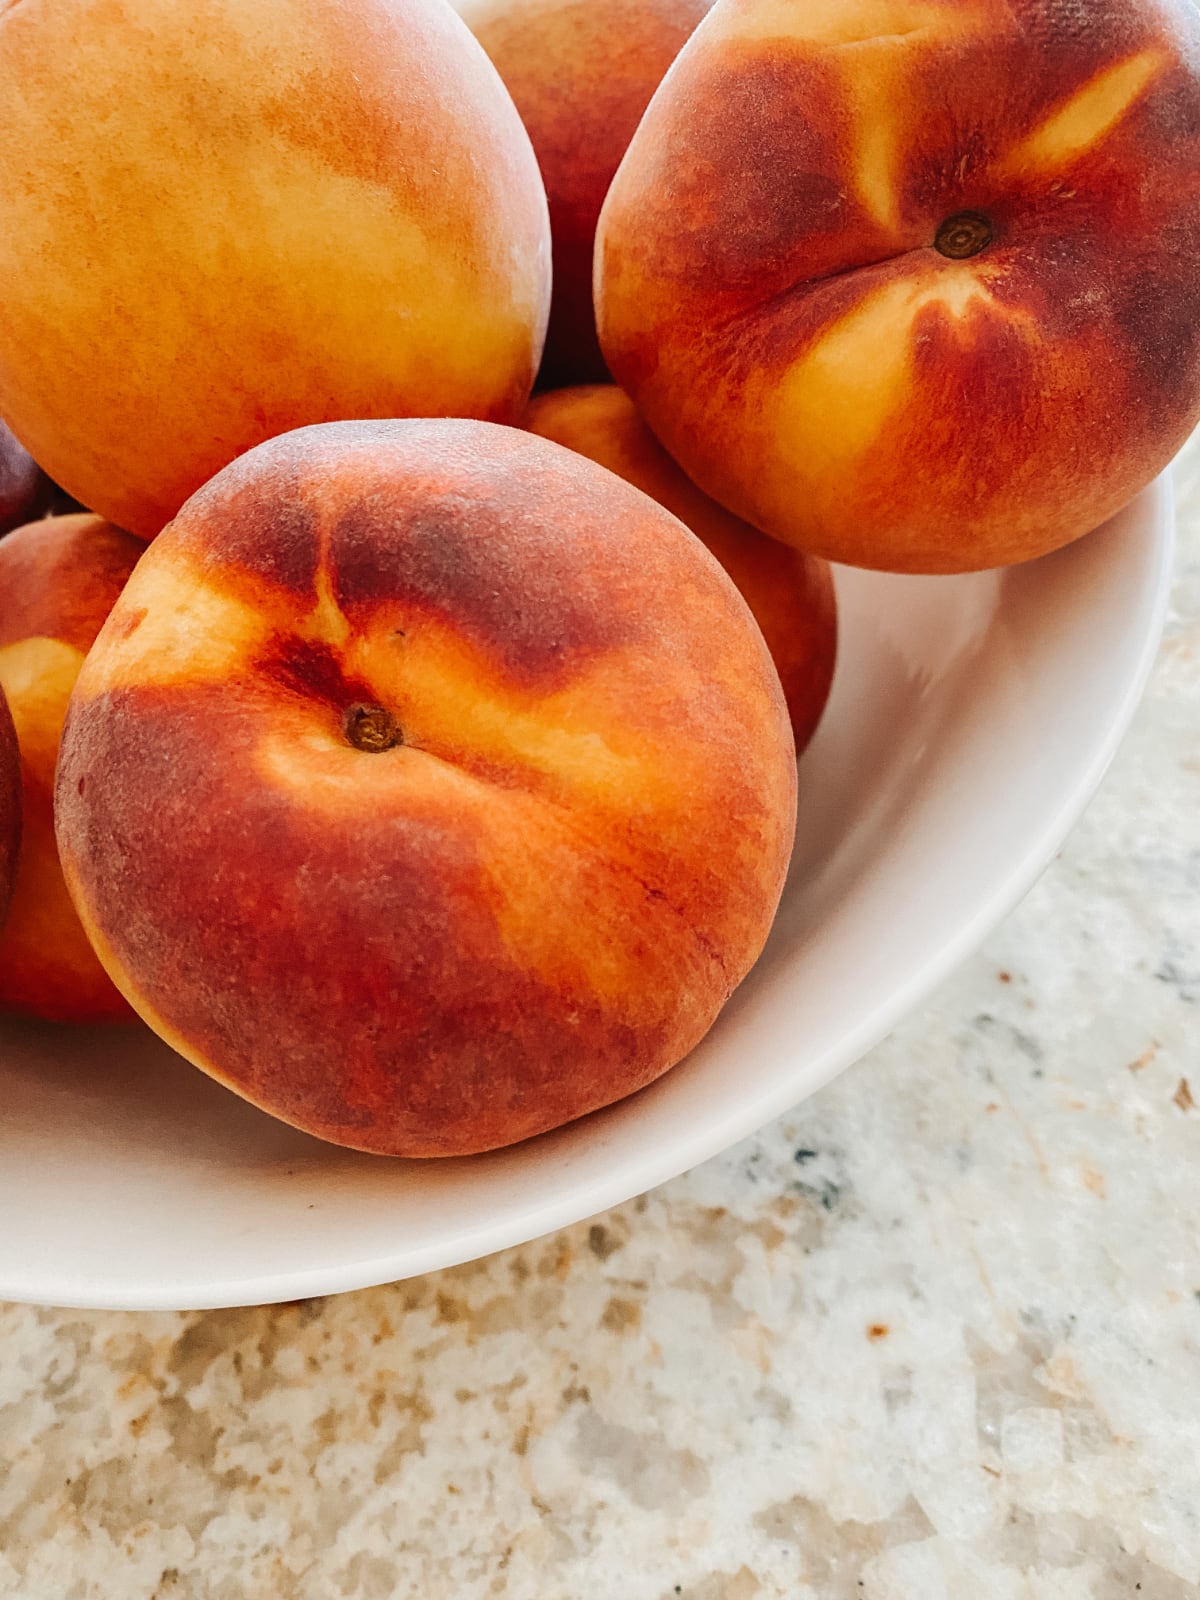
Grandma Great always served peach pie during our visit. Her pie was so amazing that it has stuck with me even though the memory is from when I was barely four years old.
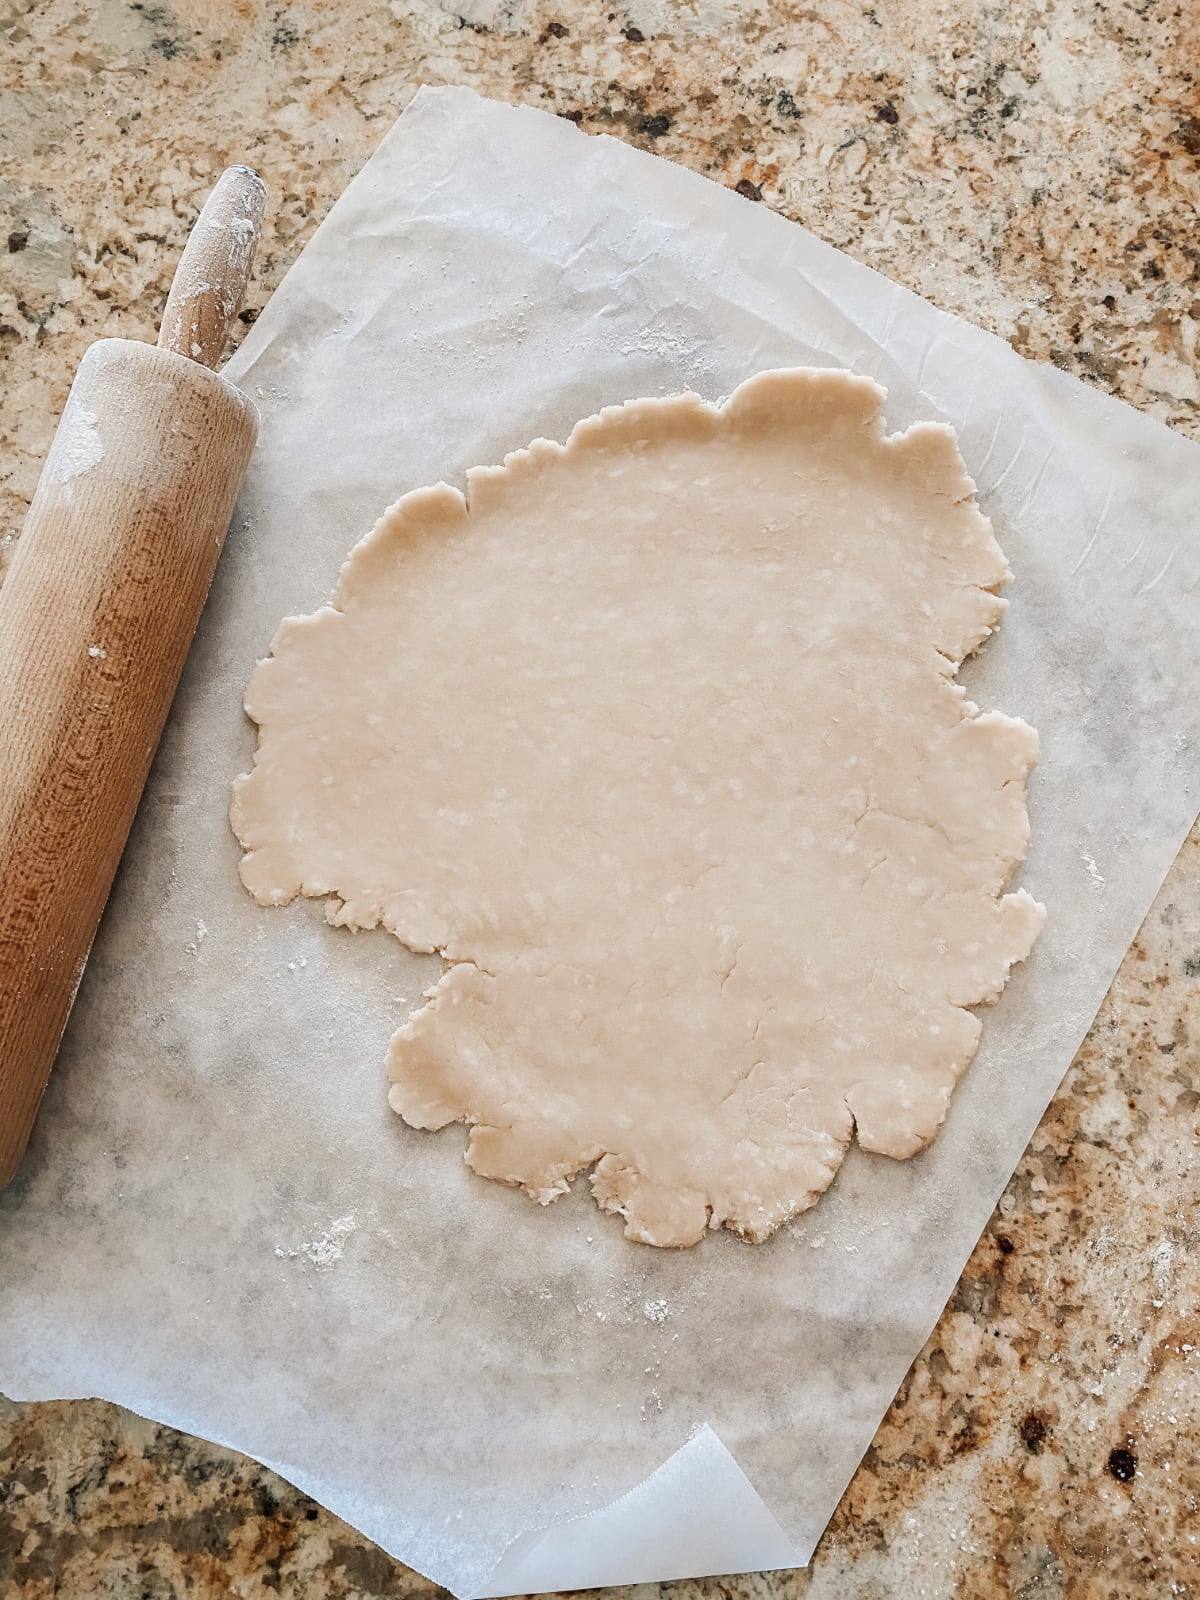
I make several kinds of pies at Thanksgiving every autumn, but every summer I make at least one peach pie in her honor. I am a firm believer that the pie crust makes the pie, and Grandma Great's pie crust is the one I have always used. Her crust always receives compliments. It's not a difficult recipe, but it is harder than pulling a pie shell off the shelf at the store. I think you’ll agree that Grandma Great's Pie Crust is well worth the effort.
Elsie's Pie Crust (makes one pie: top and bottom crust)
- 2 2/3 cups of flour
- 1 teaspoon salt
- 1 cup shortening (no, it's not healthy and no, you can't make substitutions)
- 7-8 Tablespoons of cold water (it does need to be cold)
Pie Crust Method:
Measure the flour and salt into a bowl. Measure the shortening and add it to the flour and salt mixture. Cut the shortening in thoroughly with a pastry cutter. You will know you are done with this step when there is no more shortening that you can spot with your eye and the flour looks very crumbly (Note: this step will take more than three minutes. Don't stop too soon!) After your mixture is well incorporated, measure 1 tablespoon of cold water and sprinkle over your flour and shortening mixture. Kneed with your hands to incorporate. Add one tablespoon of water at a time until your dough is moistened enough that it almost cleans the side of your mixing bowl and roll into a ball. Divide into two halves and wrap each tightly in plastic wrap. Refrigerate for 30 minutes (you want the dough to be slightly chilled, but not too chilled to manipulate).
While your dough is chilling, assemble your pie filling. (You didn't think I would not also give you my favorite summer pie recipe, did you?!)
Elsie's Peach Pie
- 5 cups in-season peaches; peeled and sliced
- 1 teaspoon fresh lemon juice
- 1 cup sugar (no it's not healthy and no, don't substitute it)
- 1/4 cup flour
- 1/4 teaspoon cinnamon
- 5 Tablespoons Minute Tapioca (if you can only find tapioca pearls, make sure you grind them into powder)
- 2 Tablespoons butter, cubed
Peach Pie Filling Method + Assembly:
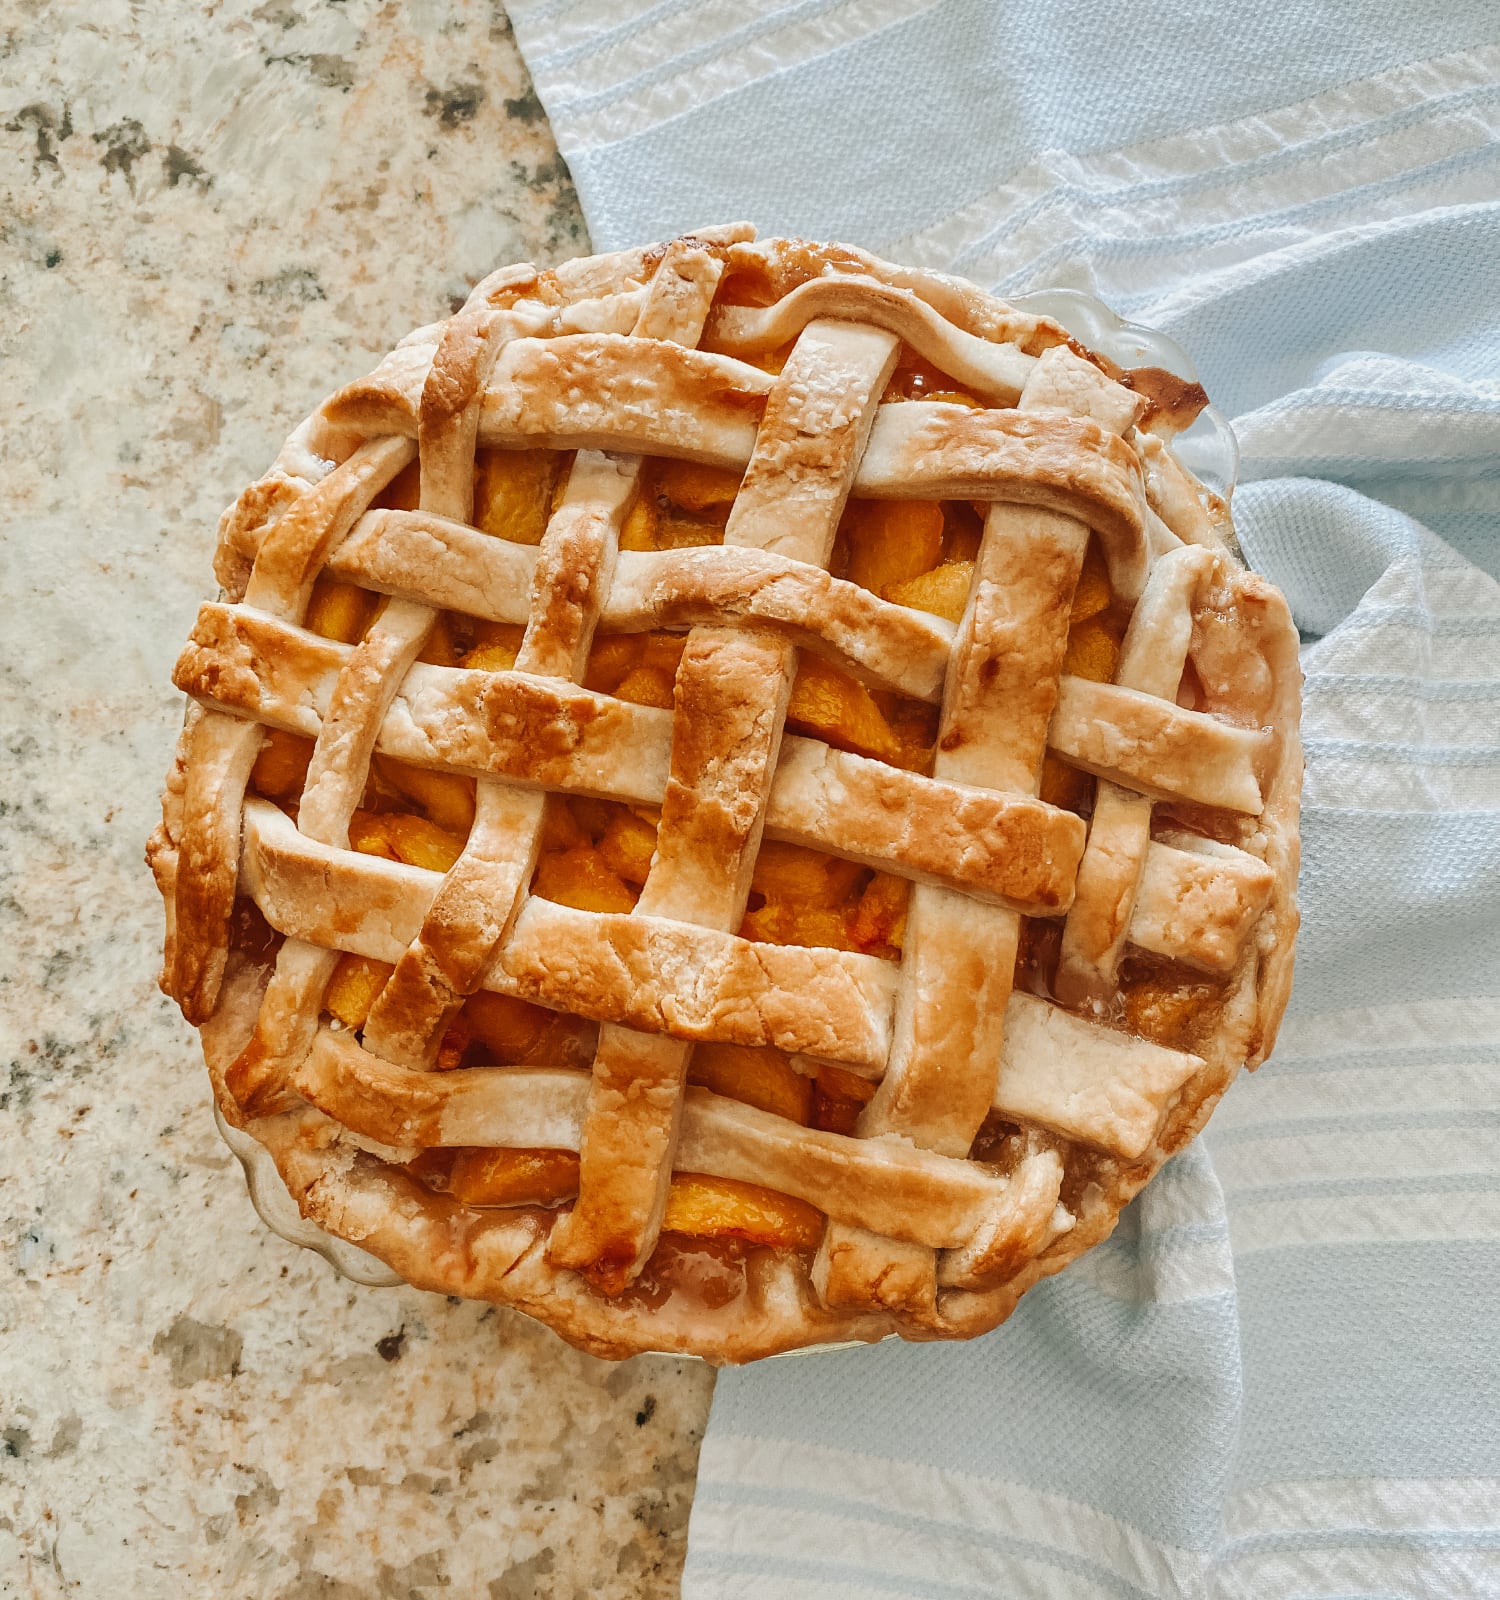
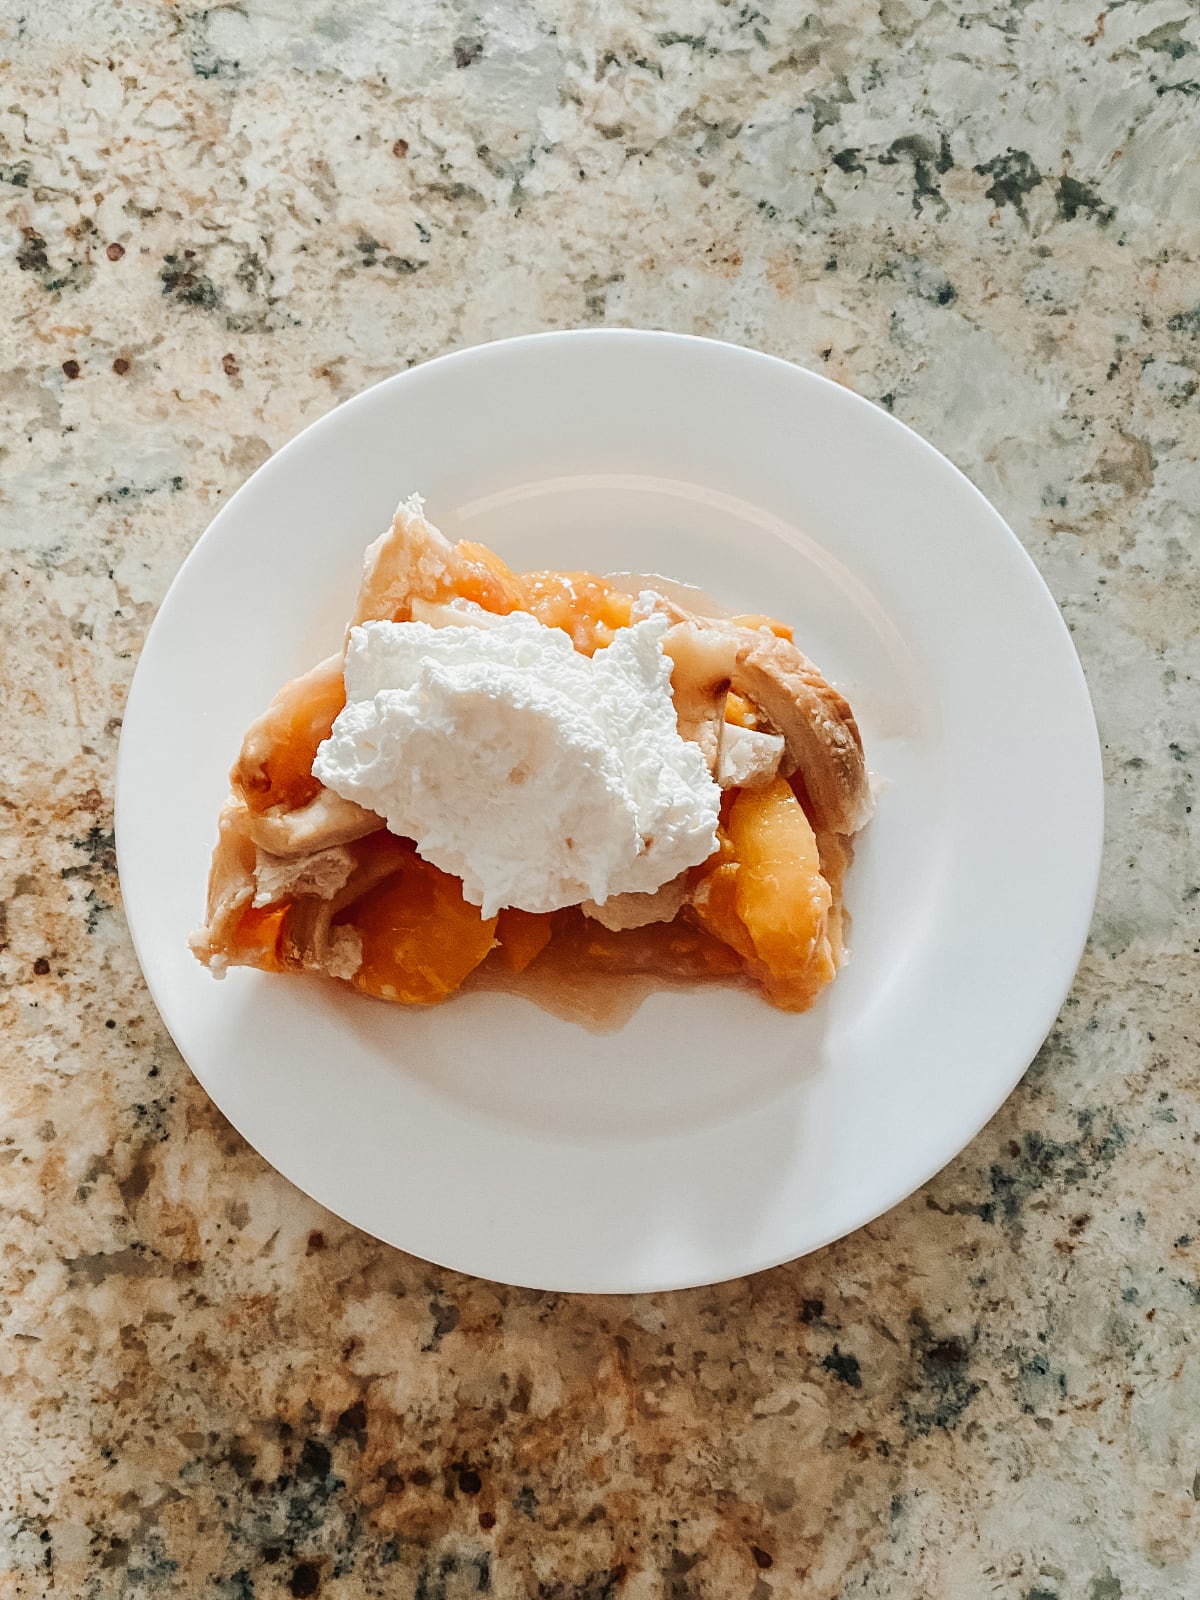
Preheat the oven to 425 degrees Fahrenheit. Peel and slice peaches and add them to a mixing bowl. Add the lemon juice and tapioca and stir. In a separate mixing bowl, measure the sugar, flour and cinnamon. Add the peach mixture to the sugar mixture and stir. Remove from the refrigerator and roll out one half with a rolling pin until 3 inches wider than the top diameter of your pie plate and place in an ungreased pie plate (I prefer to use a Pyrex glass pie plate). Here's a video on how to roll out pie dough if you've never done it before. Place the peach mixture into the uncooked pie shell. Dot the top of the peach mixture with the cubed butter. Roll out your second pie dough and place on top of the peach mixture. (Or do a lattice top crust if you are feeling fancy!) Seal and flute the two pie crusts together, then vent the upper crust. Here's a video on how to do that if you're unsure. Cover the pie loosely with foil and bake for 35–45 minutes. Remove the foil during the last 15 minutes of baking. Remove the pie from the oven when the crust is just brown and the center of the pie is bubbling. Cool completely, then serve with vanilla ice cream or whipped cream.
DIY: Cool Down Spray
I grew up in the land of summer humidity. I am no stranger to it. But, I’ve clearly acclimated to west coast living. And summer heat waves on the west coast feel like I’m living on the surface of the sun. So many crazy hot days, full of humidity (Seriously—we are used to like 3% humidity) and things are just not cooling down at night. Safe to say, I’m over it... even though we probably have 2 full months of hot temps still to go.
It’s OK. You can say I’m a baby. I accept that at this point.
I’m also a baby with an easy cool down DIY. You know, in case you are a big baby like me!
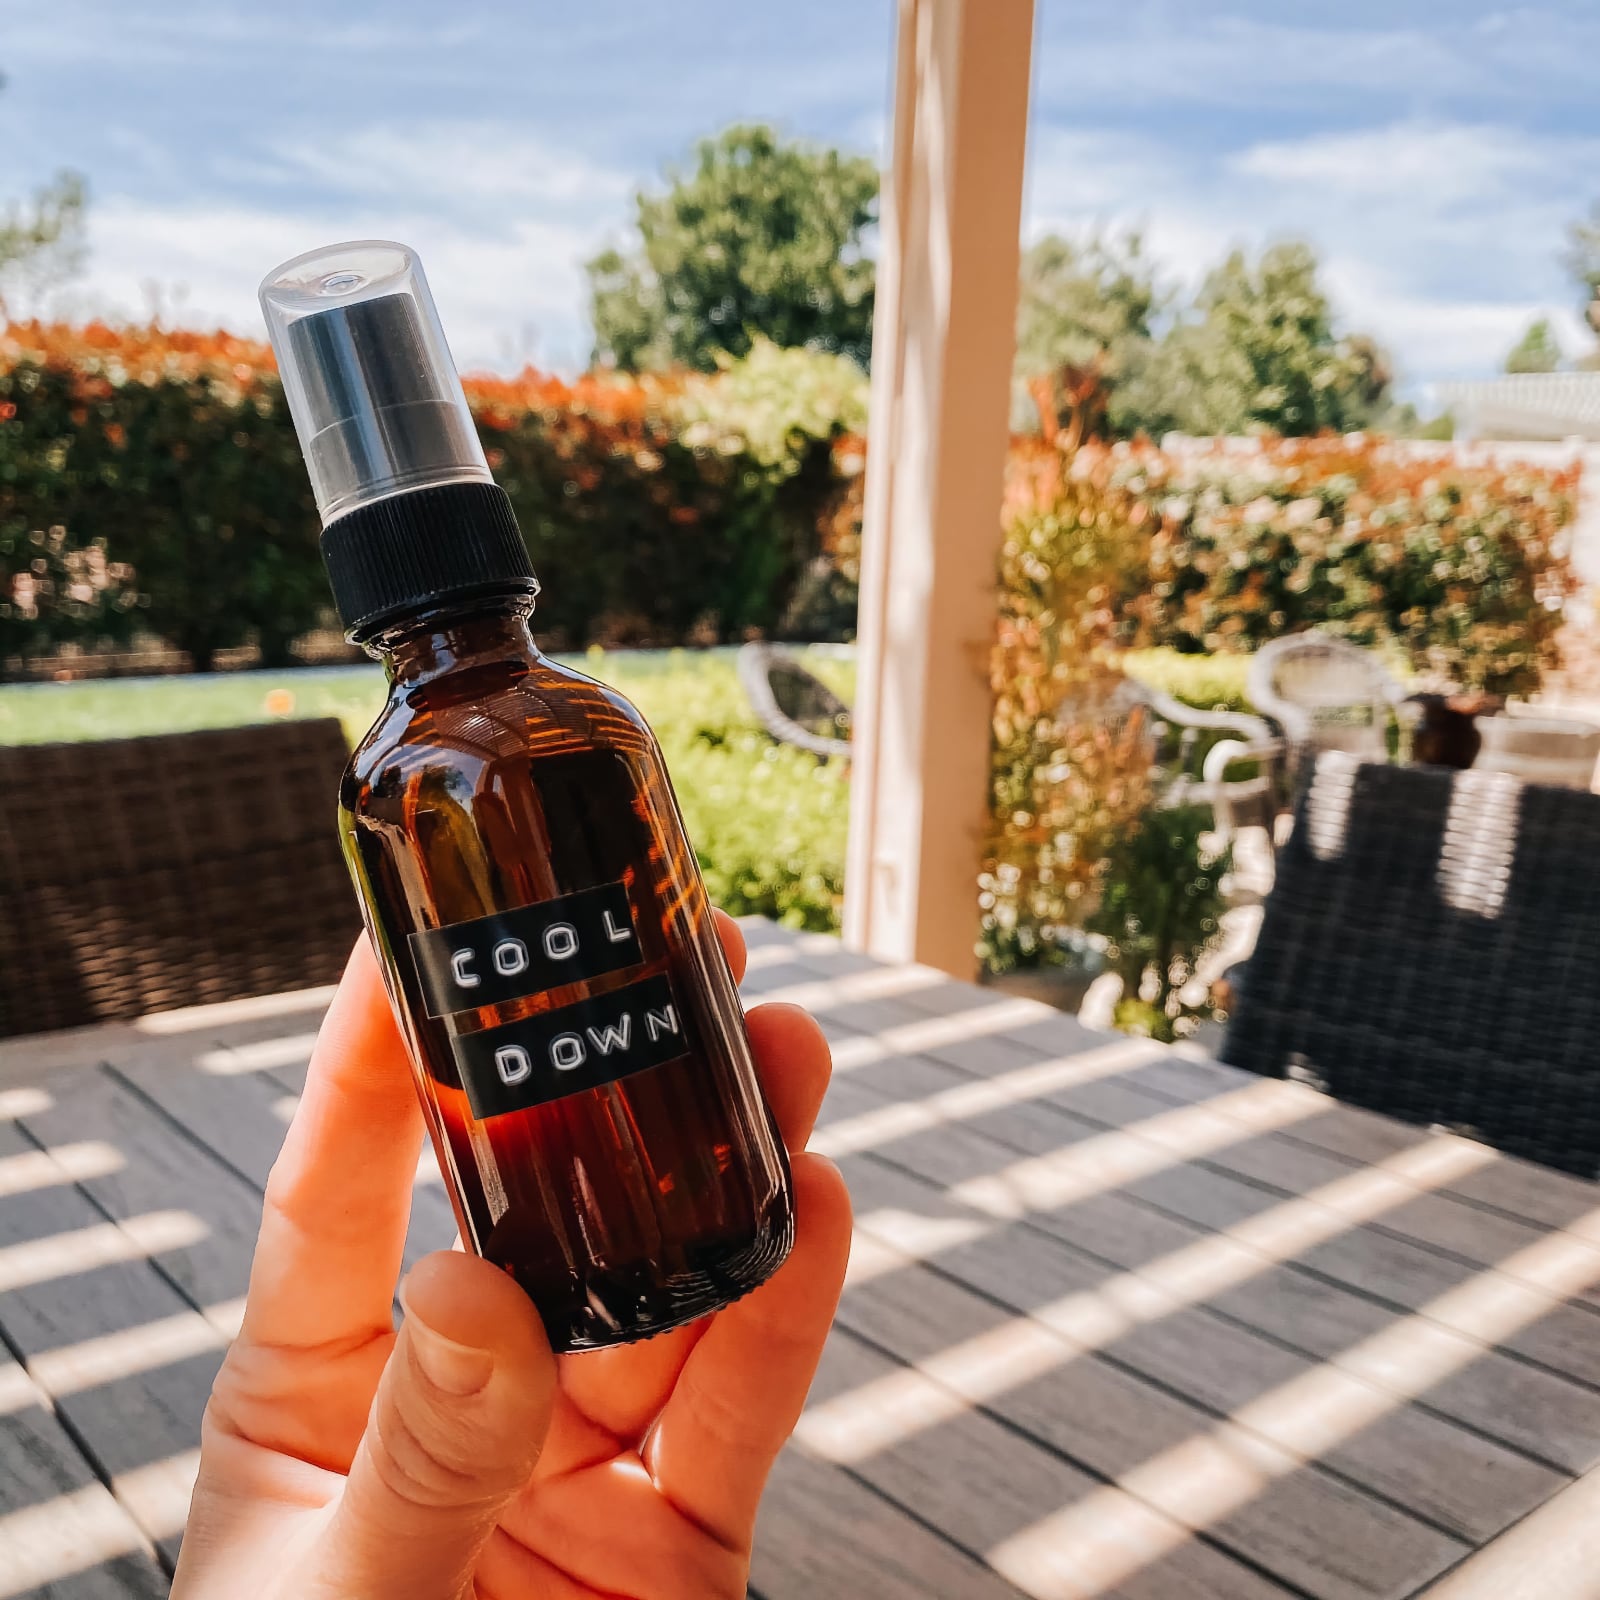
In a 2oz spray bottle, add a few drops of peppermint + a splash of witch hazel + fill with water. Spritz when you need a cool down!
Thanks for reading! Do you have a favorite recipe passed down in your family? I’d love to hear about it! Just hit reply if you’d like to respond. (When you hit reply, your message goes directly to my email. It’s a private conversation between just us.) I read all your messages and try to respond, but not always in a timely manner. Sorry! And if you enjoyed this email, you’d be doing me a favor by forwarding it to someone else who might like it.