a frank laser tutorial ⚡️
How to design and produce your first laser cut project:
Step 1: Google "how to design for laser cutting" and stumble around the internet until you find helpful links and videos. Feel lucky that you have prior experience in things like programming and vector art. Start to believe in yourself. Those punks in middle school were wrong about you.
Step 2: Create a test design in OnShape that brings together all the basics: box joints & overlapping slots. Take wild stabs at scary concepts like "allowance" and "kerf compensation". Hammer it together without regard for lost plywood. Celebrate and accrue confidence.

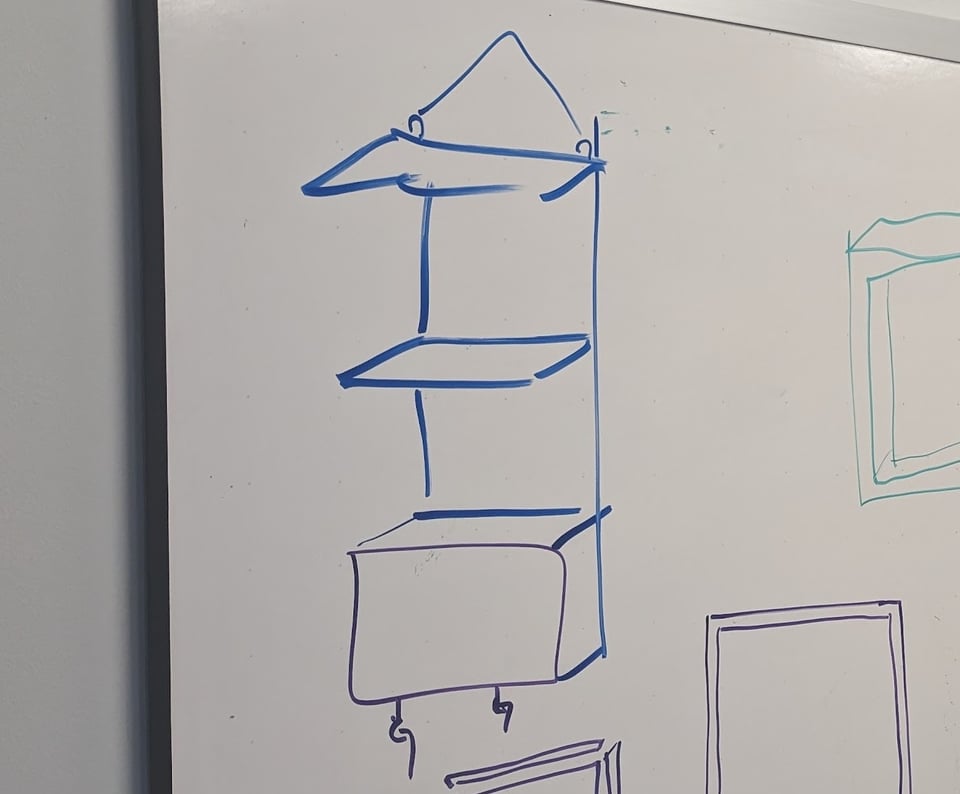
Step 3: Wait until your coworker Katie innocuously mentions that they wish they had a wall-mounted holder for dry erase markers. Look at the problem through the lens of someone eager to prove that all problems can be solved with lasers and commit to building the greatest wall organizer that's ever been built. Ignore Katie's skepticism. Geniuses are frequently misunderstood. Design it on a whiteboard.
Step 4: Measure everything. It was no coincidence that you ordered digital calipers just days ago. It was fate that you put it in your backpack this morning. And don't worry that you gave more money to an evil billionaire just to get digital calipers with same-day shipping. With your new laser powers you will disrupt the system of privilege and oppression.
Step 5: Fumble around in OnShape until the error messages go away and all the plugins you found while googling do the thing they said they were going to do. Share the design with dozens of indifferent acquaintances and make several revisions. Label those revisions with version numbers cause you will definitely need different versions of this box for archival purposes.

Step 6: Pick out just the right board from the stack of slightly warped boards offered to you at the makerspace. Act like the choice matters and you know how to pick boards because you definitely know things about wood. Line it all up in the machine. Press the green button. Twiddle your thumbs for 25 minutes as 600 watts of laser christens your new laser-focused identity.

Step 7: Hold your breath as you push all the bits together. Did it work? Could this be real? Ignore the sounds of bending wood. Square peg. Square hole. It's all coming together, now. You'll probably be able to graduate from therapy after this. Lasers are all the therapy you need.

Step 8: It worked. Share your joy. Tell everyone. All of your friends and family have been waiting for this update. They need to know as soon as possible that those dry erase markers in your office will no longer need to be stored like loose peasants on top of the mini-fridge.
Step 9: Forget to bring it to work on Thursday.
Step 10: On Friday, bring it to work and make a big deal out of preparing the space and asking Ethan (your bud and coworking-space expert) to help you hang it. When Ethan asks "can we remove one of these shelves so I can secure the bottom more easily?" feel the elation of being able to remind everyone for the fourth time: "Of course I can. You know, there's no glue here. It's all held together by pressure and friction."
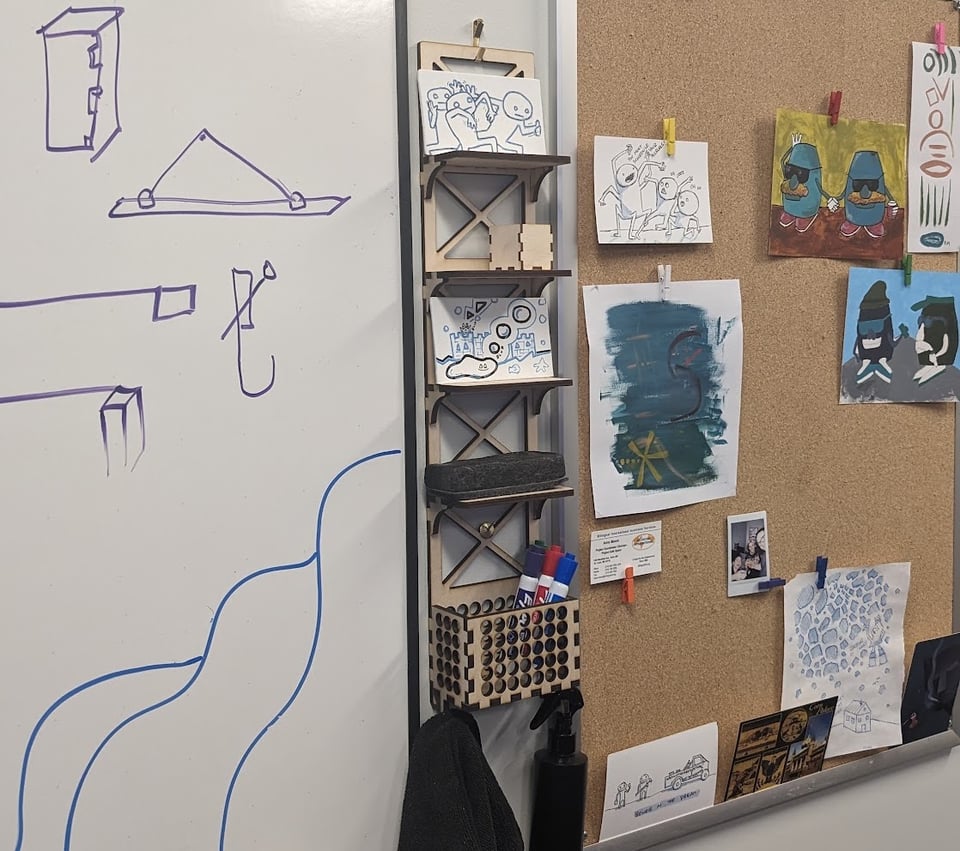
Step 11: Feel satisfied knowing that grabbing dry-erase markers will burn 10% less calories from now on. Never question whether the emotional, time, and material costs were worth it. They were. Chase that feeling for the rest of your life.
