Marking Up Images with PowerShell
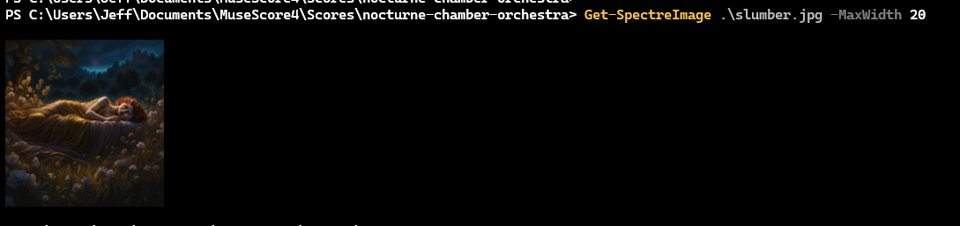
Today, I want to return to my set of PowerShell tools for managing my MuseScore projects. If you recall, many of my scores have a cover image which I also embedded into the MP3 file. I can use Get-SpectreImage from the pwshSpectreConsole module which I recently introduced, to display the image in my console.
I realize, this would be better if I could add text to the image displaying the score title or other information. I know that the .NET Framework has classes for working with image files so I assumed there would be a way to insert text into an image with .NET. If I can do it in .NET, I can do it in PowerShell. Where would you start such a project?
I decided to use CoPilot in VS Code. I wrote a prompt asking for .NET code to insert text into an image file. CoPilot happily suggested code, and it even worked. The greatest benefit is the CoPilot showed me what .NET classes and methods I needed to use. Armed with that information, I can now write the PowerShell code to do the same thing.
I don't expect you to have a compelling need to insert text into images. But I think you will find the process I went through to build a PowerShell solution interesting and educational. I knew I would need to explore the different .NET classes. Fortunately, I have the Get-TypeMember function from the PSScriptTools module which I can use to explore the classes and methods I need to use.
I'll start simple with this image.
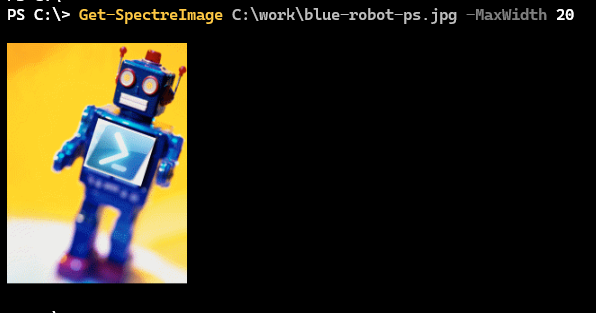
I want to add the text "Behind the PowerShell Pipeline".
$Text = "Behind the PowerShell Pipeline"
System.Drawing
The first step in the process is to load the required .NET assembly.
Add-Type -AssemblyName System.Drawing
CoPilot showed me that I needed to create an image object from the file. I can verify this with Get-TypeMember.
PS C:\> Get-TypeMember System.Drawing.Image

   Type: System.Drawing.Image

Name                    MemberType ResultType        IsStatic IsEnum
----                    ---------- ----------        -------- ------
FromFile                Method     Image                 True
FromHbitmap             Method     Bitmap                True
FromStream              Method     Image                 True
GetBounds               Method     RectangleF
GetEncoderParameterList Method     EncoderParameters
GetFrameCount           Method     Int32
GetLifetimeService      Method     Object
GetPixelFormatSize      Method     Int32                 True
GetPropertyItem         Method     PropertyItem
GetThumbnailImage       Method     Image
...
I can use the FromFile method to create an image object from an existing file.
$image = "C:\work\blue-robot-ps.jpg"
$imageObject = [System.Drawing.Image]::FromFile($image)
Bear in mind that the image path needs to be a file system path and not a custom PSDrive. You can always use Convert-Path to convert a PSDrive path to a file system path.
Next, I need a System.Drawing.Graphics object to draw on the image. Again, CoPilot suggested the FromImage method.
PS C:\> [System.Drawing.Graphics]::FromImage.OverloadDefinitions
static System.Drawing.Graphics FromImage(System.Drawing.Image image)
I can use the image object I just created.
$graphics = [System.Drawing.Graphics]::FromImage($imageObject)
You can always use Get-Member to explore the object.
PS C:\> $graphics

Clip               : System.Drawing.Region
ClipBounds         : {X=-4194304,Y=-4194304,Width=8388608,Height=8388608}
CompositingMode    : SourceOver
CompositingQuality : Default
DpiX               : 144
DpiY               : 144
InterpolationMode  : Bilinear
IsClipEmpty        : False
IsVisibleClipEmpty : False
PageScale          : 1
PageUnit           : Display
PixelOffsetMode    : Default
RenderingOrigin    : {X=0,Y=0}
SmoothingMode      : None
TextContrast       : 4
TextRenderingHint  : SystemDefault
Transform          : System.Drawing.Drawing2D.Matrix
TransformElements  : { {M11:1 M12:0} {M21:0 M22:1} {M31:0 M32:0} }
VisibleClipBounds  : {X=0,Y=0,Width=543,Height=687}
Or use Get-TypeMember.
Get-TypeMember System.Drawing.Graphics
Ultimately, I will need to use the DrawString method to add text to the image.
PS C:\> (Get-TypeMember System.Drawing.Graphics -Name DrawString).Syntax
$obj.DrawString([String]s,[Font]font,[Brush]brush,[Single]x,[Single]y)
$obj.DrawString([ReadOnlySpan`1]s,[Font]font,[Brush]brush,[Single]x,[Single]y)
$obj.DrawString([String]s,[Font]font,[Brush]brush,[PointF]point)
$obj.DrawString([ReadOnlySpan`1]s,[Font]font,[Brush]brush,[PointF]point)
$obj.DrawString([String]s,[Font]font,[Brush]brush,[Single]x,[Single]y,[StringFormat]format)
$obj.DrawString([ReadOnlySpan`1]s,[Font]font,[Brush]brush,[Single]x,[Single]y,[StringFormat]format)
$obj.DrawString([String]s,[Font]font,[Brush]brush,[PointF]point,[StringFormat]format)
$obj.DrawString([ReadOnlySpan`1]s,[Font]font,[Brush]brush,[PointF]point,[StringFormat]format)
$obj.DrawString([String]s,[Font]font,[Brush]brush,[RectangleF]layoutRectangle)
$obj.DrawString([ReadOnlySpan`1]s,[Font]font,[Brush]brush,[RectangleF]layoutRectangle)
$obj.DrawString([String]s,[Font]font,[Brush]brush,[RectangleF]layoutRectangle,[StringFormat]format)
$obj.DrawString([ReadOnlySpan`1]s,[Font]font,[Brush]brush,[RectangleF]layoutRectangle,[StringFormat]format)
I can keep it simple and use the first syntax, which means I will need [Font] and [Brush] objects.
For the font, I'm using the simplest constructor.
PS C:\> [System.Drawing.Font]::new.OverloadDefinitions | Select -last 1
System.Drawing.Font new(string familyName, float emSize)
You can explore the other options on your own. It looks like I need a font name and size.
$size = "40"
$font = "Consolas"
The size value may take some trial and error to get the right size for your image. But once you have a PowerShell command, it is very easy to generate new images with different font sizes.
$fontObject = New-Object System.Drawing.Font($font,$size)
Again, review the object in PowerShell.
PS C:\> $fontObject

Size             : 40
Style            : Regular
Bold             : False
Italic           : False
Strikeout        : False
Underline        : False
FontFamily       : [FontFamily: Name=Consolas]
Name             : Consolas
Unit             : Point
GdiCharSet       : 1
GdiVerticalFont  : False
OriginalFontName : Consolas
SystemFontName   :
IsSystemFont     : False
Height           : 63
SizeInPoints     : 40
You may think you can easily change values Bold, but when you look at the object with Get-Member you'll discover these are read-only properties. I'll get to adding style later.