Getting Started with Polyglot Notebooks
Today's topic is a little outside the box. This isn't necessarily a PowerShell topic, but one I think you might get value from. I want to give you a brief introduction to Polyglot Notebooks. Polyglot Notebooks, and their cousin Jupyter Notebooks. In this context, a notebook is a file that allows you to mix text and code, graphics, and more into a rich, interactive document. You can use them to document your work, share your work, or even teach others. I'm going to see if I can use them more this year in place of traditional PowerPoint presentations for my conference and user group talks.
Notebooks started with the Jupyter project, which is another option for you. Polyglot notebooks allow you to open Jupyter notebooks in Visual Studio Code, so I'm going to focus on that.
Your Polyglot notebook will be a mix of Markdown text and code. You can mix and match any of these languages in the same notebook:
- C#
- F#
- PowerShell 7
- JavaScript
- HTML
- Mermaid
- SQL
- KQL (Kusto Query Language)
Installation
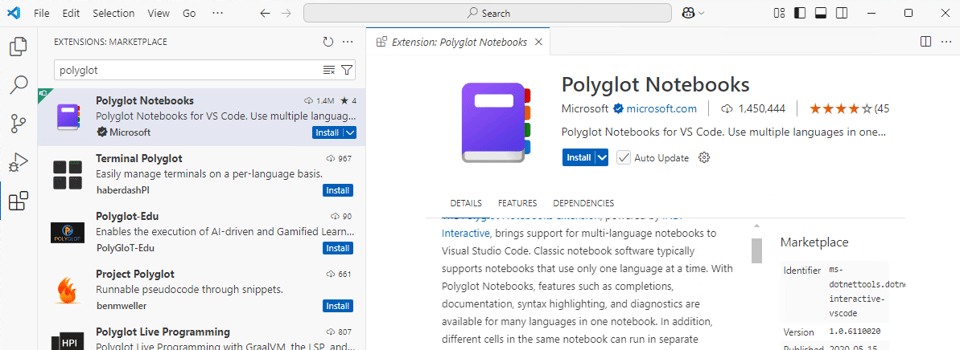
To get started, I'm assuming you are already using VS Code, configured for PowerShell projects. Open the Extensions view by clicking on the square icon in the sidebar on the left. Search for "Polyglot" and install the extension.
You will also need the .NET SDK installed on your machine. You can download it from https://dotnet.microsoft.com/en-us/download/dotnet/9.0. If you are a winget user, it is even easier.
winget install Microsoft.DotNet.SDK.9
After installing the SDK, I recommend restarting VS Code.
Configuring Defaults
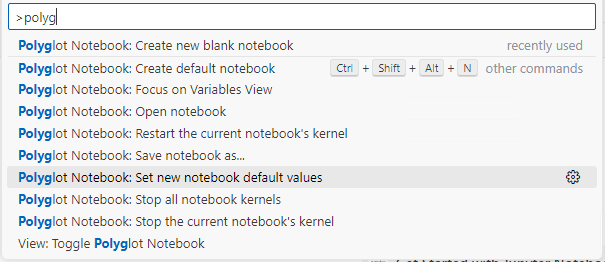
Since I intend to primarily create PowerShell-oriented notebooks, I'll configure a few defaults. In VSCode, open the command palette and start typing polyglot. Select the option to set new notebook values.
You can set the default file extension. I'm going to use the newer .dib extension. The .ipynb extension is the default for Jupyter notebooks. You can also set the default language for new cells. I'm going to set mine to PowerShell 7
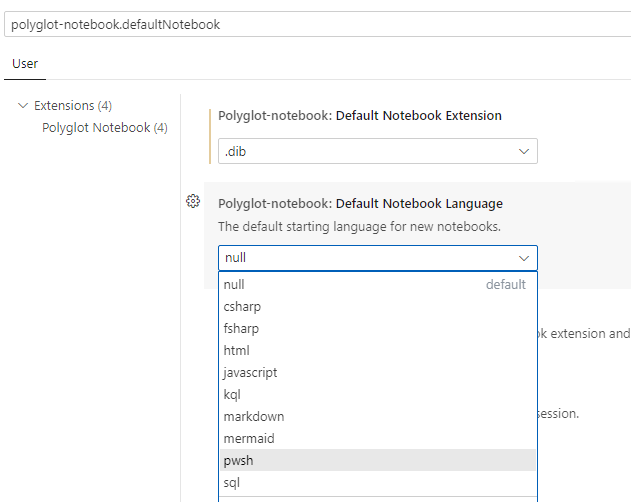
You can use other languages in the same notebook. All I've done is set PowerShell 7 as the default for a new code cell.
Your First NoteBook
To create a new notebook, open the command palette and type polyglot. Select the option to create a new blank notebook. You might be prompted to select the file extension and default language. I am not sure why this is necessary since we just set these defaults, but oh well.
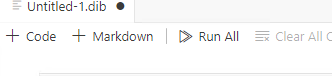
The notebook is divided into cells, which will be either Markdown for your text or code for your code. You can add a new cell by clicking the + icon in the toolbar or by using the keyboard shortcut Ctrl+Enter.
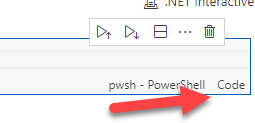
You can also change a cell by toggling the cell type.
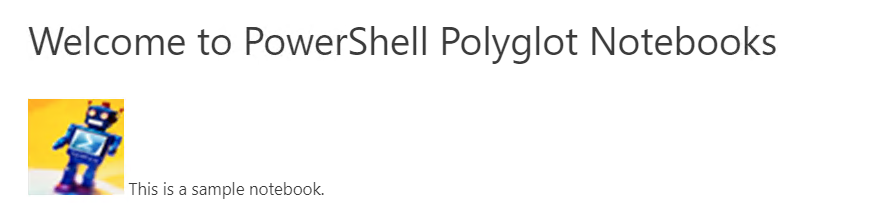
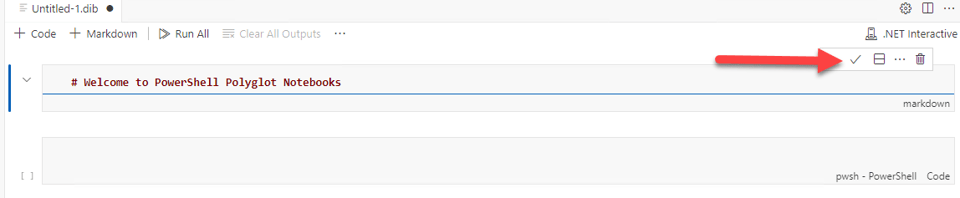
You can enter any Markdown text in a Markdown cell. I'll enter a title. When you are finished editing, click the check mark to render the text.
If you want to insert graphics, you should save the file to the folder root that contains the graphics. I want to insert a graphic in my Scripts folder. Save the file like you would any other file in VSCode, making sure to use the correct file extension.

Finishing the edit will render the cell.