Share your DVD drive with other computers
Physical media is slowly becoming obsolete. No modern computer really comes with a CD or DVD drive. That sucks, especially when you might have a lot of audio CDs, or some old software.
Today, I’ll show you a quick and easy way that will allow you to use an older computer to share your DVD drives with other devices on the network that you’re currently connected to. This guide is written for a Windows computer, so if you’re on a Mac, you’re out of luck!
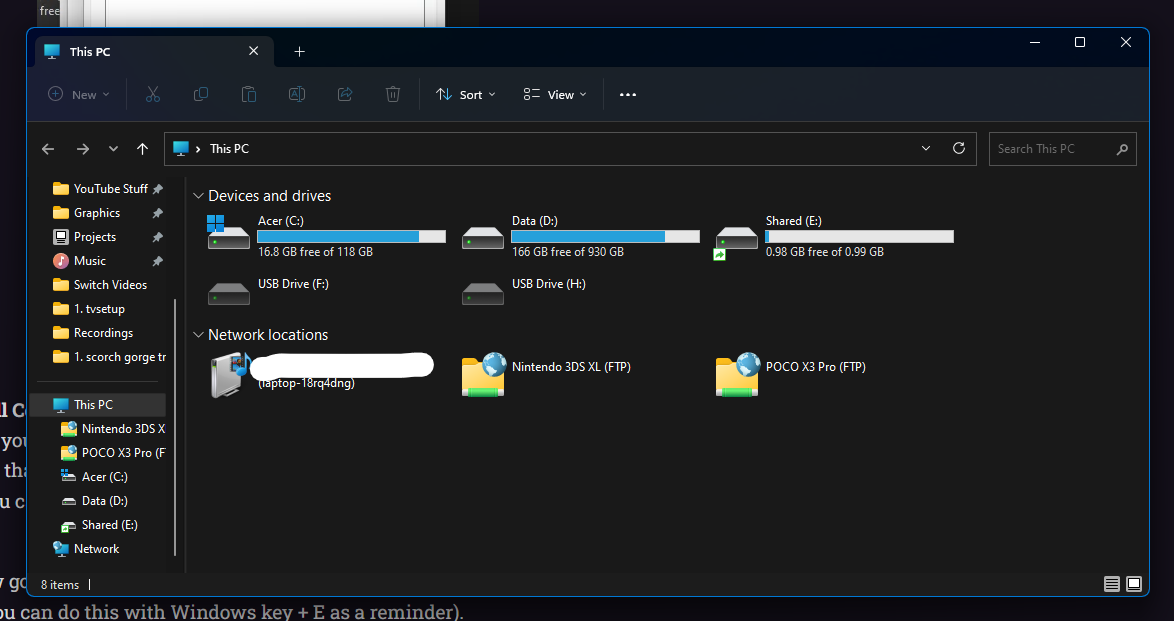
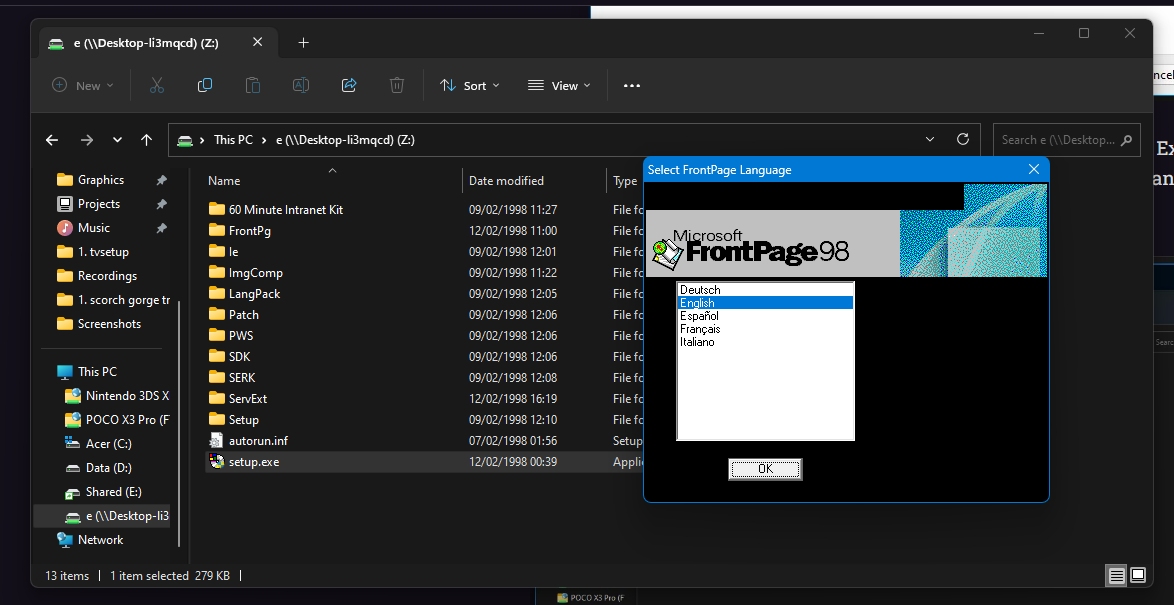
To start, insert your disc into the computer with the DVD drive, then press Windows key + E to open up the File Explorer. It should automatically bring up the This PC view, but if it doesn’t, switch to that. I’m going to share a copy of Microsoft Frontpage, which I’ve inserted into this computer’s DVD drive.
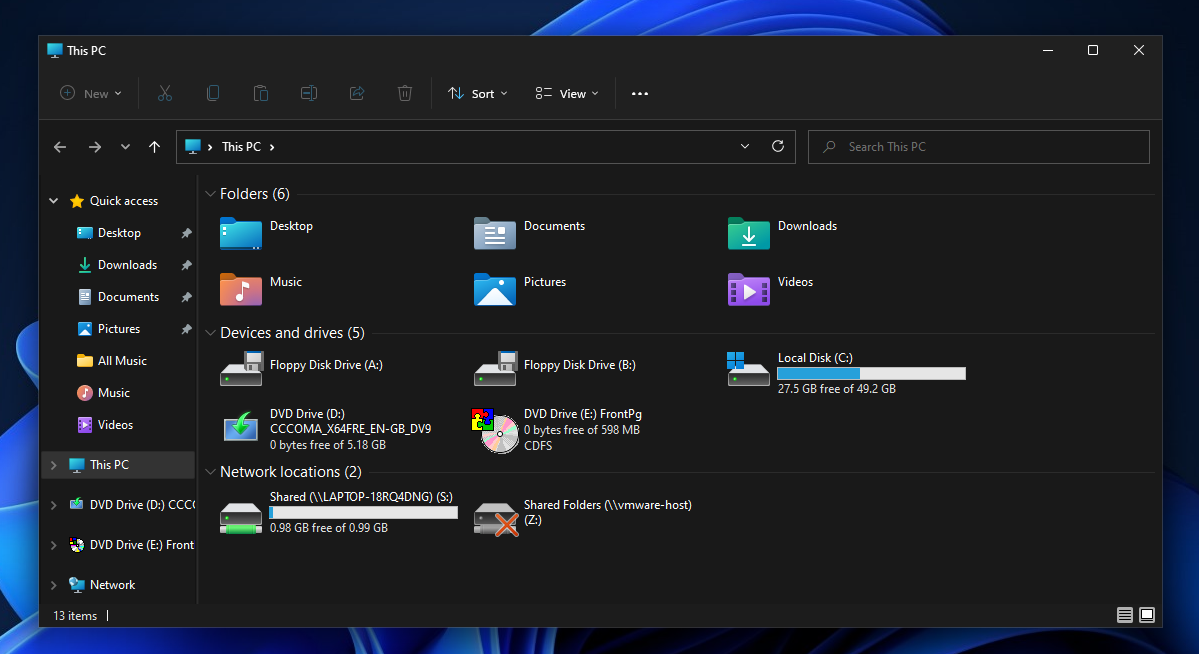
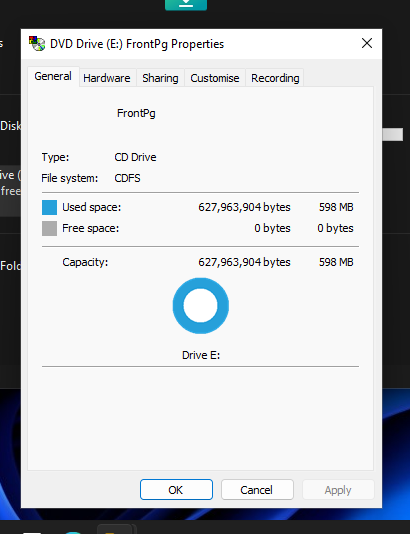
Now, you’ll need to right click the disc you want to share (in my case, drive E). The context menu should appear, and you’ll want to left click on Properties. It should bring up a window like what is shown below.
We’ll now want to click on the Sharing tab, and after that, click the Advanced Sharing button. It should bring up a window like this:
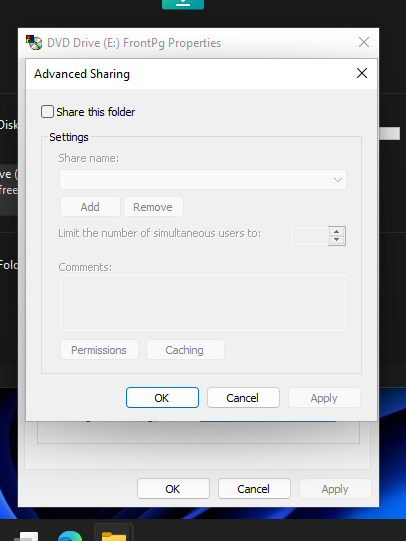
Tick the box that states Share this folder, and if you want to, change the share name to something easier to understand, such as DVD Drive. We’ll now want to click the Permissions button. It should bring up a window similar to this:
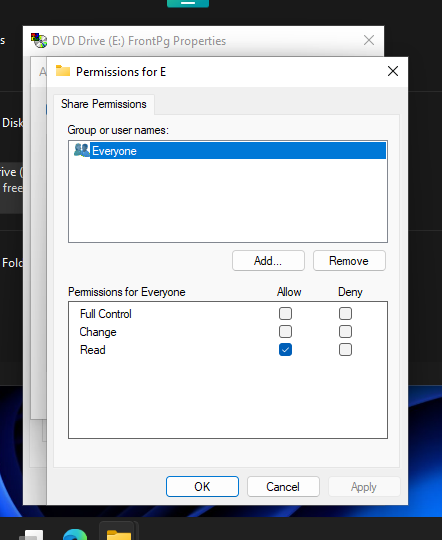
Tick the Full Control box in the Allow column. This isn’t really necessary to change, but you may have a better experience by doing this. Click Apply once you’ve done that, and then press OK. You’ll want to repeat clicking Apply and then OK. You can then press Close, and you should be back at the File Explorer window.
Also, you may need to open Internet Settings on your device to check that your network is showing up as a Private network and not a Public network. On Windows 11, you can do this by right clicking the network icon in the taskbar, clicking Network and internet settings, clicking on Properties for the current network, and selecting the Private button in Network profile type. If your network is set as Public, your device may not appear in the next part.
We’re going to do one last thing and make it so that sharing does not require a password or anything like that to be inputted. Open Control Panel on your device, and open Network and sharing centre (you may need to sort by Large icons to find this). After that, click on the Advanced sharing options button on the sidebar. Open the box for All networks, and find Password-protected sharing and turn it off. Click the Save changes button at the bottom, and it should be completed.
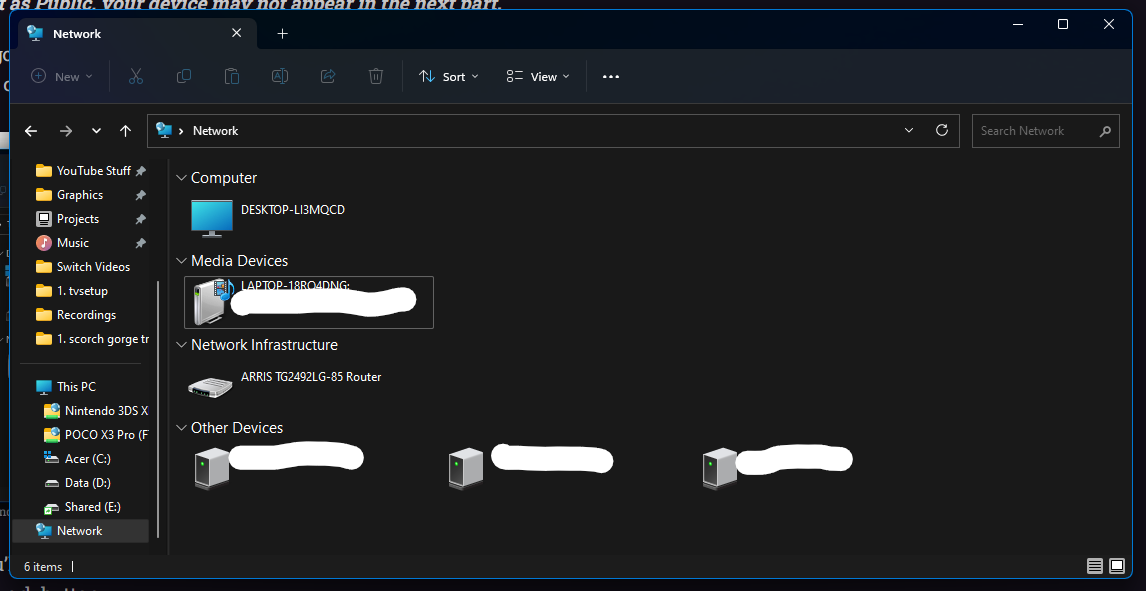
We can now go to the computer without the DVD Drive. Open File Explorer like last time (you can do this with Windows key + E as a reminder).
This time, you’ll want to scroll down on the navigation pane, and we’ll want to click the Network button. You should be greeted with a variety of devices on your network, such as your router, and any TVs you might have connected. You’ll need to find your other computer here though. If you’re unable to find it, follow the steps in italics above on both of your computers.
When you’ve found it, click on your other computer and then right click on the folder name which corresponded to the share name that you gave your DVD Drive earlier.
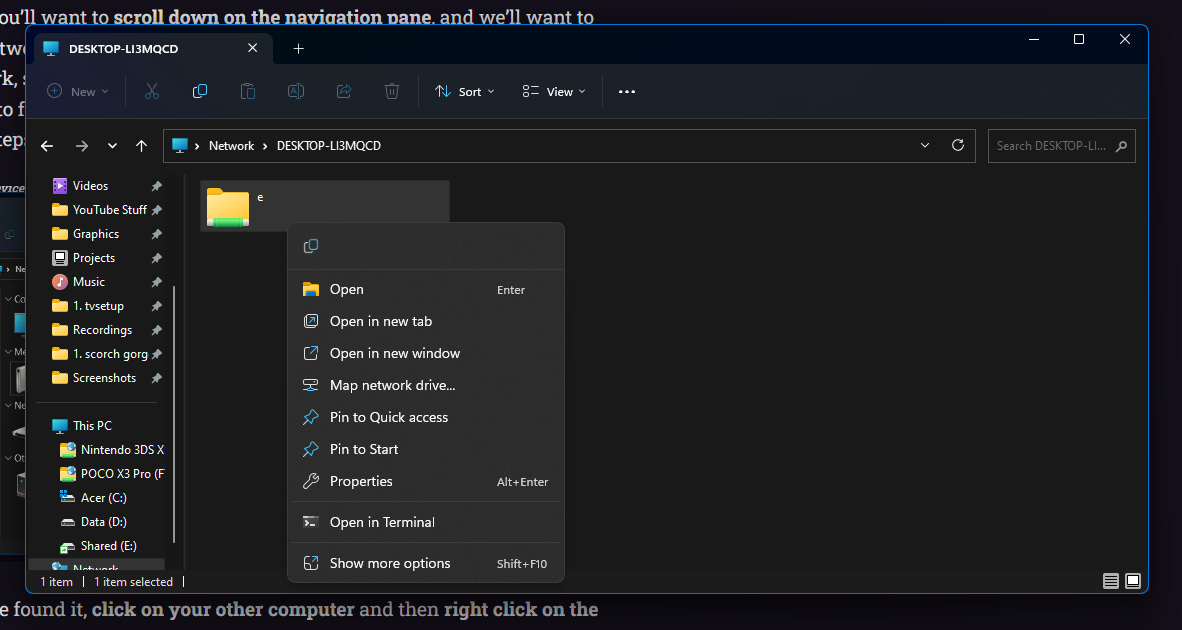
You should now click on an option named Map network drive. A new window should appear asking which drive letter you want your computer to show up as.
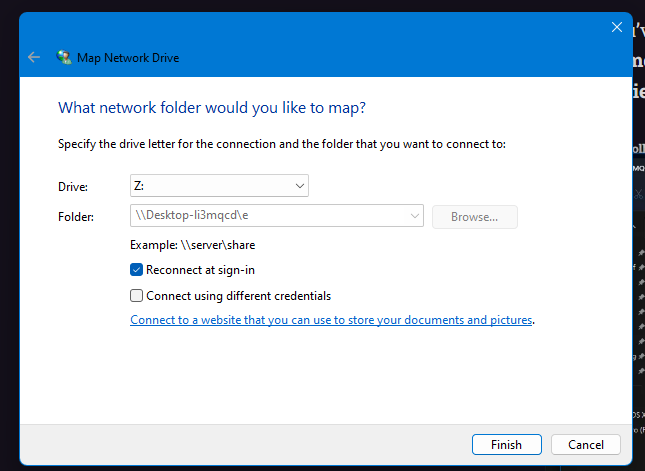
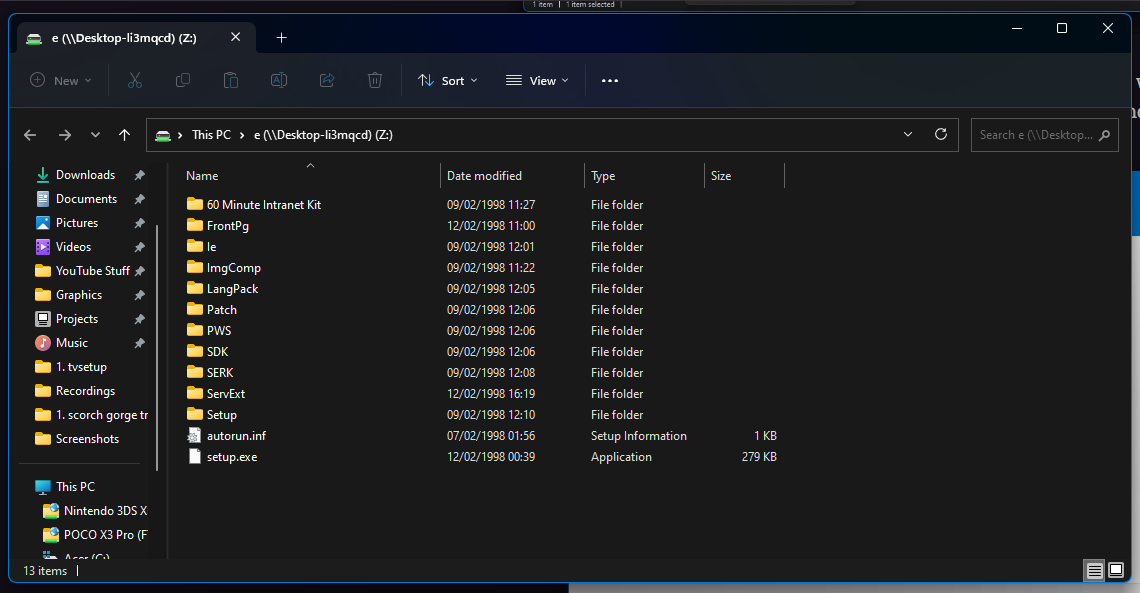
In this case, I’ll use the default of drive Z, and just press Finish. A File Explorer window should now open with the network drive you’ve just created, and you should see all of the files on the CD here!
You’re now free to run anything on your CD drive! Enjoy! It may take longer to install or to play something though, due to it being over the network.
Consider subscribing and sharing if this guide helped you. Thanks!
Also, you can use the steps used this for floppy drives, USB sticks, or just folders on your computer. Obviously it'll vary slightly (for example the things you have to click in File Explorer), but it's worth checking out.
Add a comment: